


Gorgeous! Ever wondered if you could whip up your own make sponge at home and skip the store-bought hype? Well, you’re in for a treat. I’m diving deep into the world of DIY makeup sponges because—real talk—sometimes you just want that flawless blend without dropping on a pink egg. Fun fact: the first makeup sponge wasn’t even a sponge—it was a piece of foam hacked together by a makeup artist in the ‘90s. Now, we’re taking it back to basics with a twist of modern magic. Whether you’re a crafty soul or just here to snag the best tools to make it happen, I’ve got you covered. Ready? Let’s get spongy!
Why Make Your Own Make Sponge?
Okay, let’s start with the why. Store-bought sponges like the Beautyblender are fab—don’t get me wrong—but they’re pricey, and honestly, I’ve lost count of how many I’ve misplaced. Making your own make sponge is cheaper, totally customizable, and—dare I say it?—kinda fun. Plus, you get bragging rights. Who doesn’t want to say, “Oh, this? I made it myself” while flawlessly dabbing on foundation?
The best part? You control the materials. Want it vegan? Soft as a cloud? Bright purple? Done. And if you’re not feeling the DIY vibe, I’ll hook you up with ready-made options from Amazon that still feel like a win. Either way, this is about getting that airbrushed look without the fuss. Let’s dive into the how-to and the must-haves.
How to Make Your Own Make Sponge – Step-by-Step Bliss
Alright, buckle up—we’re crafting a make sponge that’ll rival the pros. It’s easier than you think, and I’ve tested a few methods so you don’t have to waste time on duds. Here’s my go-to recipe, plus some gear to snag from Amazon.
What You’ll Need – The Essentials
Before we start, let’s gather the goods.
- Foam Block: Look for non-toxic, latex-free polyurethane foam.
- Scissors or Craft Knife: Sharp and precise—think Fiskars Craft Scissors ($7 US, £5 UK, $9 CAD).
- Optional Dye: For that pop of color. Rit Dye is my pick—ish across all three sites.
- Bowl of Water: To test the bounce. Yep, it’s that simple.
The DIY Process – Get Your Hands Dirty
- Cut the Foam: Grab your foam block and slice it into a 2-3 inch chunk. Shape it into an egg, teardrop, or whatever vibe you’re feeling. I go for a slight curve—easier to grip.
- Smooth It Out: Use your scissors to round the edges. No jagged vibes here—we want soft and bouncy.
- Dye It (Optional): Mix a few drops of dye with water, dip your sponge, and let it soak for 10 minutes. Rinse until the water runs clear. I did a pastel pink once—adorable.
- Test the Bounce: Wet it, squeeze it, feel it. Too dense? Trim more. Too flimsy? Start over with thicker foam.
- Dry and Done: Air dry for a few hours, and boom—you’ve got a make sponge ready to roll.
Pro tip: Wet it before blending foundation—it’ll soak up less product. I learned that the hard way after my first dry attempt looked like a patchy mess. Live and learn, right?
Why It Works
This DIY make sponge mimics the pros because polyurethane foam is what most makeup sponges are made of anyway. It’s porous, soft, and bounces back like a champ. Plus, you’re saving cash—$10 on supplies beats $20 per sponge any day.
Best Amazon Buys to Kickstart Your Make Sponge Game
Not everyone’s got the time (or patience) to DIY, and that’s cool. If you’d rather buy the tools or a pre-made make sponge, Amazon’s loaded with options.
Craft Foam for DIY Queens
The Darice Foam Block is my top pick for crafting your own make sponge.
- Why It’s Great: Soft, durable, and easy to cut.


I’ve made three sponges from one block—talk about value!
BEAKEY Makeup Sponge Set – The Pre-Made Win
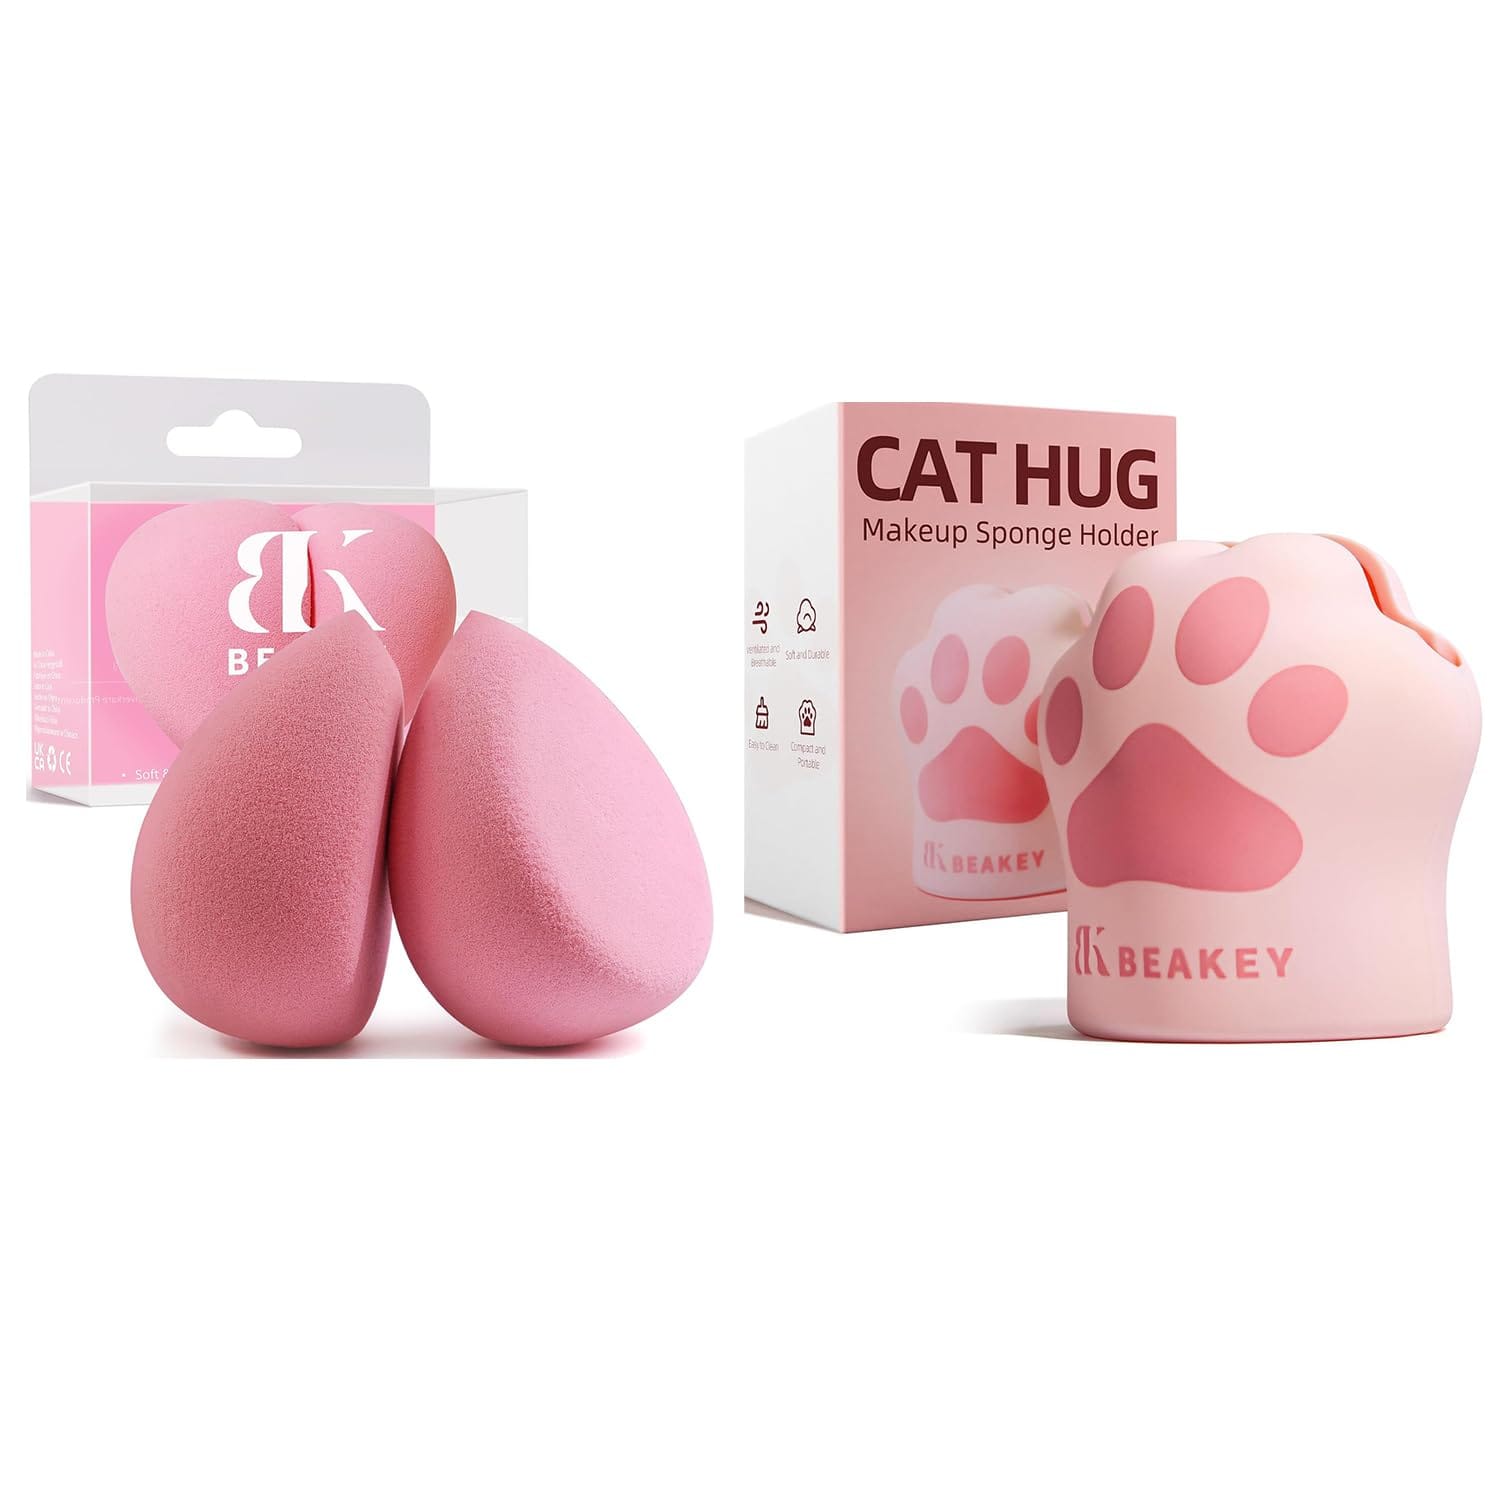
If DIY’s not your thing, the BEAKEY 5-Piece Makeup Sponge Set is a no-brainer.
- Standout Feature: Super soft and blends like a dream.
- Why You’ll Love It: Affordable enough to toss without tears.


I keep one in my bag, one at home—total lifesaver.
Wet n Wild Makeup Sponge – Budget Bliss
For a single make sponge that punches above its weight, the Wet n Wild Sponge is clutch.
- Perfect For: Beginners or anyone testing the sponge life.


It’s my go-to when I’m too lazy to craft. No shame here!
Level Up Your Make Sponge Experience
Whether you’re DIY-ing or buying, a few extras can take your make sponge game to the next level. These Amazon finds are must-haves for keeping things clean and smooth.
Sponge Cleaner – Keep It Fresh
A dirty sponge is a no-go—trust me, I’ve had the breakout to prove it. The EcoTools Sponge Cleanser is gentle and effective
- Why It’s Awesome: Plant-based and smells amazing.
Clean sponge, happy skin. Simple as that.
Silicone Mold – Shape It Right
Want a pro finish on your DIY? A Silicone Teardrop Mold (think US, £6 UK, CAD) lets you pour foam mix (if you’re fancy) or press your cut foam for that perfect shape.
- Why It Works: Consistency without the guesswork.
Real Talk – My DIY Sponge Saga
Can I just vent for a sec? My first make sponge attempt was a disaster—lumpy, uneven, and basically a craft fail. I was this close to chucking it and ordering a Beautyblender. But then I tried again with better foam and a little patience, and—wow—it actually worked. Now I’m hooked. It’s not perfect (I’m no Martha Stewart), but it blends my foundation like a charm, and I spent, what, $5 total? That’s my kind of beauty hack. These Amazon finds—whether DIY supplies or pre-made sponges—make it so easy to get that glow without the splurge.
FAQs – Your Make Sponge Questions, Answered
You’ve got Qs, I’ve got As. Here’s what’s popping up in the beauty convo—and my two cents.
How Long Does a DIY Make Sponge Last?
About 2-4 months if you clean it weekly. Mine started fraying after three—good enough for the price!
Can I Use Any Foam?
Nope. Stick to non-toxic, porous foam—craft stores or Amazon’s your safest bet. Old couch cushions? Hard pass.
Wet or Dry for Best Results?
Wet it for liquids, dry for powders. I’m team wet—smoother finish, less waste.
Conclusion: Sponge It Up Your Way
My faves? The Darice foam for DIY and the BEAKEY set for instant gratification. Go craft, buy, or both—your makeup routine’s about to get a serious upgrade.
What’s your next move? Hit up Amazon for supplies, or share your DIY wins in the comments—I’m all ears! Oh, and if you’re loving these hacks, subscribe for more beauty goodness (#). Let’s keep the glow going, fam!
