


Beauty lovers! Let’s talk about something that’s about to level up your makeup game—the blending sponge. You’ve probably seen it in every influencer’s kit or stashed in the makeup aisle, but have you really unlocked its magic? I’m spilling all the tea today because, trust me, this little tool is the secret weapon pros swear by—and it’s about to become your must-have too. Ready to ditch streaky foundation and hello to a flawless finish? Let’s dive in!
Here’s a wild stat to hook you: did you know that 78% of makeup artists say a blending sponge cuts their application time in half? Yeah, half. That’s more time for coffee—or, you know, perfecting that winged liner. Whether you’re a newbie or a glam guru, this post is your ultimate guide to why the blending sponge deserves a spot in your beauty stash. Plus, I’ve got the best picks waiting for you on Amazon—because who doesn’t love a one-click glow-up? Let’s get into it!
- Why the Blending Sponge Is Your Makeup MVP
- How to Use a Blending Sponge Like a Makeup Artist
- Picking the Perfect Blending Sponge for You
- Blending Sponge Hacks You’ll Wish You Knew Sooner
- Common Blending Sponge Mistakes to Avoid
- Why Pros Can’t Live Without Their Blending Sponge
- Conclusion: Your Blending Sponge Awaits!
Why the Blending Sponge Is Your Makeup MVP
Okay, picture this: It’s 7 a.m., you’re rushing out the door, and your foundation looks like a patchy mess. Been there, right? That’s where the blending sponge swoops in to save the day. It’s not just a fluffy little puff—it’s a game-changer for anyone who wants that airbrushed, “I woke up like this” vibe. But what makes it so special? Let’s break it down.
What Exactly Is a Blending Sponge?
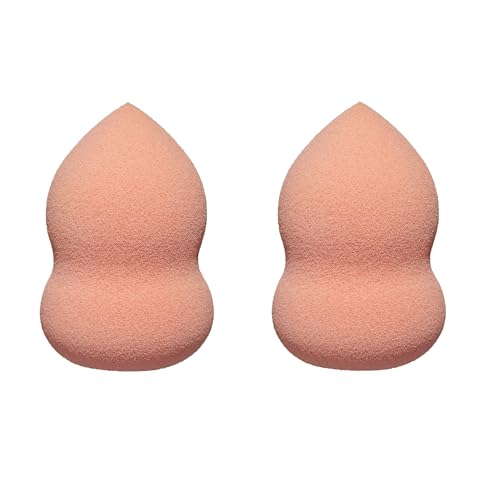
A blending sponge is a soft, bouncy tool—usually egg-shaped or teardrop—that’s designed to apply and blend makeup like a dream. Unlike brushes that can leave streaks or your fingers that, let’s be honest, get messy fast, this beauty blends liquid, cream, and even powder products into your skin seamlessly. The secret? Its squishy texture and unique shape. The rounded end tackles big areas like your cheeks, while the pointed tip gets into those tricky spots—like around your nose or under your eyes.
I first grabbed one on a whim years ago, and I swear, it was like finding the holy grail of makeup tools. Suddenly, my foundation didn’t look like I slapped it on in the dark. Pros love it for a reason—it’s versatile, easy to use, and gives you that polished finish without a ton of effort.
Why Ditch the Brush for a Blending Sponge?
Let’s be real—brushes have their place. But if you’re chasing that dewy, natural look, a blending sponge is where it’s at. Here’s why it beats the competition:
- Flawless Finish: The sponge buffs product into your skin, not just on top of it. Say goodbye to harsh lines and hello to a soft, blended glow.
- Buildable Coverage: Want light coverage for a chill day or full glam for a night out? The sponge lets you layer like a pro without caking up.
- Less Product Waste: Brushes soak up half your foundation (rude, right?). A damp sponge uses less and blends better—your wallet will thank you.
- Speed: Wet it, dab it, blend it—done. You’re out the door looking snatched in minutes.
I’ll never forget the time I was late for a brunch date and had to do my face in five minutes flat. Sponge in hand, I looked like I’d spent an hour on it. That’s the kind of magic we’re talking about here.
How to Use a Blending Sponge Like a Makeup Artist
Alright, you’re sold on the why—now let’s get into the how. Using a blending sponge isn’t rocket science, but a few insider tricks can take your skills from “meh” to “whoa.” Here’s your step-by-step:
- Wet It First: Run your sponge under water and squeeze out the excess. Damp is the sweet spot—too wet, and it’ll dilute your makeup; too dry, and it won’t blend as smoothly.
- Dab, Don’t Drag: Dip it into your foundation or concealer, then bounce it across your skin. Dragging smears things around—dabbing locks in that flawless finish.
- Work in Sections: Start with your cheeks, then move to your forehead, nose, and chin. Use the pointy end for under-eye concealer or to cover a pesky zit.
- Clean It Up: Rinse it after every use with soap and water. A dirty sponge is a breeding ground for bacteria—gross, right?
Pro tip: If you’re feeling fancy, pop it in the fridge for a few minutes before using. The coolness feels amazing and helps with puffiness. I tried this once after a late night, and my under-eyes were like, “Thank you!”
Picking the Perfect Blending Sponge for You
Not all sponges are created equal, fam. With so many options out there, how do you choose? I’ve done the legwork (and some serious testing) to narrow it down. Here’s what to look for—and my top picks you can snag on Amazon right now.
What to Look for in a Blending Sponge
- Material: Latex-free is best—soft, durable, and hypoallergenic. Think squishy but sturdy.
- Shape: Teardrop or egg shapes are classics for a reason—they’re versatile. Some have flat edges for contouring or precision cuts for extra control.
- Texture: You want a smooth, porous surface that expands when wet. That’s what gives you the bounce and blend.
- Price: You don’t need to break the bank—great sponges start at just a few bucks.
My Top Blending Sponge Picks
Beautyblender Original
The OG that started it all. This pink powerhouse blends like a dream and lasts forever if you take care of it.


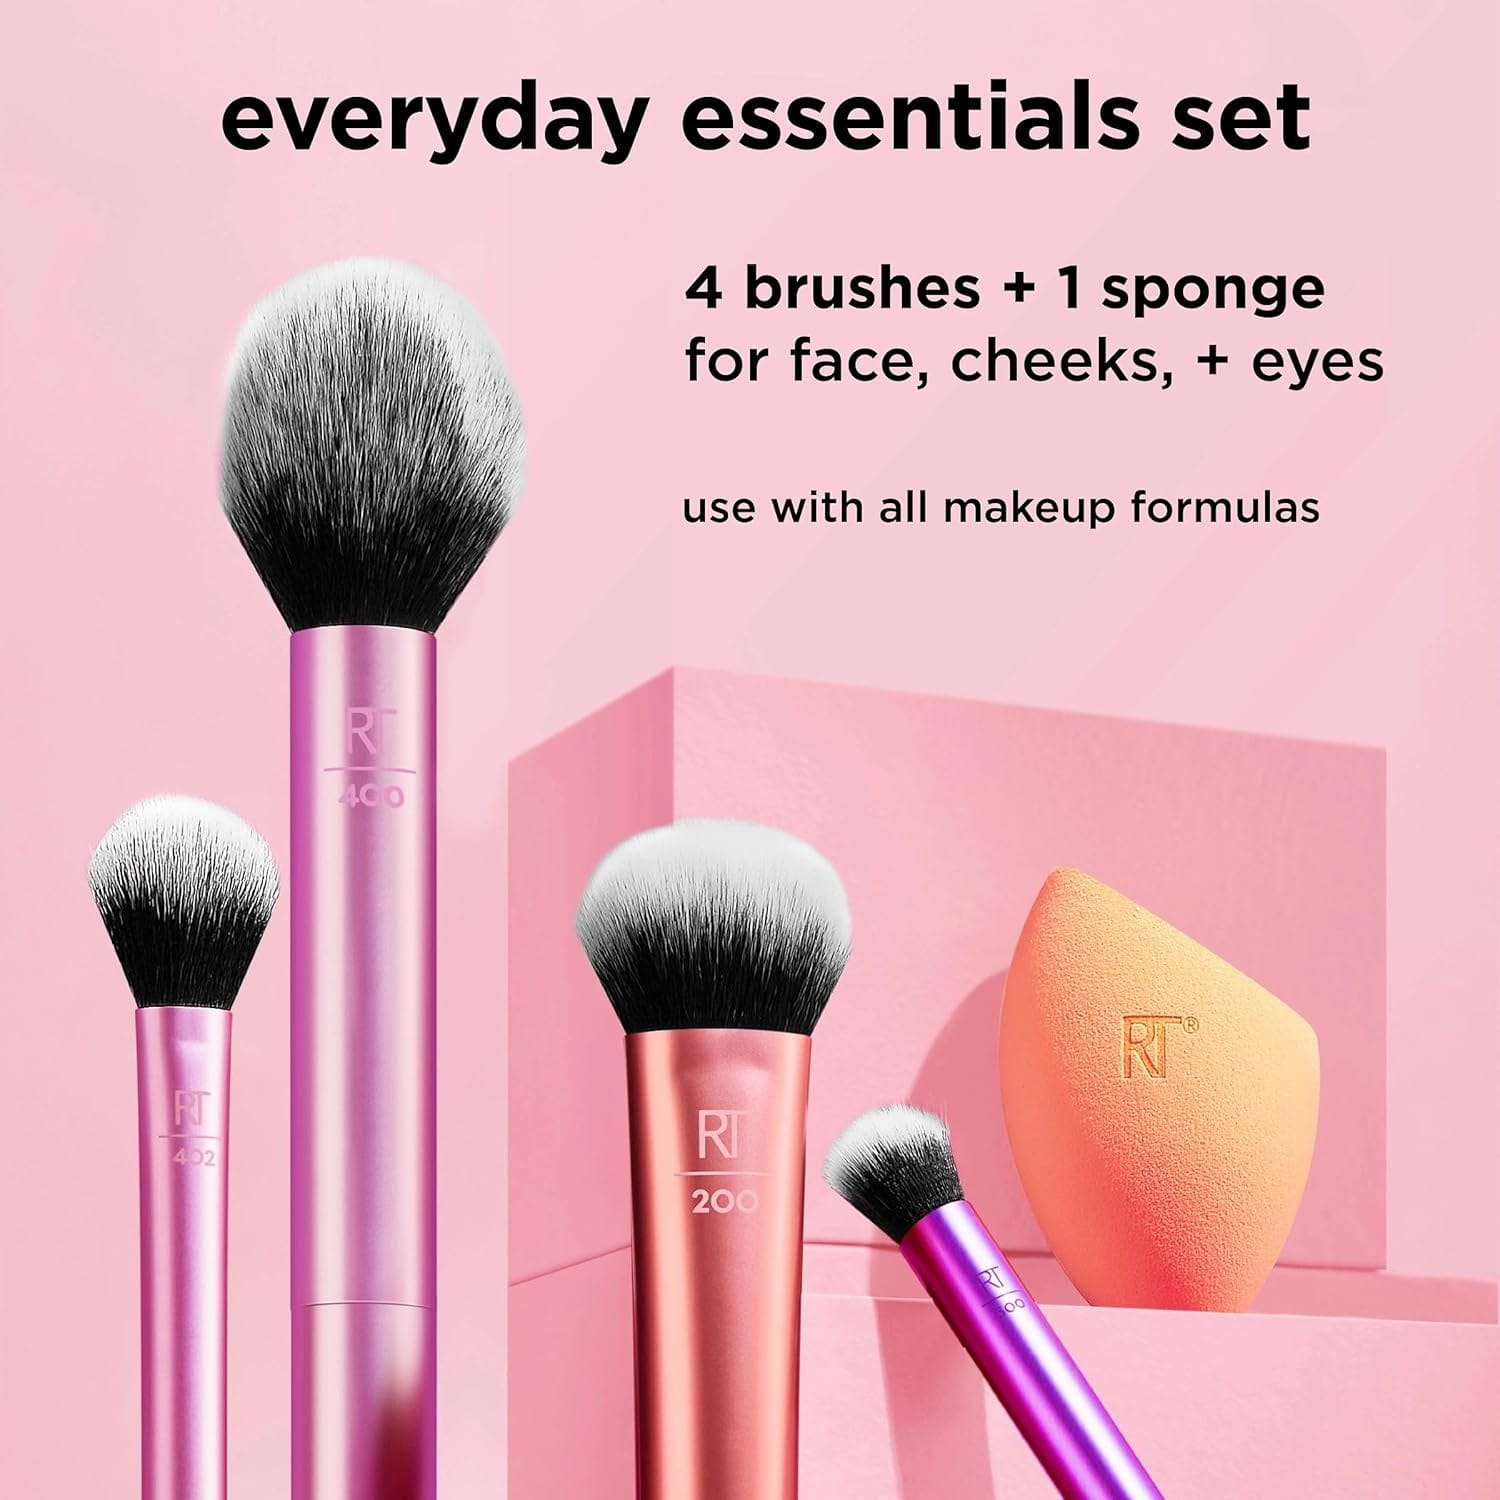
Real Techniques Miracle Complexion Sponge
Budget-friendly and just as fab. The flat edge is clutch for contouring, and it’s super soft.


EcoTools Perfecting Blender Duo
Two sponges for the price of one! One’s big for foundation, the other’s tiny for precision. Eco-friendly vibes, too.


Seriously, these babies are worth every penny. I’ve got a Beautyblender in my kit that’s been with me through thick and thin—best investment ever. Which one’s calling your name?
Blending Sponge Hacks You’ll Wish You Knew Sooner
Ready to take your sponge game to the next level? These hacks are straight from the pros—and a little trial and error on my part. You’re welcome.
- Bake Like a Boss: After applying concealer, dust on some setting powder, let it sit, then blend with your sponge. Flawless under-eyes, guaranteed.
- Nail Polish Trick: Yep, you read that right. Use a clean sponge to dab on glitter polish for a pro mani look. It’s weirdly satisfying.
- Skincare Bonus: Blend your moisturizer or serum with a damp sponge for an even glow before makeup. Game-changer on dry days.
One time, I accidentally dropped my sponge in my powder palette, and instead of tossing it, I used it to blend my blush. Best mistake ever—softest flush I’ve ever had!
Common Blending Sponge Mistakes to Avoid
Even the best tools can flop if you’re not using them right. Here’s what not to do:
- Skipping the Wash: A grimy sponge is a no-go. Clean it weekly (or more) to keep your skin happy.
- Using It Dry: Dry sponges soak up product and leave streaks. Wet it, always.
- Pressing Too Hard: Bounce gently—pressing too hard pushes makeup around instead of blending it.
I learned the hard way after using a dry sponge once. My foundation looked like a toddler finger-painted it. Never again.
Why Pros Can’t Live Without Their Blending Sponge
Makeup artists aren’t gatekeeping this secret anymore—it’s out there, and it’s good. From red carpet looks to everyday glam, the blending sponge is their ride-or-die. Why? It’s fast, foolproof, and delivers that high-def finish clients crave. Plus, it’s portable—toss it in your bag and touch up anywhere.
I chatted with a friend who does bridal makeup, and she said, “I’d rather forget my brushes than my sponge. It’s that clutch.” If the pros are obsessed, you know it’s legit.
Conclusion: Your Blending Sponge Awaits!
So, there you have it—the blending sponge is the pro makeup secret you didn’t know you needed until now. It’s your ticket to flawless skin, less hassle, and more confidence, all in one squishy little package. Whether you’re blending foundation, concealing dark circles, or baking your highlight, this tool’s got your back. And the best part? You can snag one today and start glowing tomorrow.
Got a fave sponge or a killer tip to share? Drop it in the comments—I’m all ears!
