


Gorgeous! Let’s talk about something that’s about to revolutionize your makeup routine: the foundation sponge. Ever wondered how some people seem to glide through their morning with a flawless base while you’re wrestling with streaks or cakey patches? Spoiler alert—it’s not magic. It’s the right tools. And here’s a wild fact to kick things off: did you know that using a foundation sponge can cut your base application time in half compared to brushes? Yep, half. If that doesn’t scream “game-changer,” I don’t know what does.
Whether you’re a makeup newbie or a seasoned pro, this little powerhouse deserves a spot in your beauty arsenal. It’s fast, it’s foolproof, and it delivers that airbrushed finish we all crave—without the hassle. In this post, we’re diving deep into why the foundation sponge is your ticket to perfect skin, how to use it like a boss, and where to snag the best ones (hint: Amazon’s got you covered). Ready to level up your glam game? Let’s get into it!
Why a Foundation Sponge Beats the Rest
Okay, real talk: there are a million ways to slap on foundation—fingers, brushes, you name it. But the foundation sponge? It’s in a league of its own. Here’s why it’s stealing the show in the beauty world.
Speed Meets Precision—Your Morning Just Got Easier
Picture this: you’re rushing out the door, coffee in one hand, mascara wand in the other, and your foundation looks like a toddler applied it. Sound familiar? A foundation sponge fixes that chaos fast. Its soft, bouncy texture blends liquid or cream foundation in seconds—no streaks, no stress. Unlike brushes that can leave you with harsh lines if you’re not careful, a damp makeup sponge melts product into your skin for a seamless finish. Seriously, it’s like having a mini airbrush in your hand.
Flawless Foundation, Every Time
Let’s be honest—nobody’s got time for patchy makeup. The secret sauce of a foundation sponge lies in its ability to sheer out product evenly. Wet it, squeeze it, dab it—boom, you’ve got that “I woke up like this” glow. Research shows that sponges distribute foundation more evenly than fingers (which can get oily) or dense brushes (which can soak up too much product). Plus, it’s perfect for layering if you’re going for full coverage. Want proof? Scroll through X—beauty gurus can’t stop raving about how it transforms their base game.
Versatility Is the Name of the Game
Here’s where the enthusiasm kicks in: a foundation sponge isn’t just a one-trick pony! You can use it for concealer, cream blush, even setting powder if you’re feeling fancy. Its teardrop shape (or whatever funky design you pick) gets into those tricky spots—under your eyes, around your nose—like a pro. Brushes can’t touch that level of multitasking. It’s basically the Swiss Army knife of beauty tools.
How to Use a Foundation Sponge Like a Pro
Alright, you’re sold on the why. Now let’s tackle the how. Don’t worry—this isn’t rocket science. I’ve broken it down into bite-sized steps so you can master it by tomorrow morning.
Step 1—Prep Your Sponge
First things first: wet it. Run your foundation sponge under the tap until it’s soaked, then squeeze out the excess. It should feel damp, not dripping. Why? A wet sponge blends better and keeps your foundation from getting sucked into the pores of the tool. Dry sponges are a no-go—they’ll just leave you with a streaky mess.
Step 2—Apply Your Base
Dot your foundation onto your face—cheeks, forehead, chin, wherever. Then grab your trusty makeup sponge and start dabbing. Don’t swipe or drag; bounce it gently. That stippling motion is what gives you that flawless foundation finish. Pro tip: use the pointy end for tight spots and the flat side for bigger areas like your cheeks.
Step 3—Build It Up
Need more coverage? No problem. Add another layer and bounce again. The beauty of a foundation sponge is how it lets you control the vibe—light and dewy for a chill day, or full-on glam for a night out. Oh, and if you’re into cream contour or blush, same deal—dab it on and watch the magic happen.
Step 4—Clean It Up
Don’t sleep on this part! Rinse your sponge after every use with warm water and a gentle soap. A dirty sponge is a breeding ground for bacteria—gross, right? Let it air dry, and it’ll be ready to roll for your next slay.
Picking the Perfect Foundation Sponge
Not all sponges are created equal, my friend. With so many options out there, how do you choose? I’ve done the legwork (and scrolled way too much on Amazon) to narrow it down. Here’s what to look for—and some top picks to snag right now.
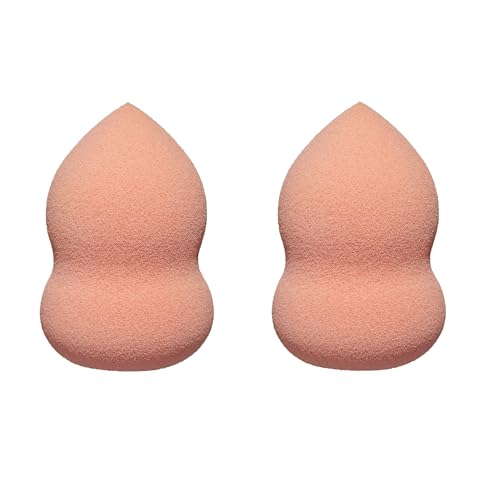
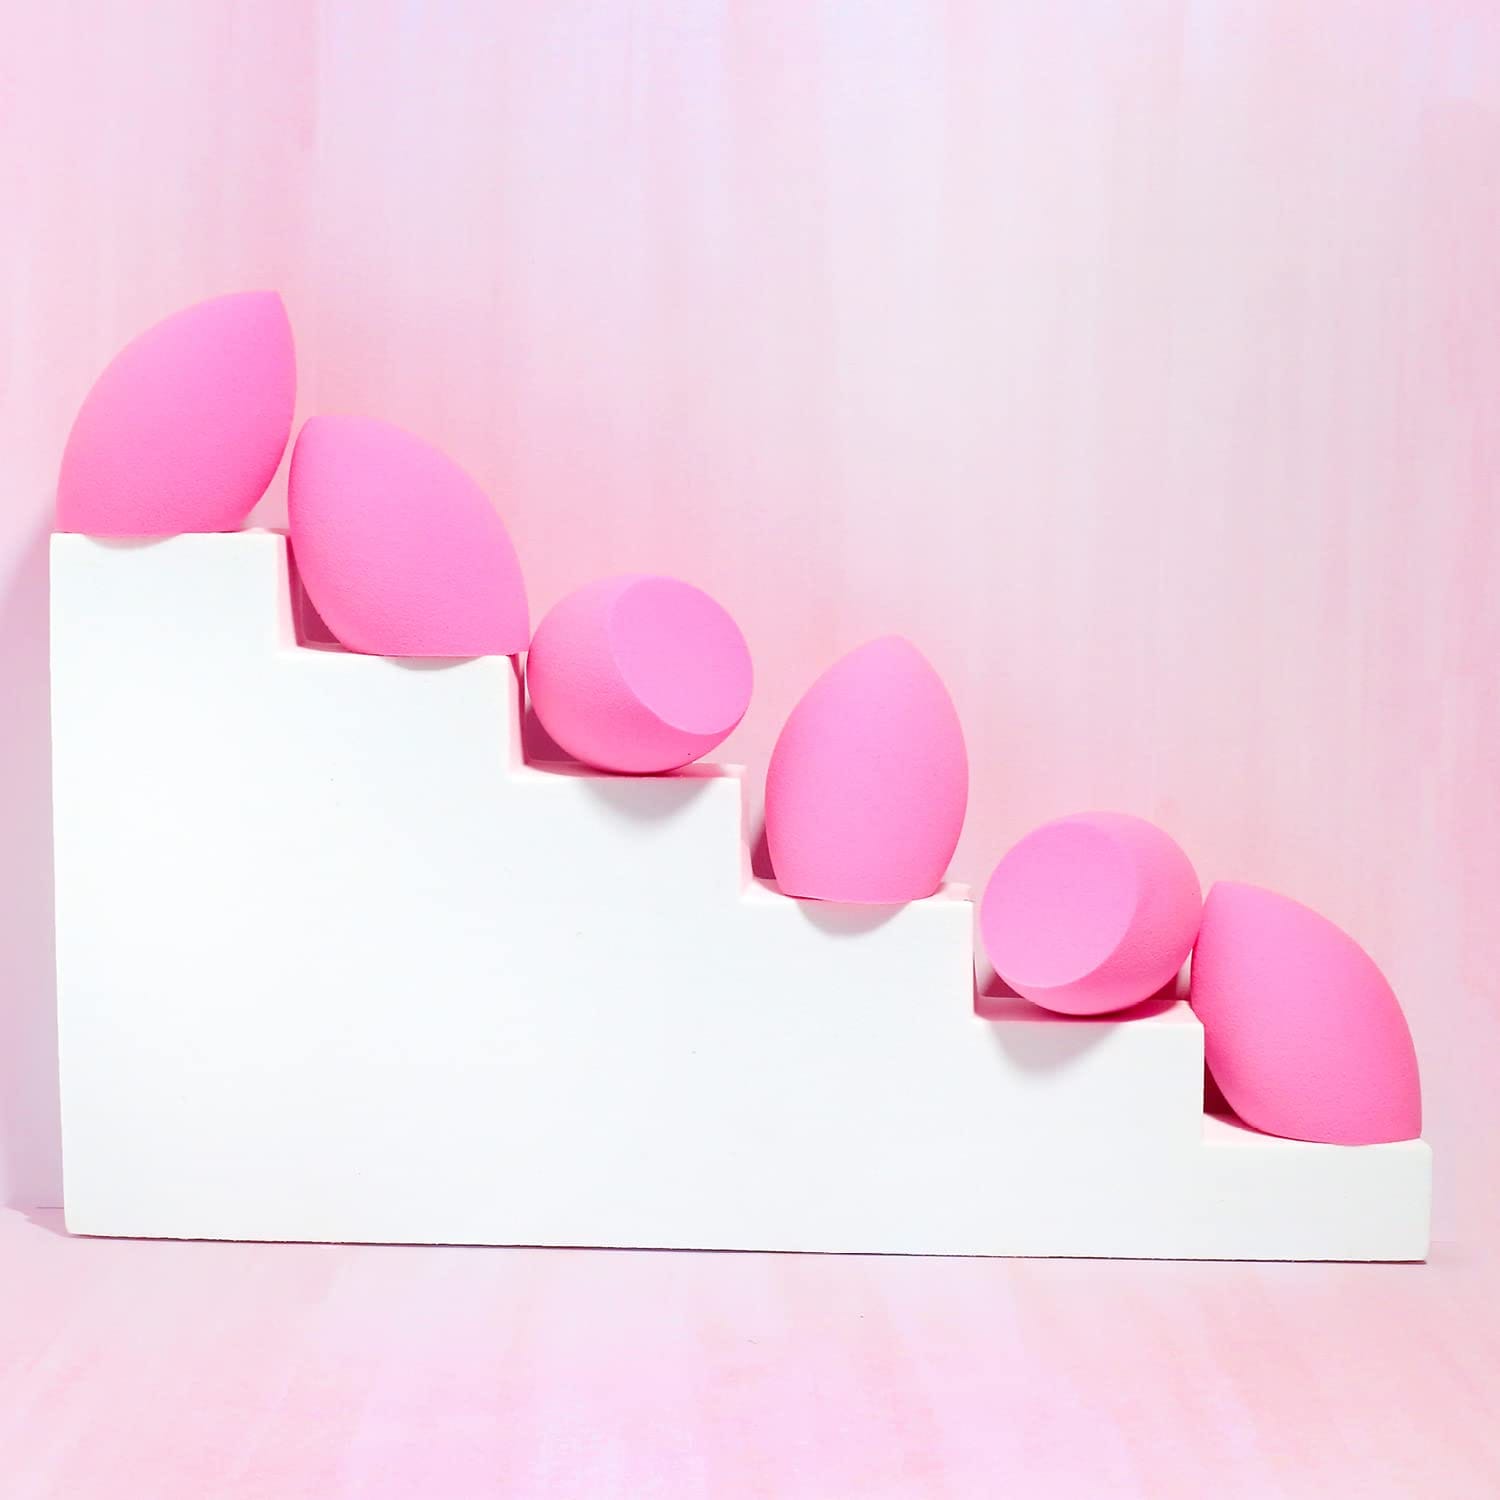
Shape Matters
Teardrop, flat-edged, hourglass —sponges come in all kinds of quirky shapes. The classic teardrop (think Beautyblender vibes) is a fan favorite for a reason: it’s versatile as heck. Flat-edged ones are clutch for baking or pressing powder, while mini sponges are perf for travel or spot concealing. Pick based on your routine—there’s no wrong answer!
Material Magic
Most foundation sponges are made from latex-free foam, which is soft, bouncy, and non-irritating. Some brands add antimicrobial coatings (fancy, right?) to keep things hygienic. If you’re eco-conscious, look for biodegradable options—your skin and the planet will thank you.
Budget vs. Splurge
You don’t need to break the bank for a killer makeup sponge. Drugstore picks can hold their own against high-end ones. That said, if you’re obsessed with a luxe feel, splurging on a premium brand might just make your heart sing.
Top Picks on Amazon
Real Techniques Miracle Complexion Sponge Affordable, bouncy, and oh-so-reliable. Perfect for beginners.


Beautyblender Original The OG that started it all. Pricey, but worth it for that flawless foundation glow.


EcoTools Perfecting Blender Duo Sustainable and budget-friendly—two sponges for the price of one!


Foundation Sponge Hacks You’ll Wish You Knew Sooner
Okay, buckle up—these tips are about to blow your mind. I’ve scoured X posts, beauty blogs, and my own trial-and-error to bring you some next-level hacks.
- Chill It: Pop your damp sponge in the fridge for 10 minutes before using. It feels amazing on puffy morning skin and locks in your base longer.
- Mix It Up: Blend foundation and skincare (like tinted moisturizer) with your sponge for a natural, hydrated look.
- Powder Play: Use a dry sponge to press setting powder into oily zones—bye-bye, shine!
Busting Myths About Makeup Sponges
I’ve heard some wild stuff about foundation sponges floating around, so let’s set the record straight.
“They Waste Product”
False! A damp sponge actually uses less foundation than a dry brush because it doesn’t soak it up—it spreads it. You’re saving money, babe.
“They’re Hard to Clean”
Nope. A little soap and water, and you’re good. Takes two minutes tops. Lazy girl approved!
“They’re All the Same”
Big nope. Quality varies—cheap ones can crumble, while top-tier ones last months. Invest in a good one, and you’ll feel the difference.
Wrapping It Up: Your Base Deserves a Foundation Sponge
So, there you have it—everything you need to know about why a foundation sponge is the ultimate shortcut to flawless skin. It’s fast, it’s fun, and it delivers that perfect base you’ve been chasing. From picking the right shape to mastering the bounce technique, you’re now armed with the know-how to slay your makeup routine. And with killer options waiting on Amazon, there’s no excuse not to try one out.
Trust me, your mirror’s about to become your new best friend. Got questions or fave sponge picks? Drop ‘em in the comments—I’d love to hear your thoughts!
