


Gorgeous! Let’s talk about something that’s probably on your mind if you’re into beauty: how to get that airbrushed, flawless makeup look without spending hours in front of the mirror. I’ve got you covered—application sponge makeup is the secret weapon you didn’t know you needed. Seriously, this little tool is a game-changer for blending foundation, concealer, and even blush like a pro. Whether you’re a makeup newbie or a seasoned glam guru, I’m here to spill all the tea on how to use it, why it works, and where to snag the best ones. Ready to glow? Let’s dive in!
Did you know that over 70% of makeup lovers swear by sponges for a streak-free finish? Yep, it’s not just hype—it’s science and a sprinkle of beauty magic. Stick with me, and I’ll show you how to make application sponge makeup your new BFF. Let’s get started!
- Why Application Sponge Makeup is a Must-Have in Your Beauty Kit
- How to Use Application Sponge Makeup Like a Pro
- Choosing the Best Makeup Sponge for You
- Insider Tips for Application Sponge Makeup Mastery
- Common Mistakes to Avoid with Application Sponge Makeup
- Why You’ll Never Go Back After Trying Sponge Makeup
- Bonus: Pairing Your Sponge with the Perfect Products
- Conclusion: Your Flawless Finish Awaits
Why Application Sponge Makeup is a Must-Have in Your Beauty Kit
Okay, picture this: you’re rushing out the door, foundation half-blended, and your brush is leaving those annoying streaks. Sound familiar? That’s where application sponge makeup swoops in to save the day. These little bouncy wonders aren’t just cute—they’re built to give you a smooth, even finish that brushes and fingers can’t always nail.
The Science Behind the Sponge
Sponges work because they’re porous. When damp, they soak up just enough product to prevent that cakey look, then bounce it onto your skin for a seamless blend. It’s like a mini trampoline for your makeup—fun, right? Plus, they’re super versatile. Foundation? Check. Cream contour? Yep. Even setting powder if you’re feeling fancy.
Sponge vs. Brush: The Showdown
I’ve tested both, and here’s the deal: brushes are great for precision, but sponges win for that natural, “I woke up like this” vibe. Brushes can leave lines if you’re not careful, while sponges diffuse everything into perfection. Don’t believe me? Try it yourself—I dare you!
How to Use Application Sponge Makeup Like a Pro
Alright, let’s get into the nitty-gritty. Using a makeup sponge isn’t rocket science, but there’s a knack to it. Here’s my step-by-step guide to slaying your look.
Step 1: Prep Your Sponge
First things first—wet it! Run your sponge under the tap until it’s soaked, then squeeze out the excess. It should feel damp, not dripping. This makes it expand (hello, extra bounce!) and stops it from drinking up all your pricey foundation.
Step 2: Apply Your Product
Dot your foundation, concealer, or whatever you’re using onto your face—cheeks, forehead, chin, nose. Less is more here; you can always build up. Then, grab your sponge and get ready to blend.
Step 3: Bounce, Don’t Swipe
Here’s the golden rule: don’t drag the sponge across your face. Bounce it—lightly tap, tap, tap. This presses the product into your skin instead of smearing it around. Start in the center and work outward for that flawless gradient.
Step 4: Tackle Tricky Spots
Got under-eye bags or a pesky pimple to cover? Use the pointed end of your sponge for precision. It’s like a tiny eraser for imperfections. Dab on some concealer, bounce it in, and boom—flawless.
Step 5: Set It and Forget It
Once you’re happy with your base, you can even use your sponge to dust on setting powder. Dampen it slightly less for this, and pat gently. Your makeup’s locked in for the day!
Choosing the Best Makeup Sponge for You
Not all sponges are created equal, fam. Let’s break down what to look for so you don’t waste your cash on a dud.
Shape Matters
- Teardrop: Perfect for all-over coverage and those hard-to-reach spots like around your nose.
- Flat-Edge: Ideal for contouring and baking (yep, sponges can do that too!).
- Wedge: Great for beginners—easy to grip and control.
Material Magic
Most sponges are latex-free these days (yay for sensitive skin!), but check the vibe. Some are denser for heavier coverage, while softer ones give a sheer, dewy finish. My fave? A squishy, medium-density one that feels like a marshmallow but works like a boss.
Top Picks to Shop Now
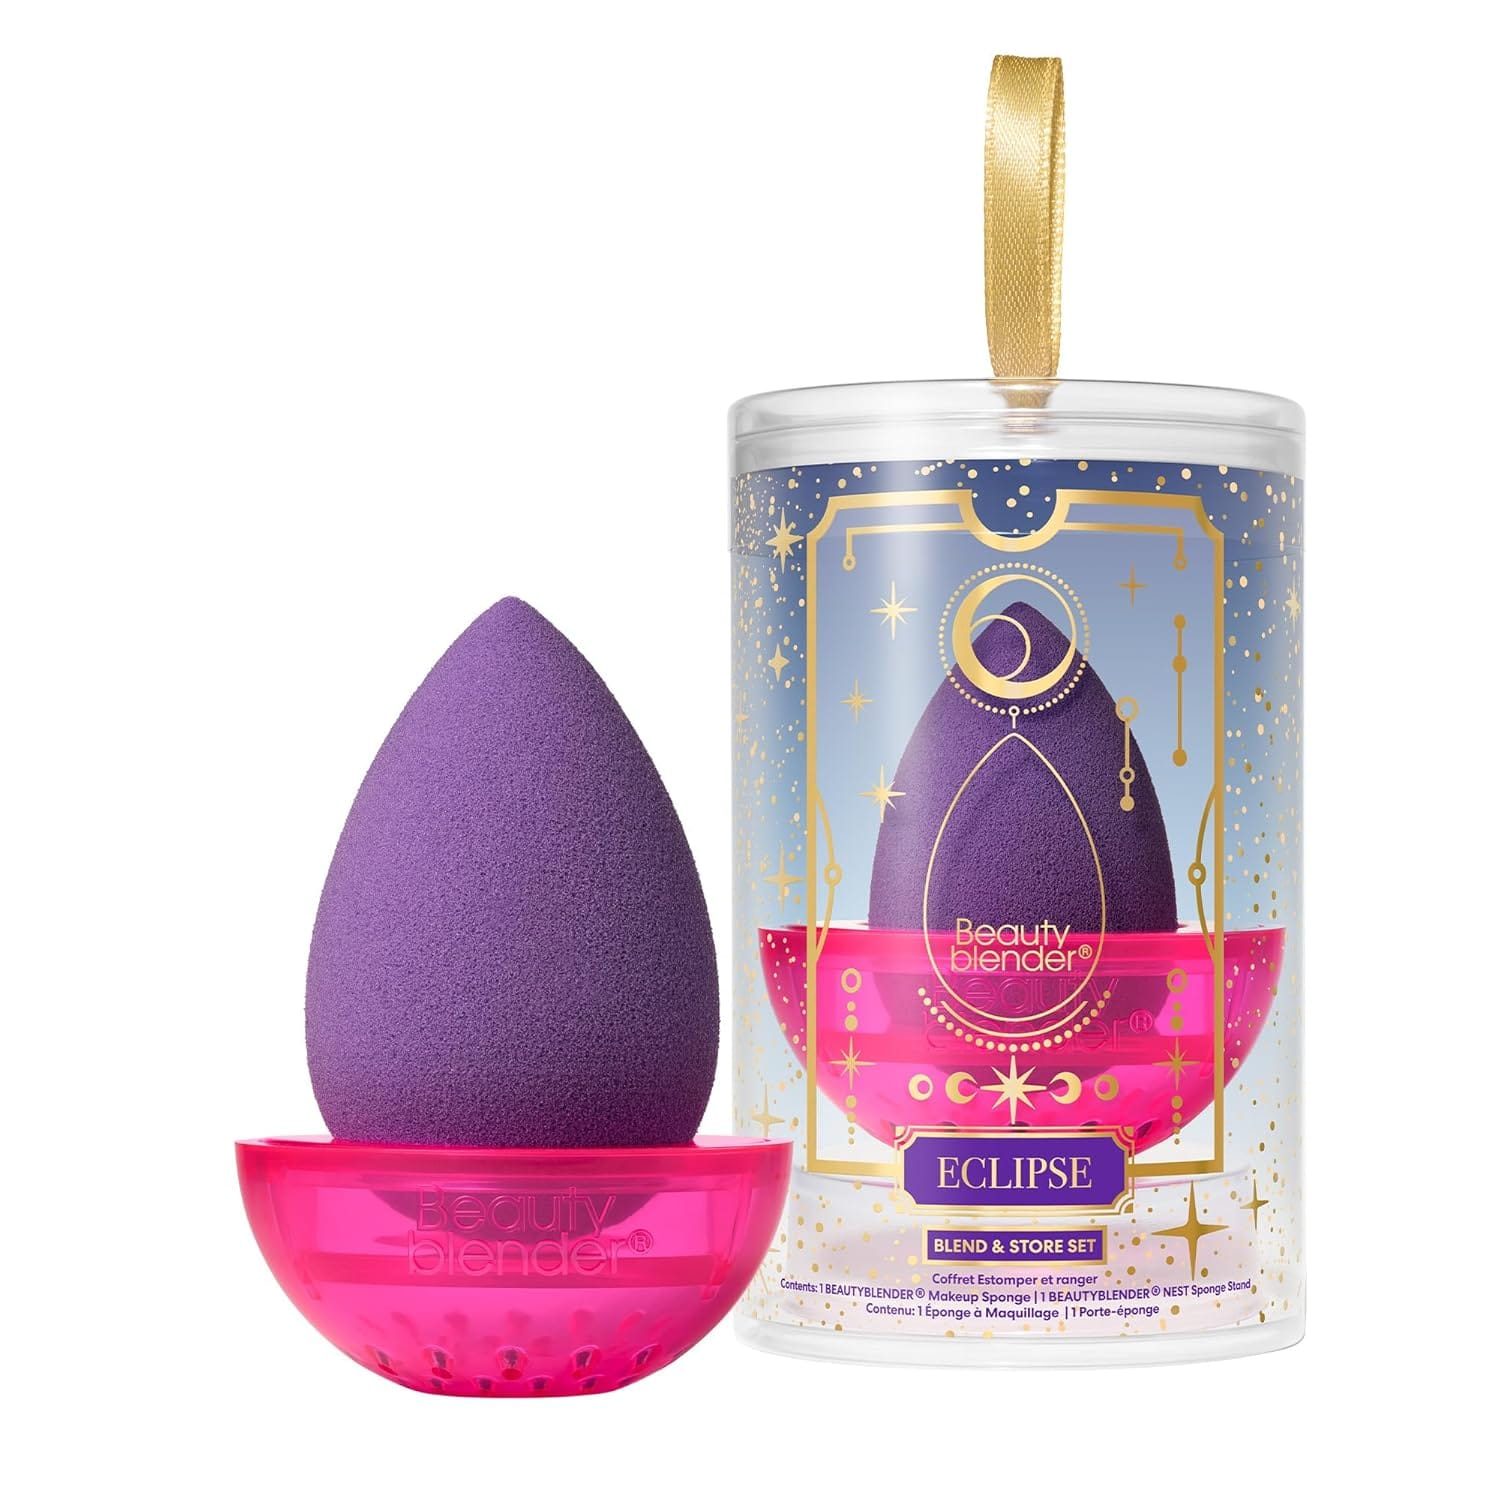
Beautyblender Original – The OG. Pricey, but worth it for that pro-level finish.


Real Techniques Miracle Sponge – Budget-friendly and blends like a dream. Available across all three Amazons too!


EcoTools Perfecting Blender – Sustainable and soft. Your skin and the planet will thank you. Check it out here.


Insider Tips for Application Sponge Makeup Mastery
I’ve been around the block with these babies, so here are some hacks I’ve picked up along the way.
- Clean It, Please! A dirty sponge is a breeding ground for bacteria. Wash it with soap and water after every use—or at least weekly if you’re lazy like me sometimes.
- Double Duty: Use it dry for thicker coverage on days when your skin’s acting up.
- Blush Hack: Cream blush + a damp sponge = the prettiest flush. Try it—I’m obsessed!
Oh, and here’s a little story: last week, I was running late for a brunch date. Spilled coffee on my shirt, mascara smudged—chaos. But my trusty sponge? Blended my foundation in under two minutes flat. Saved my vibe and my selfies. True story.
Common Mistakes to Avoid with Application Sponge Makeup
Look, we’ve all messed up at some point. Here’s what not to do so you don’t end up cursing your sponge.
- Skipping the Dampening: Dry sponges suck up product and leave you patchy. Always wet it first.
- Overloading Product: Too much foundation = cake city. Start light and build.
- Forgetting to Replace: Sponges wear out after 3-6 months. If it’s falling apart, toss it and treat yourself to a new one.
Why You’ll Never Go Back After Trying Sponge Makeup
Here’s the real talk: once you nail application sponge makeup, it’s hard to imagine life without it. It’s fast, foolproof, and gives you that filtered look IRL. Plus, it’s affordable—way cheaper than a fancy facial or pro makeup artist. I mean, who doesn’t want to look snatched for under $20?
Still on the fence? Think about this: your skin deserves to shine, and a sponge makes it effortless. No more streaky brushes or uneven hands. Just pure, bouncy perfection.
Bonus: Pairing Your Sponge with the Perfect Products
Sponges shine brightest with the right crew. Here’s what I’m loving lately:
- Liquid Foundation: Think dewy formulas like Fenty Beauty Pro Filt’r. Blends like butter.
- Cream Concealer: Tarte Shape Tape with a sponge? Undereye perfection.
- Blush Sticks: Milk Makeup’s sticks plus a sponge = rosy cheeks in seconds.
Check out more recs in my post on “Best Dewy Foundations for Spring” (#) or “Concealer Hacks You’ll Wish You Knew Sooner” (#). You’ll be obsessed!
Conclusion: Your Flawless Finish Awaits
So, there you have it—everything you need to rock application sponge makeup like a total pro. From picking the perfect sponge to blending your way to a flawless finish, you’re armed with the know-how to slay. It’s quick, it’s easy, and it’s about to transform your routine. Trust me, once you try it, you’ll wonder how you ever lived without it.
Your skin’s begging for it—and honestly, you deserve it. Got questions? Drop ‘em below—I’d love to chat more beauty tricks with you!
