


You’re getting ready for a big night out, foundation brush in hand, and no matter how hard you try, your makeup looks streaky. Frustrating, right? I’ve been there. Then I discovered the Beauty Blender, and let me tell you—it’s like a secret weapon for your makeup bag. This isn’t just another sponge; it’s the OG, the one that started it all. Whether you’re a makeup pro or someone who can barely tell concealer from contour, this little pink powerhouse can transform your routine. In this post, we’re breaking down 10 ways the Beauty Blender takes your makeup game to the next level—plus, where to snag one on Amazon.com, Amazon.co.uk, or Amazon.ca. Ready to say goodbye to cakey foundation and hello to a flawless finish? Let’s get started!
- The History of the Beauty Blender
- Why Choose the Beauty Blender?
- How to Use the Beauty Blender: Your Step-by-Step Guide
- 10 Ways the Beauty Blender Transforms Your Routine
- Different Types of Beauty Blenders
- Customer Testimonials: Real People, Real Results
- Caring for Your Beauty Blender
- Common Mistakes to Avoid
- Beauty Blender vs. Other Applicators
- Beauty Blender for Different Skin Types
- Conclusion: Your Flawless Future Awaits
The History of the Beauty Blender
So, where did this makeup marvel come from? The Beauty Blender was dreamed up by Rea Ann Silva, a Hollywood makeup artist who needed a tool that could keep up with the demands of film sets. Back in the early 2000s, she created this egg-shaped sponge to blend makeup seamlessly—think airbrushed perfection without the airbrush. Since then, it’s racked up awards (like multiple Allure Best of Beauty nods) and become a staple for beauty lovers everywhere. It’s not just hype; it’s history in the making. And now, it’s ready to work its magic for you.
Why Choose the Beauty Blender?
Okay, but why pick this over a brush or some random drugstore sponge? Here’s the deal: the Beauty Blender isn’t just about slapping on makeup—it’s about making it look effortless. Its unique design and material set it apart, and trust me, once you try it, there’s no going back.
Benefits Over Other Applicators
- No Streaks, Ever: Brushes can leave lines, and cheap sponges? They soak up half your foundation. The Beauty Blender blends like a dream—no streaks, no fuss.
- Saves Product: Its special material grabs water, not your pricey makeup, so you use less and get more coverage.
- Versatility: Foundation, concealer, blush—you name it, this sponge can handle it.
Unique Features That Shine
That iconic teardrop shape? It’s not just cute—it’s genius. The pointed end gets into tricky spots like under your eyes or around your nose, while the round bottom tackles bigger areas like your cheeks. Plus, it’s made from a latex-free, bouncy material that feels luxe and works for sensitive skin. Pretty cool, huh?
How to Use the Beauty Blender: Your Step-by-Step Guide
New to the Beauty Blender? Don’t worry—I’ve got your back. Here’s how to use it like a pro (and yes, it’s easier than it looks):
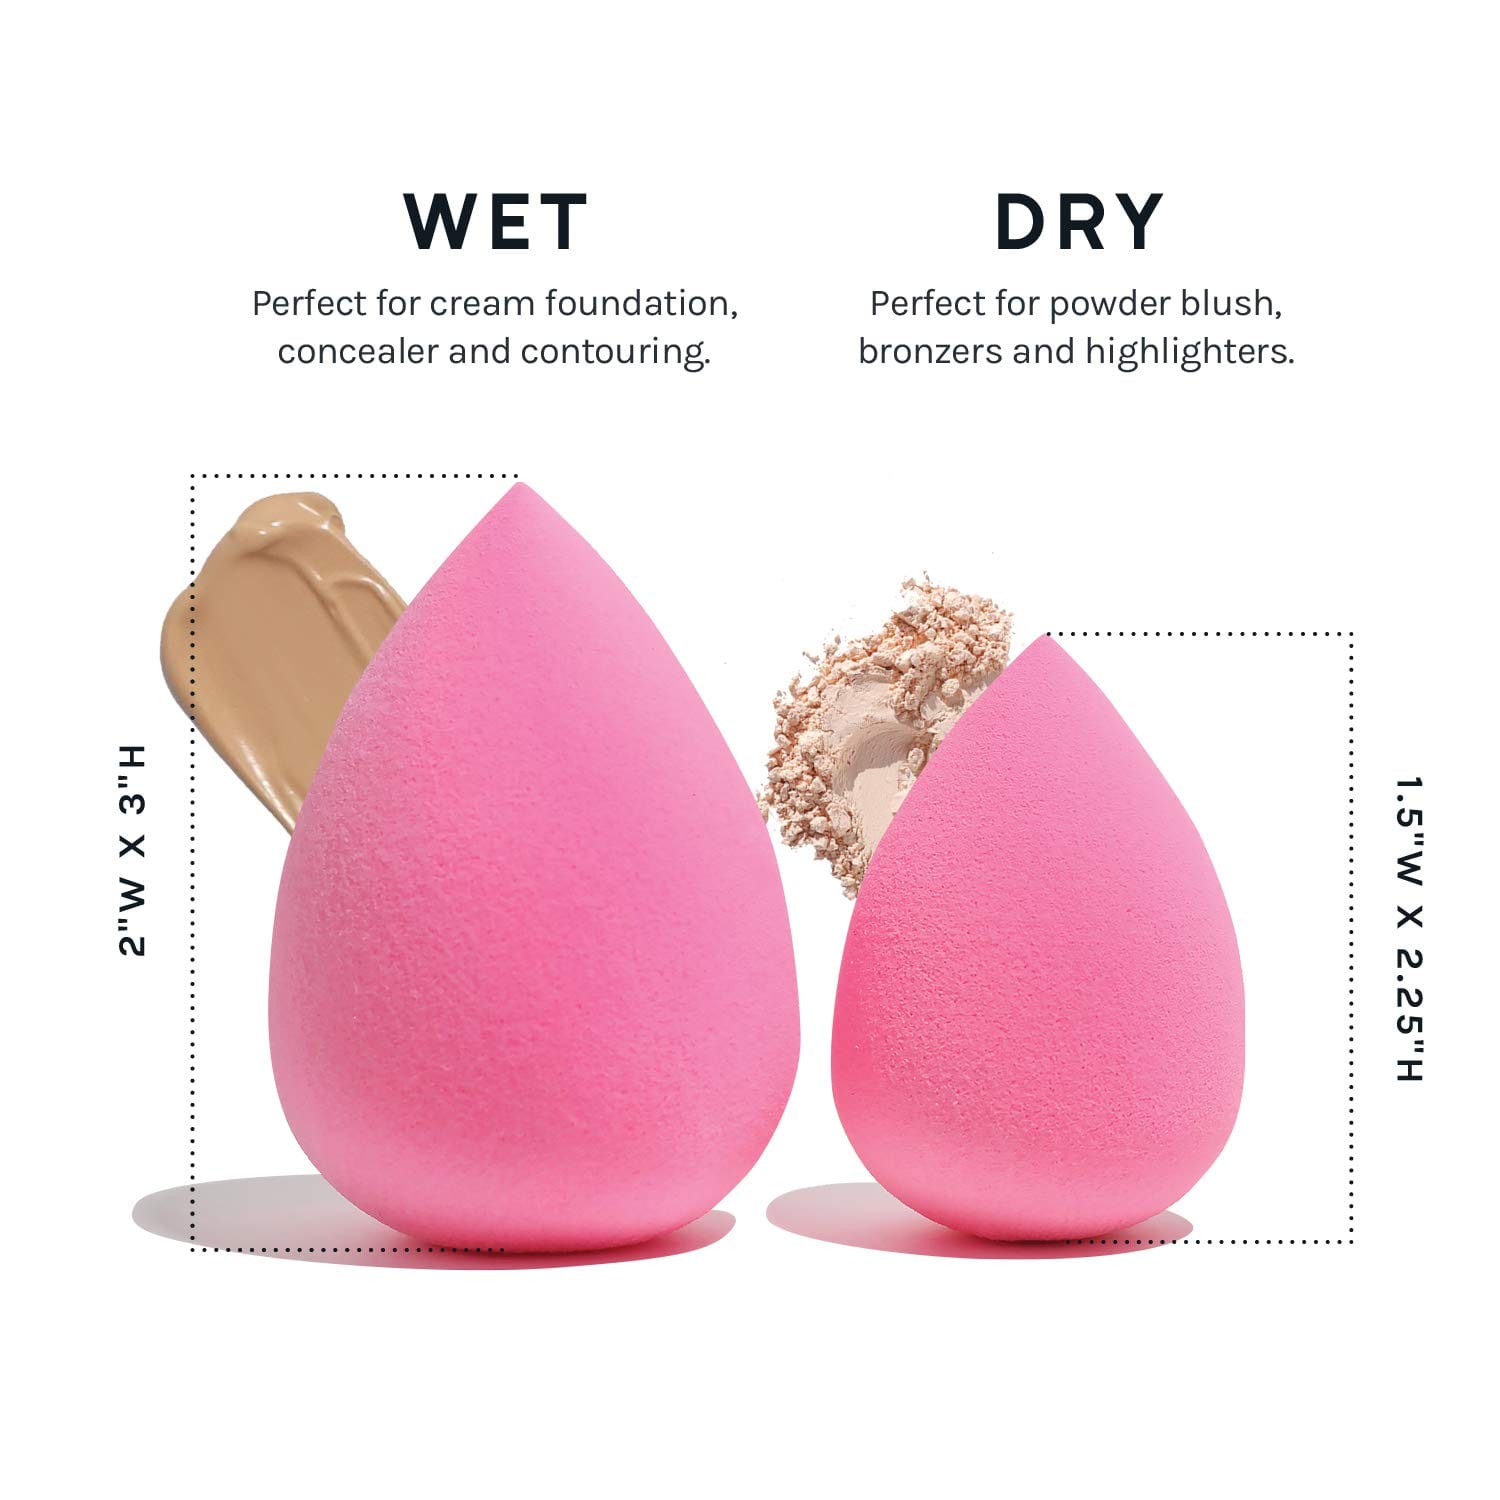
- Dampen It: Run your Beauty Blender under water and squeeze out the excess. It should feel soft and slightly wet—not dripping.
- Add Product: Dab a little foundation or concealer onto the sponge or straight onto your face.
- Bounce, Don’t Drag: Use a gentle bouncing motion to blend. No swiping—that’s the secret to that airbrushed vibe.
- Build It Up: Start light and add more as needed. The Beauty Blender layers like a champ.
- Clean Up: Use the tip for precision spots like blemishes or inner corners.
Pro Tip: Want a dewy finish? Keep it a little wetter. Going for matte? Squeeze it out more. I tried it both ways, and honestly, it’s like having two tools in one!
10 Ways the Beauty Blender Transforms Your Routine
Here’s the fun part—10 reasons this sponge deserves a spot in your makeup kit. Each one’s a game-changer, so stick with me!
1. Seamless Foundation Application
Say goodbye to patchy foundation. The Beauty Blender blends it into your skin so well, you’ll wonder how you ever lived without it. My first time using it, I couldn’t stop staring at my reflection—it was that smooth.
2. Effortless Contouring
Contouring can feel intimidating, but the pointed end makes it a breeze. Dab on your cream contour, bounce it out, and boom—cheekbones for days.
3. Perfect for Baking
Love that baked-under-eye look? Wet your Beauty Blender, press in some powder, and let it sit. Wipe off the excess, and you’re left with a flawless finish.
4. Skincare Bonus
Here’s a hack: use it to apply moisturizer or serum. It blends them in evenly, and your skin drinks it up. I tried this with my night cream—total game-changer.
5. Concealer That Doesn’t Crease
Under-eye bags? The Beauty Blender smooths concealer without settling into fine lines. It’s like an Instagram filter IRL.
6. Cream Blush Made Easy
Ditch the brush—dab some cream blush onto the sponge and bounce it onto your cheeks. It looks natural, not clownish.
7. Highlight Like a Pro
Want that glowy look? Blend highlighter with the Beauty Blender for a soft, radiant finish. No harsh lines here!
8. Self-Tanner Trick
Yes, really! Use it to blend self-tanner on your face for a streak-free tan. I was skeptical, but it worked like magic.
9. Powder Precision
Set your makeup with a light dusting of powder via the sponge. It keeps everything in place without looking cakey.
10. Travel-Friendly
It’s small, reusable, and doesn’t need batteries or fancy storage. Toss it in your bag and go—your makeup’s covered.
Different Types of Beauty Blenders
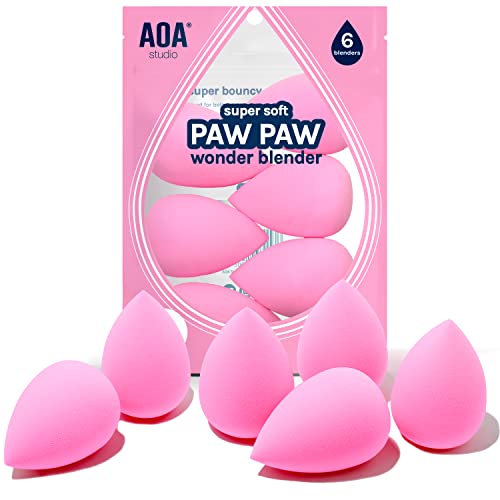
Not all Beauty Blenders are the same, and that’s a good thing! Here’s a quick rundown of the lineup—pick the one that fits your vibe:
- Original Beauty Blender: The classic pink sponge for all-around use.
- Beauty Blender Pro: Black and bold, made for pros or darker products. Get it here.
- Beauty Blender Mini: Tiny but mighty, perfect for small areas. Grab yours now.
Each one’s a star—check them out and see which calls your name!
Customer Testimonials: Real People, Real Results
Don’t just take my word for it—here’s what some Beauty Blender fans are saying:
- “I was skeptical, but this sponge is worth every penny. My foundation has never looked better!” —Sarah, 28
- “It’s so easy to use, even for a beginner like me. I’m obsessed!” —Jade, 22
- “I’ve tried knockoffs, but the original Beauty Blender is unbeatable.” —Lisa, 35
Sounds pretty convincing, right?
Caring for Your Beauty Blender
Want it to last? Treat it right. Here’s how:
- Clean It: After each use, wash it with warm water and a gentle soap (or their special cleanser). Squeeze out the gunk and let it air dry.
- Store It: Keep it in a clean, dry spot—not your damp bathroom counter.
- Replace It: Every 3-4 months, swap it out for a fresh one to keep things hygienic.
I forgot to clean mine once, and let’s just say it wasn’t pretty. Lesson learned!
Common Mistakes to Avoid
New tools come with a learning curve. Dodge these slip-ups:
- Using It Dry: Always dampen it first—dry sponges soak up too much product.
- Dragging It: Bounce, don’t swipe, or you’ll ruin the finish.
- Skipping Cleaning: Bacteria loves dirty sponges. Wash it regularly.
Beauty Blender vs. Other Applicators
Brushes? Sponges? Here’s why the Beauty Blender wins:
- Vs. Brushes: Brushes can leave bristles behind; the Beauty Blender is smooth and seamless.
- Vs. Cheap Sponges: Knockoffs absorb product and fall apart. The OG lasts longer and performs better.
It’s not even a contest—my old brush is collecting dust now.
Beauty Blender for Different Skin Types
No matter your skin, this sponge has you covered:
- Oily Skin: Blends foundation without adding shine—pair it with a matte formula.
- Dry Skin: Dampen it for a dewy boost that hydrates as it blends.
- Sensitive Skin: Latex-free and gentle, it won’t irritate.
I’ve got combo skin, and it’s been a lifesaver for balancing my T-zone.
Best of the Best Beauty Blender


Conclusion: Your Flawless Future Awaits
So, there you have it—10 ways the Beauty Blender can revolutionize your makeup routine. From seamless foundation to unexpected hacks like self-tanner blending, this little sponge is more than a tool; it’s a must-have. I’ll admit, I was a skeptic at first—another gimmick, right? But after one use, I was hooked. It’s easy, versatile, and delivers that flawless look we all crave.
