


If you’re reading this, you’re probably on a mission to nail that perfect, airbrushed makeup look—the kind that makes people wonder if you just rolled out of bed looking that good. Well, guess what? I’ve got the ultimate secret weapon for you: the Beauty Blender. This isn’t just any makeup sponge; it’s the holy grail of beauty tools that’s been transforming faces (and mornings) worldwide.
Picture this: no more streaky foundation, no more cakey patches—just smooth, flawless skin that looks effortlessly natural. Sounds dreamy, right? Whether you’re a makeup newbie or a seasoned pro, the Beauty Blender is about to become your new BFF. In this post, I’m spilling all the tea—why it’s a must-have, how to use it like a pro, and where to snag one for yourself. Trust me, by the end, you’ll be itching to add this little gem to your cart. Let’s get into it!
- Best Of The Best Makeup Blender
- What is a Beauty Blender?
- Why Use a Beauty Blender?
- How to Use a Beauty Blender Like a Pro
- Quick Tips:
- Tips for Getting the Most Out of Your Beauty Blender
- Different Types of Beauty Blenders: Find Your Perfect Match
- Beauty Blender vs. Other Sponges: Why It’s the Real Deal
- Cleaning and Caring for Your Beauty Blender
- Common Mistakes to Avoid with Your Beauty Blender
- FAQs About the Beauty Blender
- Conclusion: Your Makeup Routine Needs a Beauty Blender
Best Of The Best Makeup Blender


What is a Beauty Blender?
Okay, let’s start with the basics. What is a Beauty Blender, anyway? It’s not your grandma’s makeup sponge—oh no, this one’s next-level. Shaped like a teardrop, it’s got a pointy end for precision and a rounded bottom for covering bigger areas. Think under your eyes, around your nose, or across your cheeks—it’s designed to hit every contour of your face like a dream.
But here’s what really sets it apart: the material. The Beauty Blender is made from this super-soft, latex-free foam that feels almost bouncy. When you dampen it (and trust me, you’ll want to), it puffs up and gets even softer, blending your makeup so seamlessly it’s like it melts into your skin. Plus, it’s smart—it soaks up water, not your precious foundation, so you’re not wasting half your bottle.
I’ll never forget the first time I used one. I was skeptical—another beauty tool to clutter my drawer? But one swipe, and I was hooked. My foundation looked smoother than ever, like I’d hired a pro to do my makeup. If you’ve been battling brushes or those flat, flimsy sponges, this is your game-changer.
Why Use a Beauty Blender?
Now, you might be wondering, “Do I really need another tool? I’ve got brushes, sponges, my fingers—what’s the big deal?” Fair question. But hear me out—the Beauty Blender isn’t just another gadget; it’s a total upgrade. Here’s why it’s worth the hype:
- Flawless Finish: It gives you that airbrushed look—smooth, even, and natural. No streaks, no harsh lines, just perfection.
- Versatility: Foundation? Check. Concealer? Yup. Contour, blush, even setting powder? You bet. It’s the Swiss Army knife of makeup tools.
- So Easy: No fancy skills needed. Dampen it, squeeze it, bounce it—boom, you’re done. Even if you’re a beginner, you’ll look like a pro.
- Saves Product: Because it absorbs water instead of makeup, you use less of your fave products. More bang for your buck!
I’ve tried it all—brushes that leave bristles on my face, fingers that smudge everything, cheap sponges that fall apart. Nothing compares. The Beauty Blender blends like a dream and cuts my makeup time in half. Honestly, your mornings deserve this kind of magic.
How to Use a Beauty Blender Like a Pro
Ready to give it a whirl? Using a Beauty Blender is a breeze, but there’s a knack to getting that flawless finish. Here’s your step-by-step guide:
- Dampen It: Run your Beauty Blender under water and squeeze out the excess. It should feel damp, not dripping. This is key—it keeps the sponge from drinking up your makeup.
- Add Makeup: Dab a little foundation, concealer, or whatever you’re using onto your face—or onto the sponge itself. Start small; you can always layer more.
- Bounce Away: Use a bouncing motion (think stippling, not swiping) to blend the makeup into your skin. The pointed end is clutch for tight spots like under your eyes, while the round end tackles cheeks and forehead.
- Build It Up: Keep bouncing until everything’s blended. Need more coverage? Add a bit more product and repeat.
Quick Tips:
- For concealer, use the pointy tip for precision.
- For powder, dust it on lightly, then press it in with the sponge for a lasting finish.
I messed up once—forgot to dampen it and ended up with a streaky mess. Lesson learned: water is your friend here. Once you get the hang of it, it’s like second nature.
Tips for Getting the Most Out of Your Beauty Blender
Want to make your Beauty Blender work even harder for you? Here are some pro tricks I’ve picked up:
- Clean It Often: A grimy sponge is a no-go—it can mess up your makeup and your skin. Wash it after every use with a gentle soap or cleanser. Your face deserves a clean slate.
- Know When to Toss It: If it’s tearing or losing that bouncy feel (usually after 3-4 months), it’s time for a replacement. Don’t cling to it like an old fave sweater!
- Mix It Up: Don’t stop at foundation. Use it for cream blush, highlighter, or even to blend skincare for a dewy glow.
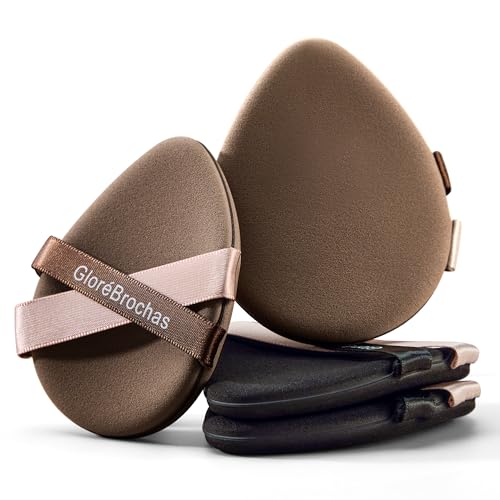
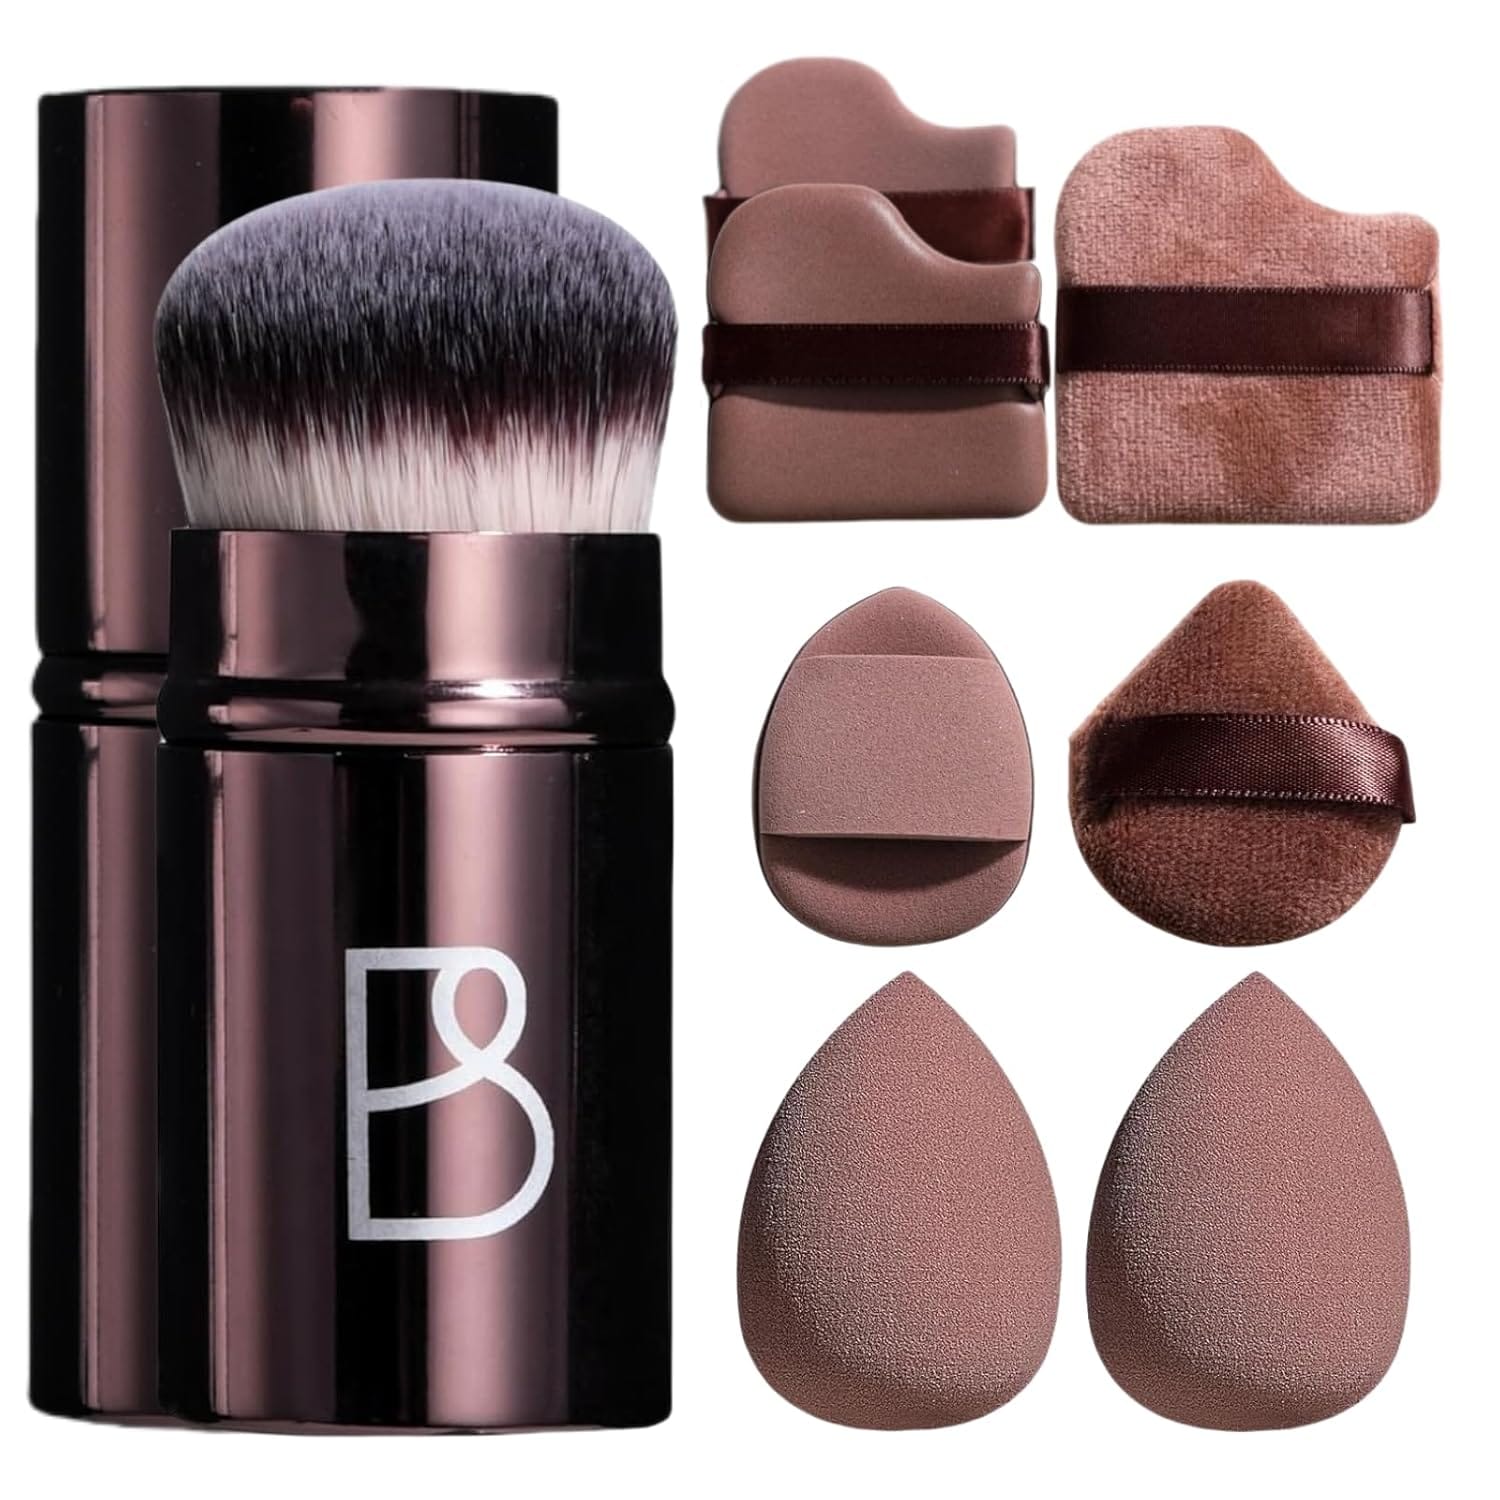
Different Types of Beauty Blenders: Find Your Perfect Match
Surprise—there’s not just one Beauty Blender! Depending on what you’re after, here’s the lineup:
- Original Beauty Blender: The classic. Perfect for everyday foundation and concealer vibes.
- Micro Mini Beauty Blender: Tiny but mighty—ideal for small areas like under-eye concealer or spot coverage.
- Body Blender: Love a faux tan? This bigger version blends self-tanner like a dream, no streaks allowed.
They all rock that same squishy, latex-free foam, so you’re golden no matter which one you pick. I’ve got the original and the micro mini—total lifesavers for my routine.
Beauty Blender vs. Other Sponges: Why It’s the Real Deal
Sure, you can grab a $2 sponge at the drugstore, but here’s why the Beauty Blender wins every time:
- Top-Notch Material: Hypoallergenic, latex-free, and crazy soft—it’s gentle on sensitive skin.
- Blending Power: That teardrop shape and bouncy texture? Unmatched. Other sponges leave you patchy; this one smooths it all out.
- Built to Last: With care, it outlives those cheapies that crumble after a week.
And bonus points: it’s eco-friendly! Reusable and durable, it’s way better than tossing disposable sponges into the trash pile. Worth the splurge, hands down.
Cleaning and Caring for Your Beauty Blender
Keeping your Beauty Blender fresh is non-negotiable. Here’s how to do it right:
- Wet It: Run it under warm water.
- Soap It Up: Use a mild cleanser—something gentle, nothing harsh.
- Work It: Massage the soap in, rinse ‘til the water’s clear.
- Dry It: Let it air dry completely—no damp sponges in your bag!
Skip the rough stuff; it’ll tear the foam. A clean Beauty Blender means better makeup and happier skin. I slack off sometimes, but trust me, it’s worth the five minutes.
Common Mistakes to Avoid with Your Beauty Blender
We’ve all had makeup fails—here’s how to dodge the big ones:
- Skipping the Damp Step: Dry sponge = disaster. Always wet it first.
- Overloading Product: Too much foundation at once? Cakey city. Start light, build up.
- Forgetting to Clean: Dirty sponges breed bacteria and ruin your look. Don’t sleep on this.
I’ve been guilty of all three at some point. Wetting it wrong, piling on too much—yep, I’ve learned the hard way so you don’t have to!
FAQs About the Beauty Blender
Got questions? I’ve got answers:
- Can I use it dry? Nope, damp is the way to go for smooth blending.
- How often should I replace it? Every 3-4 months—or sooner if it’s falling apart.
- What about powder? Totally! Press it in with the sponge for a flawless set.
Conclusion: Your Makeup Routine Needs a Beauty Blender
So, what’s the takeaway? The Beauty Blender is your ticket to smooth, flawless makeup—no filters required. It’s easy, versatile, and downright magical, turning your routine into something you’ll actually look forward to. From blending foundation like a pro to tackling contour with ease, this little sponge does it all.
