


Beauty lovers! Ever find yourself scrolling through Instagram, drooling over those radiant, flawless complexions, and wondering, How do they do it? Spoiler alert: it’s not always filters or a million-dollar skincare stash. Sometimes, it’s a little secret called face gua sha—a centuries-old technique that’s making a massive comeback. I’ll let you in on a personal tidbit: I stumbled across this gem a while back, and after a few sessions, my skin was like, “Hello, glow!” It’s simple, affordable, and—dare I say it—kind of fun. Ready to dive into the world of face gua sha and snag that luminous look for yourself? Let’s get started!
In this guide, we’re covering everything you need to know: what face gua sha is, why it’s worth your time, how to use it like a pro, and where to grab the best tools (hint: Amazon’s got you covered). Whether you’re a skincare newbie or a seasoned glow-chaser, there’s something here for you. So, grab a cozy drink, settle in, and let’s unlock radiant skin together!
What is Face Gua Sha?
Okay, let’s start with the basics. If you’re thinking, Gua what now?, don’t worry—I’ve got you. Face gua sha (pronounced “gwa sha”) is a traditional Chinese practice that’s all about using a smooth-edged tool to gently scrape your skin. Sounds intense, right? But hear me out—it’s not as wild as it sounds. On the face, it’s a soft, soothing massage that boosts circulation and leaves you looking fresh and awake.
A Quick History Lesson
Gua sha’s roots go way back in Chinese medicine, where it was originally used on the body to ease muscle pain and tension. Practitioners would scrape the skin—sometimes leaving temporary red marks—to get the blood flowing and kickstart healing. Fast forward to today, and face gua sha has evolved into a gentler, beauty-focused ritual. No red marks here—just pure, glowy goodness.
Face Gua Sha vs. Body Gua Sha
Here’s where it gets interesting. While body gua sha can be a bit more vigorous (think deep-tissue vibes), face gua sha is all about finesse. It’s lighter, slower, and designed to pamper your complexion rather than tackle knots. The result? A brighter, less puffy face that feels as good as it looks.
Benefits of Face Gua Sha
So, why should you care about face gua sha? Well, if you’re into skincare that delivers results without breaking the bank, this is your jam. I’ve been hooked ever since I noticed my under-eye bags shrinking after a late-night Netflix binge. Here’s what it can do for you:
- Boosts Circulation: That gentle scraping motion gets your blood moving, bringing oxygen and nutrients to your skin. Hello, natural flush!
- Reduces Puffiness: Say goodbye to that “I just woke up” bloat. It’s like a mini detox for your face.
- Enhances Skin Tone: Over time, you might notice a more even, radiant complexion. It’s subtle but oh-so-satisfying.
- Softens Fine Lines: Okay, it’s not a magic wrinkle eraser, but improved circulation can give your skin a firmer, plumper look.
- Relaxes You: Honestly, it’s like a mini spa session. After a stressful day, it’s my go-to wind-down trick.
The best part? You don’t need a fancy degree to see results. Just a little consistency and the right tool. Speaking of which, we’ll get to that soon—promise!
How to Use a Face Gua Sha Tool
Ready to give it a whirl? Using a gua sha facial tool is easier than you think. I’ll walk you through it step-by-step, so you can start glowing in no time. First, a pro tip: always use an oil or serum to help the tool glide. Dry skin and gua sha? Not a fun combo.
Your Step-by-Step Guide
- Prep Your Skin: Cleanse your face, then apply a few drops of your favorite facial oil or serum. I’m obsessed with rosehip oil—it’s lightweight and hydrating.
- Start at the Neck: Hold your gua sha tool at a 15- to 45-degree angle and gently sweep upward from the base of your neck to your jawline. This gets the lymph moving.
- Move to the Jawline: Use the curved edge to glide from your chin to your ear, following your jaw. Do 5–10 strokes per side.
- Cheeks: Sweep from the sides of your nose out toward your temples. Feel that tension melt away!
- Under Eyes: Super gentle here—use the smaller end to lightly glide from the inner corner of your eye to your temple. Bye-bye, puffiness!
- Forehead: Start between your brows and sweep up toward your hairline. Repeat across your forehead for a smooth finish.
How Often Should You Do It?
I aim for 3–5 times a week, usually at night while unwinding with a podcast. It takes about 5–10 minutes, and trust me, your skin will thank you. Too much pressure? Ease up—it’s not a race!
Oils to Pair With It
- Jojoba Oil: Mimics your skin’s natural oils—perfect for all types.
- Argan Oil: Lightweight and packed with antioxidants.
- Squalane: Silky smooth and non-greasy.
Experiment to find your fave—I switch mine up depending on how my skin’s feeling.
Choosing the Right Gua Sha Tool
Alright, here’s where the fun (and shopping!) begins. Picking a gua sha tool can feel overwhelming with all the options out there—jade, rose quartz, stainless steel, oh my! But don’t stress. It’s less about the “perfect” material and more about what feels right for you.
Materials 101
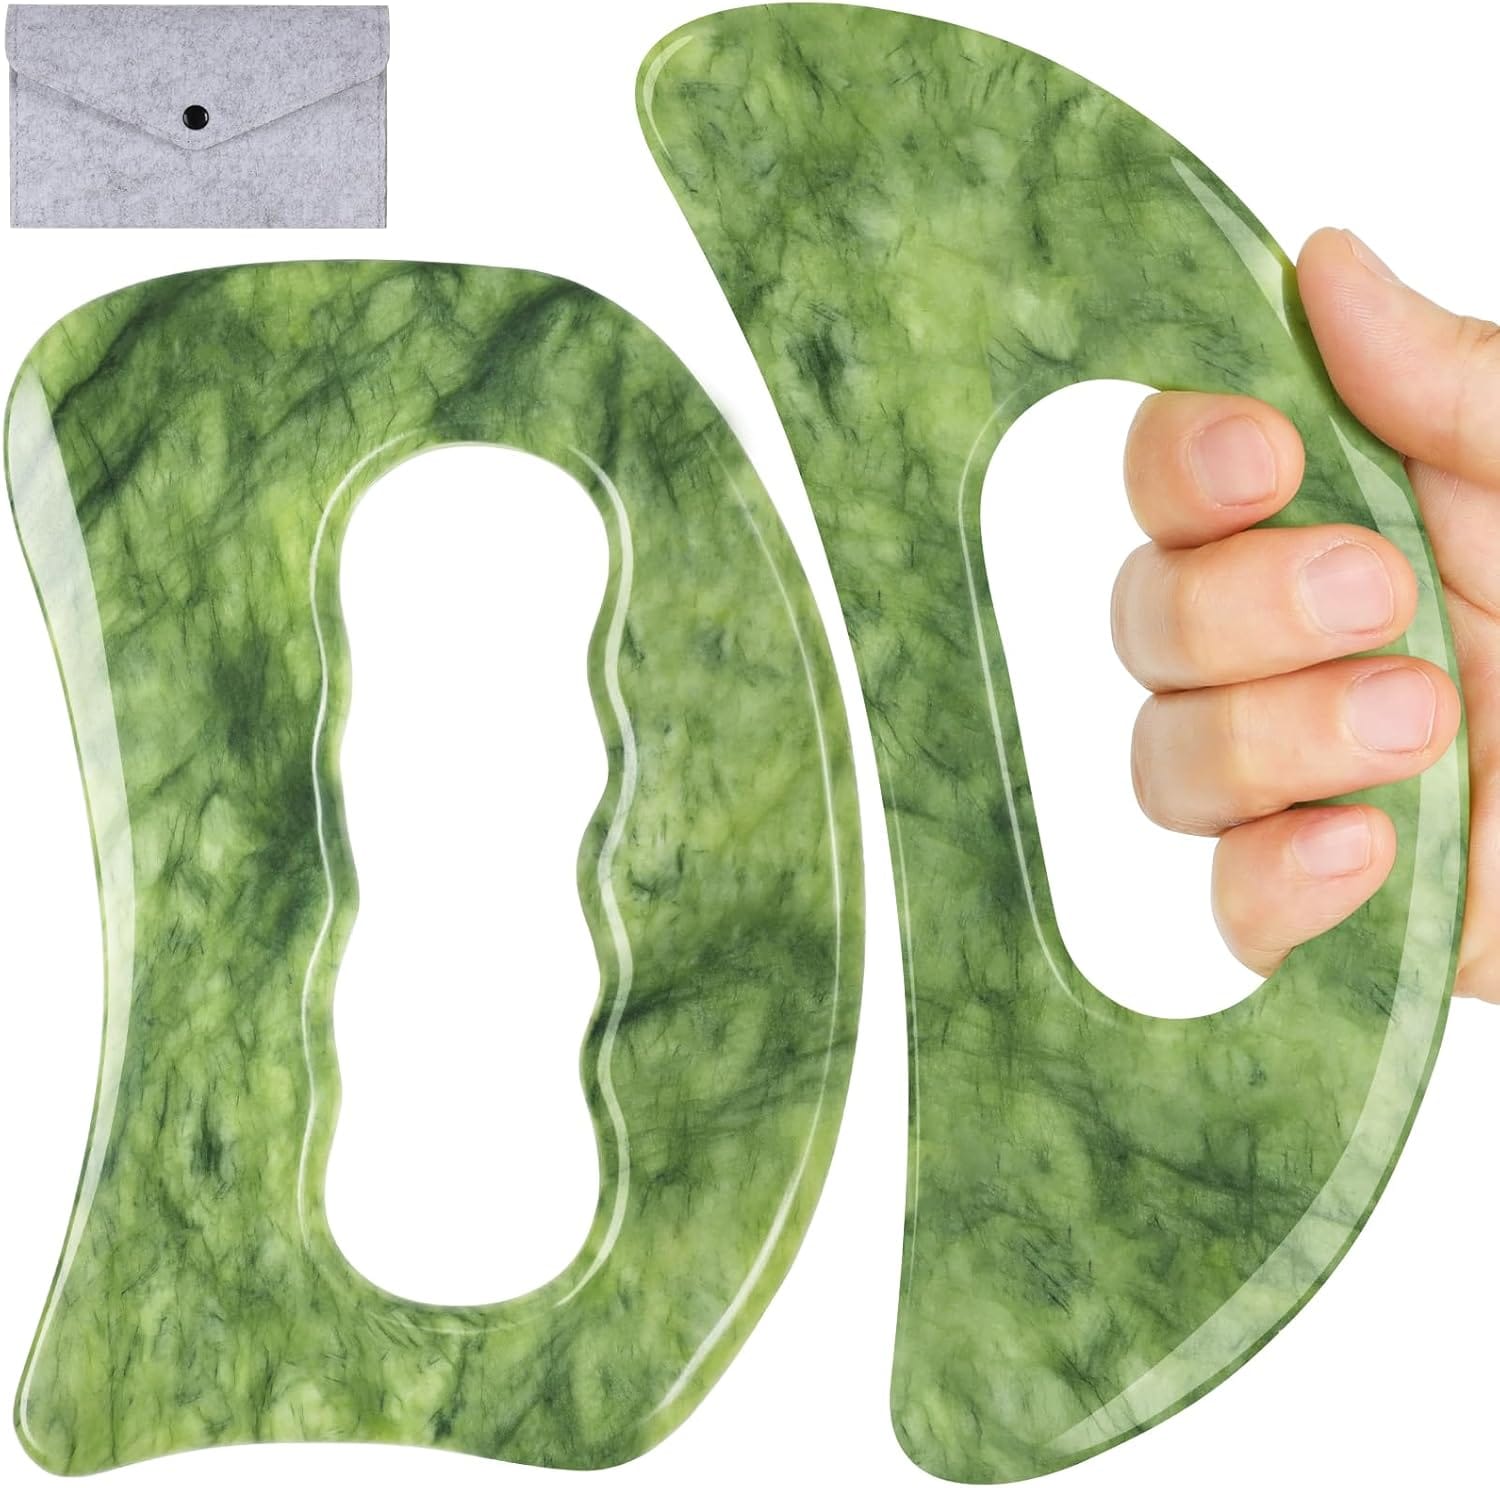
- Jade: The classic choice. It’s cool to the touch and said to bring balance. I love how it feels on warm days.
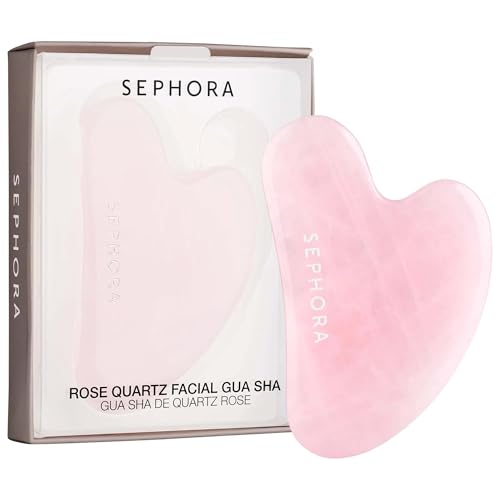
- Rose Quartz: Pretty in pink and tied to self-love vibes. It’s my go-to when I need a mood lift.
- Stainless Steel: Modern, durable, and easy to clean. Great if you’re prone to dropping things (guilty!).
Shapes and Sizes
Most tools have a curved edge for your jaw and cheeks, a notched side for smaller areas, and a flat bit for broad strokes. Pick one that fits your hand comfortably—ergonomics matter!
My Top Picks on Amazon
Ready to shop? Here are some best gua sha tools I’ve vetted (and drooled over):
EcoTools Jade Gua Sha Tool – Affordable and beginner-friendly. Smooth jade that feels luxe without the price tag.


Mount Lai Rose Quartz Gua Sha – Stunning and effective. It’s like jewelry for your skincare routine.


BAIMEI Stainless Steel Gua Sha – Sleek, cooling, and tough as nails. Perfect for a modern vibe.


Pro tip: Prices vary by region, so peek at all three sites to snag the best deal!
Tips and Common Mistakes
Let’s keep it real—face gua sha is simple, but there’s a knack to it. I’ve made my fair share of blunders (hello, overzealous scraping!), so here’s how to nail it:
Top Tips
- Go Light: Gentle pressure is your friend. You’re not sanding furniture!
- Clean Your Tool: A quick wipe with soap and water after each use keeps it bacteria-free.
- Stay Consistent: A few minutes a few times a week beats an hour once a month.
Mistakes to Dodge
- Too Hard, Too Fast: Pressing too much can irritate your skin. Slow and steady wins the glow race.
- Skipping Oil: Dry dragging? Ouch. Always lubricate.
- Using on Broken Skin: Acne or cuts? Skip those spots to avoid trouble.
Trust me, once you get the hang of it, it’s a breeze—and your mirror will prove it.
Jade Roller vs. Gua Sha: What’s the Deal?
You might be wondering, Isn’t a jade roller the same thing? Not quite! Both are fab for your face, but they’re like apples and oranges. A jade roller is great for quick de-puffing and feels amazing chilled. Gua sha, though, digs deeper—literally. It contours, lifts, and gives you more control. I use both, but gua sha’s my ride-or-die for sculpting my jawline. Curious? Try ‘em out and see what clicks for you!
Conclusion
So, there you have it—your ultimate guide to face gua sha. From its ancient roots to its modern glow-up powers, this little tool is a game-changer. Whether you’re battling puffiness, chasing radiance, or just craving some me-time, gua sha’s got your back (or, well, your face). I’ve seen it transform my skin from meh to marvelous, and I’m betting you’ll love it too.
