


You’re here because you want that flawless, airbrushed makeup look without the hassle, right? Imagine waking up, glancing in the mirror, and knowing you can pull off a pro-level finish in minutes. The secret? It’s not some fancy airbrush machine—it’s a humble makeup sponge. Yep, this little tool is about to become your new best friend.
Whether you’re rushing out the door or taking your time to pamper yourself, a makeup sponge can make your foundation look seamless, your concealer melt into your skin, and your whole vibe scream “I’ve got this.” In this post, I’m spilling all the tea—why makeup sponges are a game-changer, how to use them like a pro, and where to snag the best ones on Amazon (yep, I’ve got links for Amazon.com, Amazon.uk, and Amazon.ca ready for you). Let’s dive in and get you that airbrushed glow you’ve been dreaming of!
- What’s the Deal with Makeup Sponges?
- Why Pick a Makeup Sponge Over a Brush?
- How to Use a Makeup Sponge Like a Pro
- How to Pick the Perfect Makeup Sponge
- Top Makeup Sponges You Can Snag on Amazon
- Keep Your Makeup Sponge Fresh
- Don’t Trip Up: Common Sponge Mistakes to Dodge
- Wrap It Up: Your Airbrushed Look Awaits
What’s the Deal with Makeup Sponges?
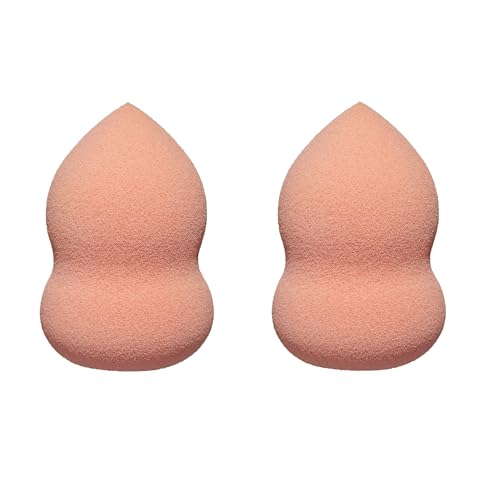
So, what exactly is a makeup sponge? Picture a soft, bouncy little tool designed to apply and blend your makeup into a smooth, even finish. It’s like the fairy godmother of your beauty routine—wave it around (okay, bounce it), and poof, you’ve got that airbrushed look everyone’s obsessed with.
Types of Makeup Sponges You Should Know About
Not all sponges are the same, and that’s a good thing because we’ve all got different needs. Here’s the rundown:
- Beauty Blender: The classic teardrop shape that started it all. Perfect for getting into every nook and cranny of your face.
- Wedge Sponges: Flat and triangular, these are clutch for precision—like under your eyes or around your nose.
- Silicone Sponges: These don’t soak up product, so they’re great if you’re all about saving every drop of that pricey foundation.
Most sponges are made from latex-free, hydrophilic polyurethane (say that three times fast!), which means they’re soft, expand when wet, and blend like a dream. Some even cater to specific skin types—oily, dry, sensitive, you name it. Cool, right?
Why Pick a Makeup Sponge Over a Brush?
Okay, I hear you—brushes are great for eyeshadow and blush, but why ditch them for foundation? Here’s why sponges steal the show:
- Flawless Finish: That bouncing motion? It presses makeup into your skin, not just on top, so you avoid streaks.
- Control Freak Approved: Want light coverage? Heavy? A sponge lets you build it up without looking like you’re wearing a mask.
- Budget Bonus: Wet it first, and it won’t guzzle your foundation like a thirsty brush.
If you’ve ever battled cakey makeup or brush marks, a sponge is your ticket to freedom. Your selfies are about to level up—trust me.
How to Use a Makeup Sponge Like a Pro
Now, let’s get to the fun part: how do you actually use this thing to look airbrushed? It’s not rocket science, but there’s a knack to it. Grab your sponge, and let’s go!
Your Step-by-Step Guide to Airbrushed Perfection
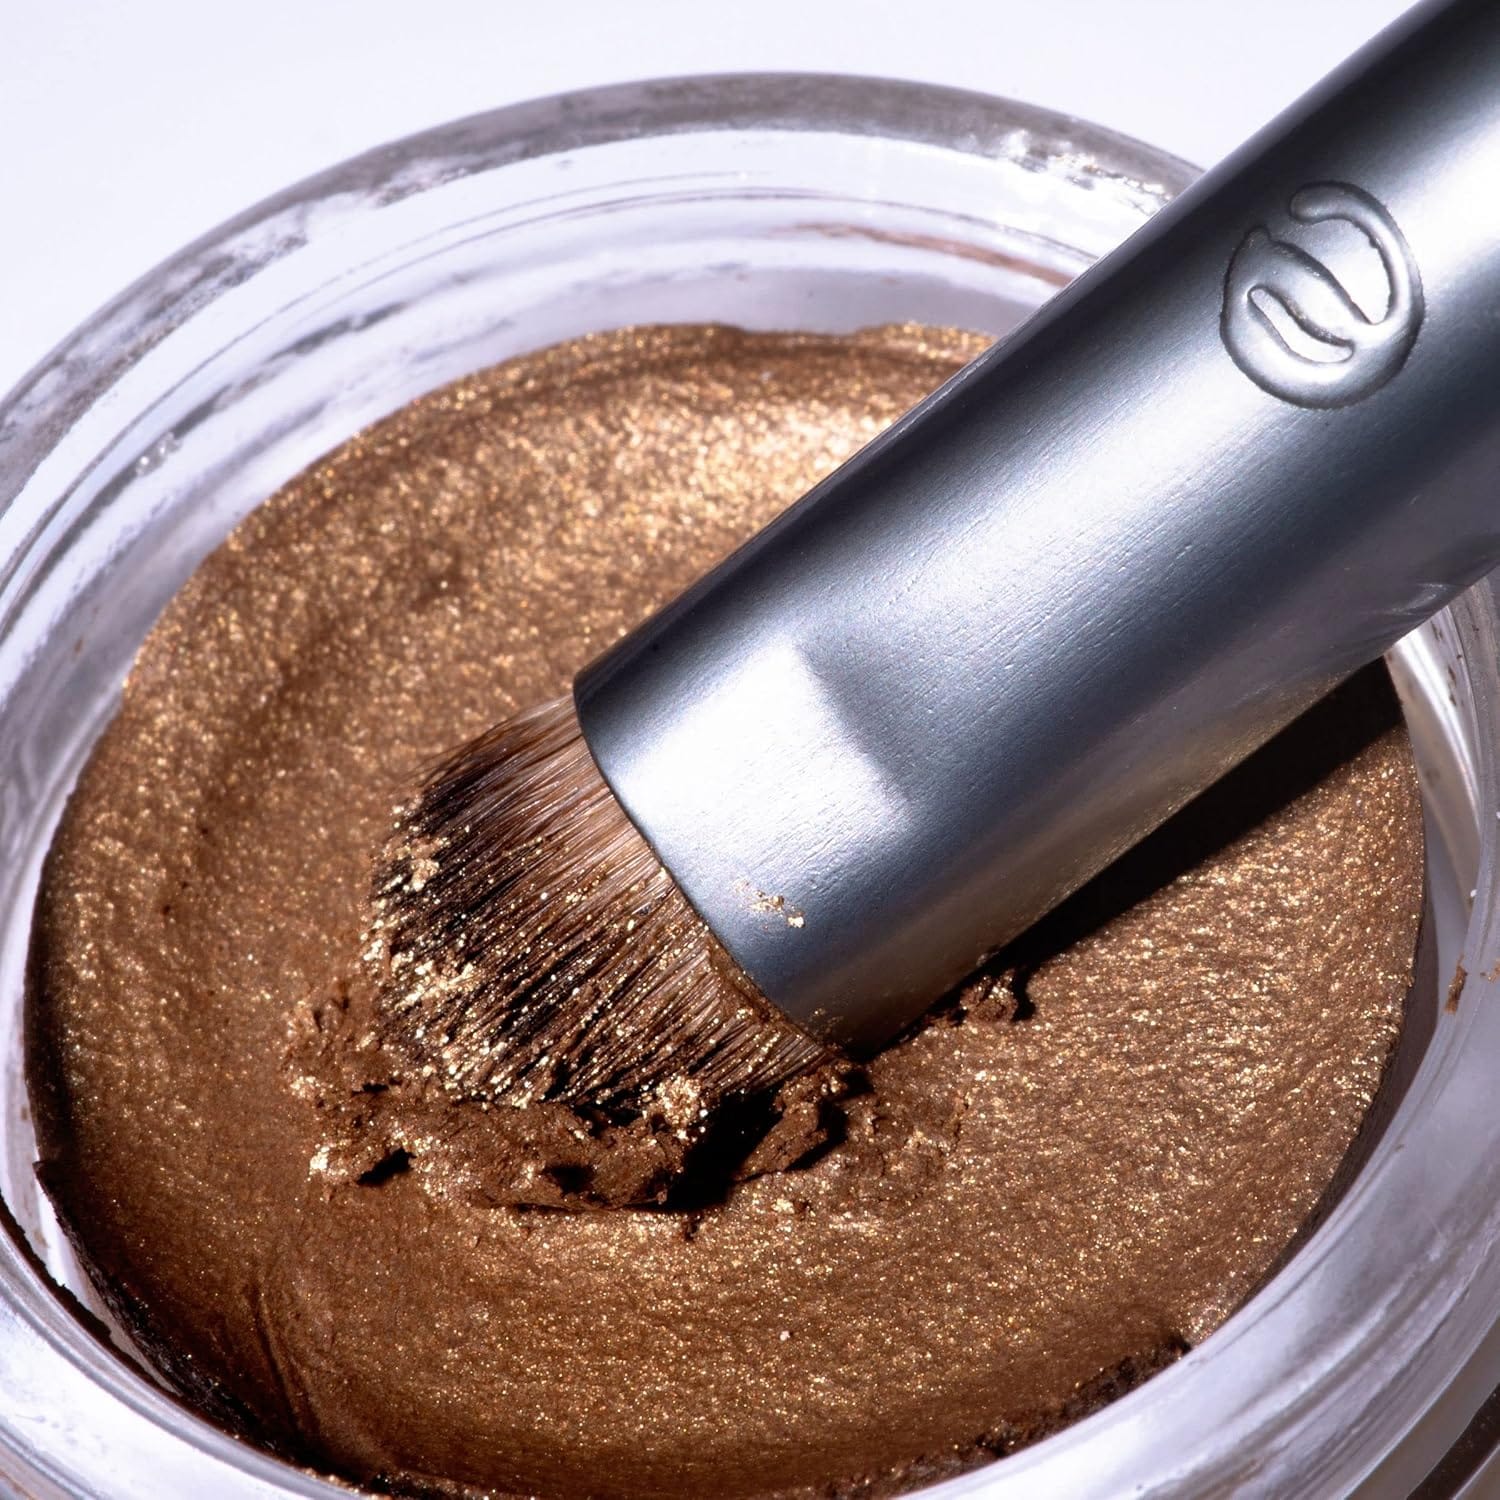
- Wet It: Run your sponge under water and squeeze out the extra. Damp is the magic word here—it keeps your makeup smooth and saves product.
- Dot It: Put little dots of foundation on your forehead, cheeks, chin, and nose. Less is more—you can always add.
- Bounce It: Use the fat end of the sponge to stipple (fancy word for bounce) the foundation into your skin. No swiping—think gentle taps.
- Blend It: Flip to the pointy end for tricky spots like under your eyes or along your jawline. Blend until it’s seamless.
- Set It (Optional): Dust on some powder with a fluffy brush if you want it to last all day.
Skin Type Hacks
- Oily Skin: Go for a firmer sponge to keep shine in check. Powder’s your friend here too.
- Dry Skin: Pair your sponge with a hydrating primer, and pick a super soft one to avoid flaking.
- Sensitive Skin: Stick to hypoallergenic, latex-free sponges. Your skin will thank you.
Real talk: I’ve had mornings where I’m half-asleep, spilling coffee, and still manage to look polished with a sponge. It’s that easy once you get the hang of it.
How to Pick the Perfect Makeup Sponge
Alright, you’re sold on the sponge life—but which one? With so many options, it’s like picking a candy bar at the checkout line. Here’s what to keep in mind:
What to Look For
- Shape: Teardrop for all-over coverage, flat edges for precision, mini sizes for concealer.
- Material: Latex-free is a must if you’re allergy-prone. Silicone’s awesome for zero waste.
- Size: Big for speed, small for detail.
- Price: You don’t need to splurge—there are gems at every budget.
Top Makeup Sponges You Can Snag on Amazon
Ready to shop? I’ve scouted the best sponges on Amazon.com, Amazon.uk, and Amazon.ca. Click the links below and treat yourself—you deserve it!
Real Techniques Miracle Complexion Sponge: Affordable, versatile, and a total workhorse.


Beautyblender Original: The gold standard. Pricey, but oh-so-worth-it.


EcoTools Perfecting Blender Duo: Two eco-friendly sponges for the price of one.


Juno & Co. Microfiber Velvet Sponge: Velvet texture for extra grip.


Prices vary by region, so peek at your local Amazon for the latest deals.
Keep Your Makeup Sponge Fresh
You wouldn’t wear the same sweaty gym clothes every day, right? Same deal with your sponge—it needs some TLC to stay fresh and keep your skin happy.
Cleaning 101
- Quick Rinse: After each use, rinse it with warm water and a dab of soap. Squeeze gently.
- Deep Clean: Weekly, soak it in soapy water for 30 minutes. Rinse until the water runs clear.
- Dry It Right: Let it air dry fully—don’t trap it in a bag or drawer while wet. Bacteria love that.
- Swap It Out: Replace it every 3-4 months. It’s like a toothbrush for your face.
A clean sponge means clear skin and better blending. Don’t sleep on this step!
Don’t Trip Up: Common Sponge Mistakes to Dodge
Even pros mess up sometimes, but you don’t have to. Here’s what to watch out for:
- Dry Sponge Drama: Using it dry soaks up product and leaves streaks. Wet it first!
- Overloading: Too much foundation = cakey city. Start small.
- Lazy Blending: Skimp on blending, and everyone will know. Take an extra minute.
- Wrong Match: A soft sponge on oily skin might not cut it—match it to your needs.
Skip these slip-ups, and you’re golden.
Wrap It Up: Your Airbrushed Look Awaits
There you go—everything you need to rock a makeup sponge and nail that airbrushed look. Pick the right one, bounce it like you mean it, and keep it clean. It’s that simple. Whether you’re Team Budget or ready to splurge, there’s a sponge out there calling your name.
So, what are you waiting for? Head to Amazon.com, Amazon.uk, or Amazon.ca and grab your perfect makeup sponge today. Your flawless skin is just a click away! Oh, and drop a comment below—have you tried any of these sponges? Which one’s your fave? I’m dying to know!
