


Beauty lover! Tired of streaky foundation or makeup that just won’t blend right? Let me let you in on a little secret: the Beauty Blender. This isn’t just any sponge—it’s the key to that flawless, airbrushed look you’ve been chasing. I remember the first time I swapped my old brush for one of these babies; it was like night and day. In this post, we’re diving deep into why the Beauty Blender (yep, I’m pretty sure “brauty blender” was a typo, so we’ll roll with the real deal) is a must-have in your Beauty & Personal Care arsenal. Whether you’re a newbie or a makeup maven, I’ve got you covered with tips, tricks, and where to snag the best ones on Amazon. Let’s get started—your skin’s about to thank you!
- What’s a Beauty Blender, Anyway?
- Why You Need a Beauty Blender in Your Life
- How to Pick the Perfect Beauty Blender
- How to Use a Beauty Blender Like a Pro
- Pro Tips for Every Product
- Even the best of us mess up. Here’s what to watch for:
- FAQ: Your Beauty Blender Queries, Answered
- Wrapping It Up: Your Beauty Blender Journey Starts Now
What’s a Beauty Blender, Anyway?
So, what exactly is this magical tool? A Beauty Blender is a teardrop-shaped makeup sponge that’s taken the beauty world by storm. It’s designed to apply and blend everything from foundation to concealer with a finish so smooth, you’d think it was Photoshopped. Created by makeup artist Rea Ann Silva, it’s been a game-changer since it hit the scene in 2003. I mean, who knew a little sponge could do so much?
Why You Need a Beauty Blender in Your Life
Okay, let’s talk about why this isn’t just hype. Here’s what makes the Beauty Blender stand out:
- Flawless Vibes: That bouncy, porous texture? It spreads makeup evenly—no streaks, no patches.
- Multi-Tasker: Use it with liquids, creams, powders, even skincare. Yep, it’s that versatile.
- Beginner-Friendly: No pro skills needed. A little practice, and you’re golden.
- Clean Freak Approved: Easier to wash than a brush, so your skin stays happy.
And if you’re still on the fence, let’s break it down compared to the old-school methods:
Beauty Blender vs. Brush vs. Fingers
- Beauty Blender: Airbrushed perfection, especially for liquids and creams.
- Brush: Precise, sure, but it can leave lines if you’re not careful. Better for powders.
- Fingers: Quick and free, but messy and not exactly hygienic.
Trust me, I’ve tried them all, and nothing beats the Beauty Blender for that “I woke up like this” glow.
How to Pick the Perfect Beauty Blender
Alright, you’re sold—but which one do you grab? Here’s what to think about:
- Size Matters: The original is great for full-face coverage; minis are your go-to for tight spots like under the eyes.
- Shape Game: Classic egg shape works for most, but flat-edged or pointed ones can nail contouring or precision.
- Material Check: Sensitive skin? Go latex-free. The OG Beauty Blender’s foam is top-notch.
Top Picks to Consider
- Beauty Blender Original: The pink icon everyone loves.
- Beauty Blender Pro: Black, bold, and a fave for heavy-duty makeup.
- Real Techniques Miracle Complexion Sponge: A wallet-friendly dupe that holds its own.
I started with the original, and honestly? It’s still my ride-or-die.
How to Use a Beauty Blender Like a Pro
Ready to get hands-on? Here’s your foolproof guide:
- Wet It: Run it under water, squeeze out the extra. Damp is the goal—not dripping.
- Load Up: Dab it into your foundation, concealer, whatever you’re working with.
- Bounce, Don’t Swipe: Use a stippling motion to blend. Dragging’s a no-no—streaks galore.
- Detail Work: Flip to the pointed end for tricky spots like around your nose.
Pro Tips for Every Product
- Foundation: Broad side for cheeks, tip for crevices.
- Concealer: Minis are clutch for under-eye brightening.
- Powder: Dry sponge, light touch—perfect for setting.
First time I used it, I was hooked. That seamless finish? Chef’s kiss.
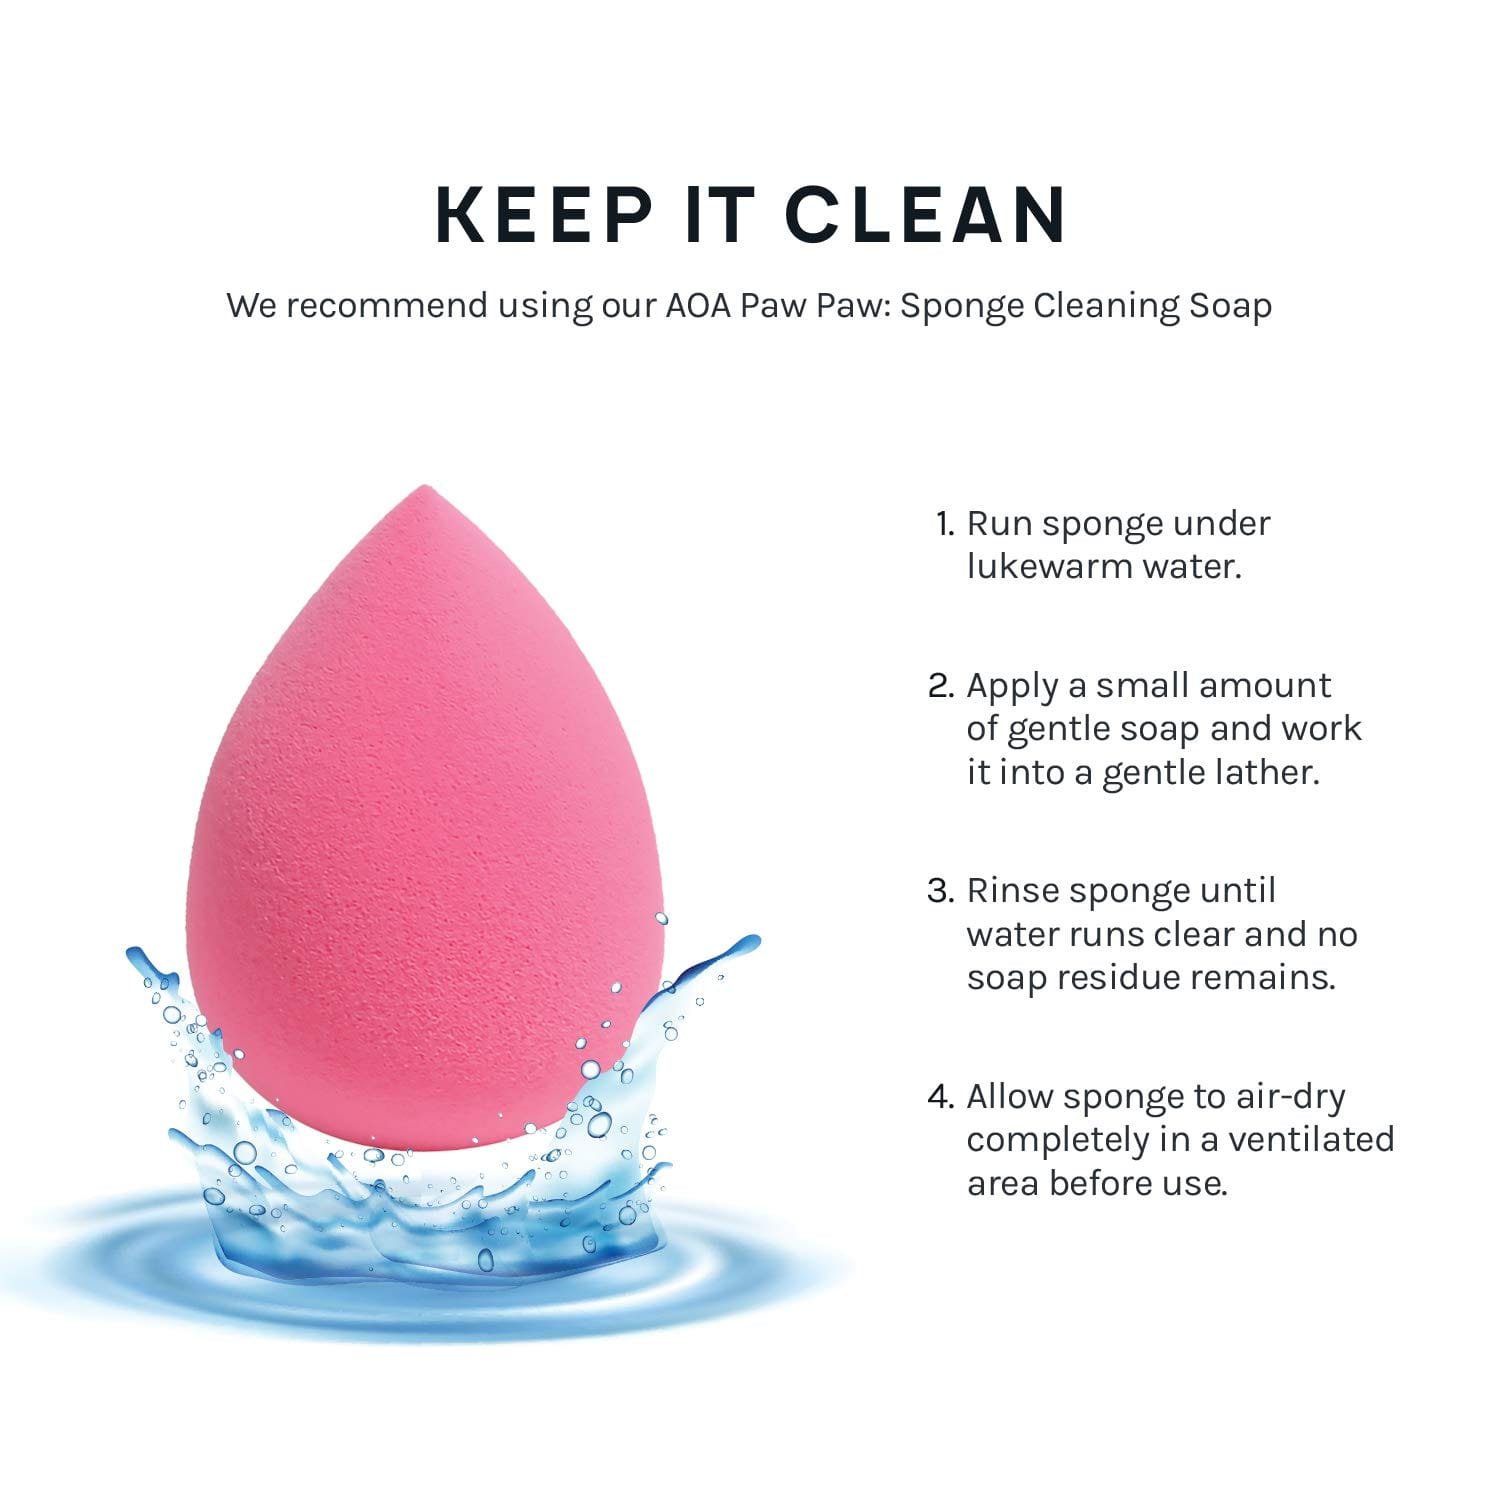
Keeping Your Beauty Blender Fresh
I’ll be real—cleaning’s not my favorite part. But skipping it? Disaster. Here’s how to keep it pristine:
- Quick Clean: After each use, suds it up with gentle soap or their cleanser. Rinse well, air dry.
- Deep Dive: Weekly if you’re a daily user. Get in there!
- Swap Time: Every 3-4 months, or if it’s crumbling or funky-smelling.
Once, I let mine go too long without a wash—yikes, the smell. Never again. Want more hygiene hacks? Check out our post on makeup tool care (#).
Mistakes to Dodge with Your Beauty Blender
Even the best of us mess up. Here’s what to watch for:
- Dry Drama: Using it dry soaks up product. Wet it first!
- Swipe Snafu: Bouncing blends; swiping streaks. Keep it stipply.
- Dirty Secret: Unclean sponges = breakout city. Wash it, seriously.
Avoid these, and you’re on your way to makeup nirvana.
FAQ: Your Beauty Blender Queries, Answered
Got questions? I’ve got answers:
- How often should I replace it?
Every 3-4 months, or sooner if it’s falling apart. - Powder-friendly?
Yep! Use it dry for setting or powder application. - Original vs. Pro—what’s the deal?
Pro’s firmer, darker—great for thicker products or pros.
More burning questions? Hit me up in the comments!
Best of The Best Beauty Blender


Wrapping It Up: Your Beauty Blender Journey Starts Now
So, there you go—everything you need to make the Beauty Blender your makeup MVP. We’ve covered what it is, why it’s awesome, how to pick one, use it, and keep it clean. Plus, where to snag the best ones on Amazon. It’s not just a sponge—it’s a vibe. I’ve been hooked for years, and I bet you will be too. Ready to ditch the streaks and embrace that flawless finish? Grab a Beauty Blender and see the magic for yourself. Your routine’s about to level up—big time.
Let’s Chat: What’s your go-to makeup trick? Drop it below—I’m all ears!
