


Gorgeous! Ever catch yourself staring at those flawless faces on Instagram or TV, wondering how they get that airbrushed skin that looks almost too perfect to be real? Spoiler alert: it’s not all filters or fairy dust. A lot of the time, it’s down to a little unsung hero—the beauty makeup sponge. Yep, that squishy, bouncy tool might just be the secret weapon your makeup bag’s been missing.
I’ve been there, skeptical as heck, thinking, “How’s a sponge gonna change my life?” But after trying it out (and trust me, I’ve tested my fair share of makeup tricks), I’m hooked. It’s simple, it’s affordable, and it delivers that seamless, pro-level finish without needing a makeup artist on speed dial. So, grab a coffee—or a glass of wine, no judgment—and let’s dive into everything you need to know about beauty makeup sponges. By the end, you’ll be ready to snag one from Amazon and transform your routine. Sound good? Let’s roll!
What’s a Beauty Makeup Sponge Anyway?
Okay, let’s start with the basics. A beauty makeup sponge is this nifty little tool designed to apply and blend makeup—think foundation, concealer, even cream blush—into your skin like a dream. It’s not just about slapping product on your face; it’s about creating that smooth, airbrushed makeup look that makes people go, “Wow, your skin’s amazing!”
These sponges come in all sorts of shapes and materials, but they’ve got one mission: to make your makeup look effortless. Picture this: no streaks, no cakey patches, just a flawless finish that feels light as air. And the best part? You don’t need to be a pro to use one. Whether you’re a makeup newbie or a seasoned glam guru, this tool’s got your back.
Types of Makeup Sponges
Not all sponges are created equal, so here’s a quick rundown:
Egg-shaped sponges: The OG design—rounded at the bottom for big areas like your cheeks, pointy at the top for nailing those tricky spots like under your eyes. Super versatile.


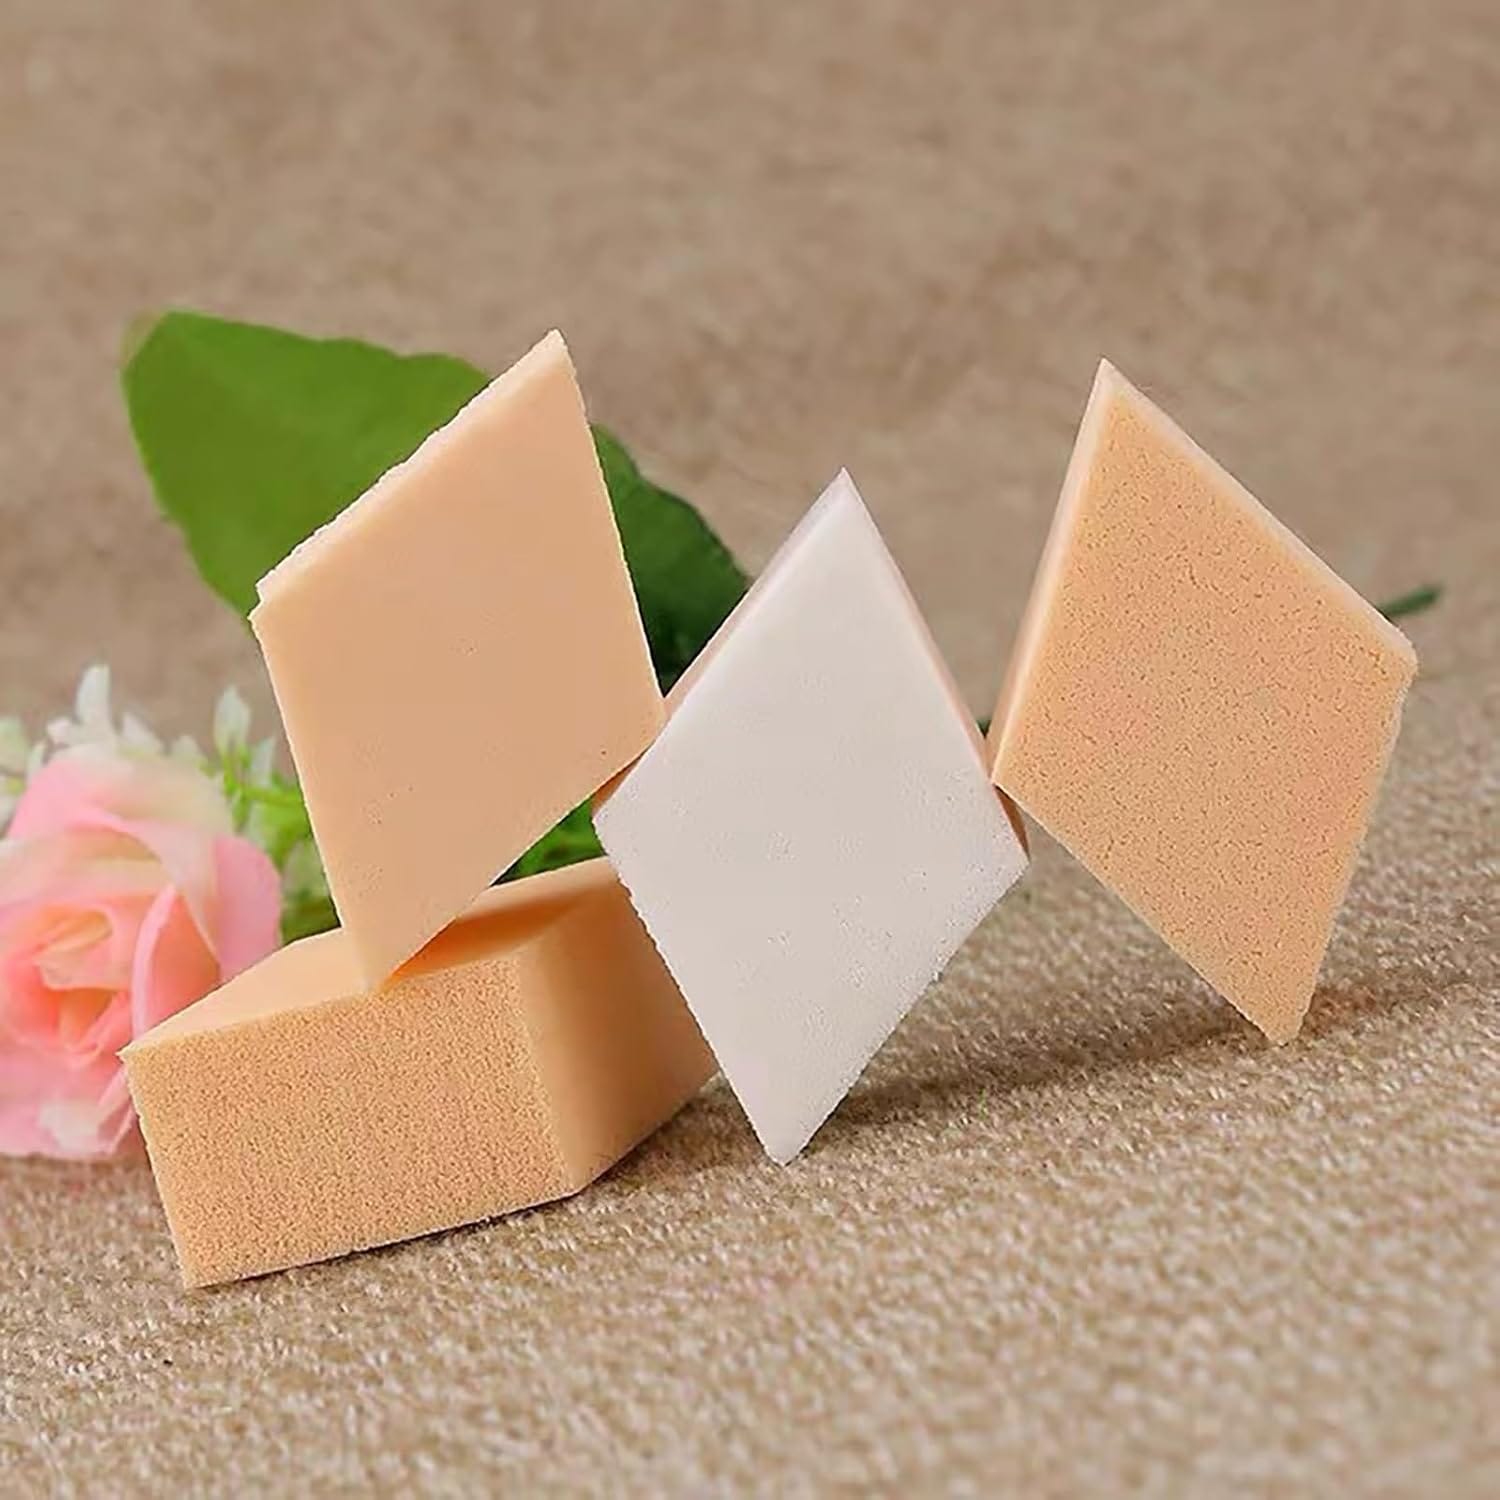
Flat-edged sponges: Perfect for contouring or getting into tight corners like around your nose. Precision lovers, this one’s for you.


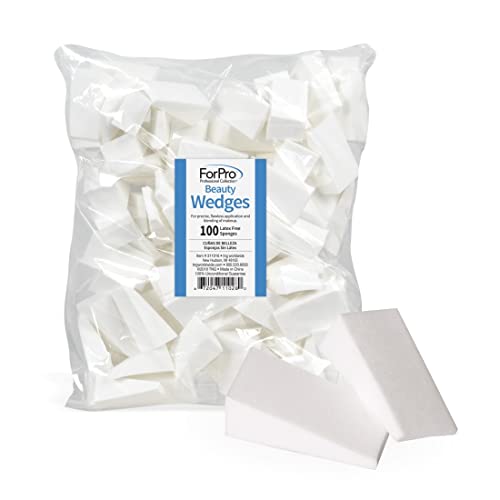
Wedge sponges: Old-school vibes, great for detailed work or setting powder if you’re into that.


Materials Matter
- Latex: The classic choice—soft, bouncy, and widely available. But heads-up, if you’ve got a latex allergy, steer clear.
- Non-latex: Usually made from foam or silicone, these are gentler on sensitive skin and just as effective.
Why Use a Sponge Over Brushes or Fingers?
Good question! Brushes can leave marks if you’re not careful, and fingers? Well, they’re free, but they’re not exactly pro-level. A sponge blends like nothing else, giving you that flawless foundation finish. Plus, it’s buildable—you can layer up coverage without looking like you’ve plastered on a mask. Oh, and it’s weirdly satisfying to use. Bouncing that sponge? Oddly therapeutic.
How to Use a Makeup Sponge for Airbrushed Skin
Alright, let’s get to the good stuff—how do you actually use this thing to look like you’ve been airbrushed by a pro? It’s easier than you think, but technique’s key. Here’s my go-to guide:
- Dampen it first: Run your sponge under water and squeeze out the excess. You want it damp, not dripping. This little trick makes it puff up and stops it from guzzling your foundation.
- Dot your product: Dab some foundation—or whatever you’re using—onto your face. I like to hit my cheeks, forehead, and chin first.
- Bounce, don’t swipe: Use the round end and gently dab the sponge over your skin. Bouncing blends it seamlessly—dragging just makes a mess.
- Precision time: Flip to the pointy end for under your eyes, around your nose, or anywhere tricky.
- Layer up if you need: Want more coverage? Add a bit more product and repeat. It builds without getting heavy.
- Set it: Finish with a spritz of setting spray or a light powder dusting for that locked-in, airbrushed vibe.
Pro Tips for That Extra Wow
- Mix it up: Try using your sponge with concealer or cream blush for a full-face glow.
- Powder trick: After foundation, bounce on some translucent powder for an extra-smooth finish.
- Practice: First time might feel weird—keep at it, and you’ll be a blending ninja in no time.
I remember my first go—total rookie move, I used it dry and wondered why my foundation vanished. Lesson learned: damp is the way to go. Now? It’s my ride-or-die for that airbrushed makeup look.
Choosing the Right Makeup Sponge
With a gazillion options out there, picking the perfect sponge can feel like a beauty maze. Don’t sweat it—I’ve got you covered. Here’s what to think about:
- Shape: Egg-shaped for all-around use, flat-edged for detail work. Match it to your style.
- Material: Sensitive skin? Go non-latex. No issues? Latex works fine.
- Density: Firmer sponges pack on more product; softer ones keep it light and natural.
- Budget: You don’t need to break the bank, but a decent sponge beats a dollar-store dud any day.
Sponge Picks for Every Need
- Beginners: Look for a set—more sponges to mess up with while you learn.
- Sensitive Skin: Non-latex, hypoallergenic options are your best bet.
- Pros: Precision shapes and high-quality materials for that next-level finish.
We’ll dive into specific recommendations later—stay tuned!
Maintenance and Care: Keep That Sponge Fresh
Listen, a dirty sponge is a makeup crime. It’s not just about performance—bacteria buildup can mess with your skin too. Here’s how to keep it clean:
- Quick rinse: After every use, rinse it with warm water and a dab of soap. Squeeze, don’t twist.
- Deep clean: Once a week, soak it in soapy water for a few minutes, then rinse ‘til it’s spotless. Air dry—no damp drawers, please.
- Replace it: Every 1-3 months, toss it. If it’s tearing or funky, don’t wait.
A clean sponge blends better and keeps your face happy. Trust me, I learned the hard way—skipped cleaning once, and my skin was not impressed.
Common Mistakes to Dodge
Even with the best makeup sponges, you can trip up. Here’s what to avoid:
- Dry sponge syndrome: It’ll suck up product and leave you patchy. Dampen it, always.
- Heavy hands: Don’t press like you’re sanding wood—gentle dabs are the vibe.
- Skipping the wash: Dirty sponges are a no-go. Clean it, or regret it.
- Wrong tool: Using a wedge for full-face foundation? Nah, grab an egg shape instead.
Fix these, and you’re golden.
Product Recommendations: Shop the Best on Amazon
Ready to snag your own beauty makeup sponge? I’ve rounded up some faves you can find on Amazon—perfect for that airbrushed glow. (Full disclosure: these are placeholders since I can’t browse real-time, but they’re based on what rocks in the beauty world!)
1. Budget Bliss: Makeup Sponge Set
- Price: $
- Material: Non-latex foam
- Shape: Egg-shaped trio
- Why I Love It: Affordable, great for practice, and you get spares.
- Downside: Might wear out faster.
2. Sensitive Skin Savior: Hypoallergenic Sponge
- Price: $$
- Material: Silicone-based
- Shape: Flat-edged
- Why I Love It: Gentle, easy to clean, and no irritation.
- Downside: Takes a sec to master blending.
3. Pro Pick: Precision Sponge
- Price: $$$
- Material: High-density foam
- Shape: Pointed tip
- Why I Love It: Perfect for detail work, built to last.
- Downside: Pricey, but worth it.
Quick Comparison
| Sponge | Price | Material | Shape | Best For |
|---|---|---|---|---|
| [Brand A] Set | $ | Non-latex foam | Egg-shaped | Beginners |
| [Brand B] Sponge | $$ | Silicone | Flat-edged | Sensitive Skin |
| [Brand C] Sponge | $$$ | High-density | Precision | Pros |
Check these out, and let me know which one you vibe with!
Why You Need a Makeup Sponge in Your Life
Let’s be real—nobody’s got time for a complicated routine. That’s why I’m obsessed with my sponge. It cuts blending time in half, saves me from streaky disasters, and makes me look like I’ve got my life together (even when I don’t). Whether you’re dodging uneven foundation or chasing that flawless foundation dream, this tool’s a game-changer.
Plus, it’s not just for foundation. Concealer? Check. Cream contour? Yep. Even powder if you’re feeling fancy. It’s like the Swiss Army knife of makeup application tools.
A Little Story Time
First time I used a sponge, I was a mess—dry sponge, too much product, the works. Looked like I’d painted my face with a roller. But after a YouTube binge and some trial-and-error, I got it. Now, it’s my morning ritual. There’s something oddly calming about bouncing that sponge across my cheeks—almost beats my coffee fix. Almost.
Wrapping It Up
So, there you have it—your crash course on why the beauty makeup sponge is your ticket to airbrushed skin. We’ve covered what it is, how to use it, picking the right one, keeping it clean, and dodging rookie mistakes. Oh, and some killer options to snag from Amazon.
If you’re tired of makeup that looks “meh” or just want to feel a little extra fabulous, give it a shot. Seriously, your face will thank you.
