


Beauty lovers! Ever wondered how to achieve that perfect, airbrushed makeup look without breaking the bank—or your sanity? Well, let me let you in on a little secret: the makeup foam sponge is about to become your new best friend. I’ve spent years experimenting with these squishy little wonders, and trust me, they’re a total game-changer for anyone obsessed with beauty and personal care. Whether you’re a makeup newbie or a seasoned pro, this blog post is your ultimate guide to getting that soft, flawless finish you’ve been dreaming of. Ready to dive in? Let’s get started!
What is a Makeup Foam Sponge?
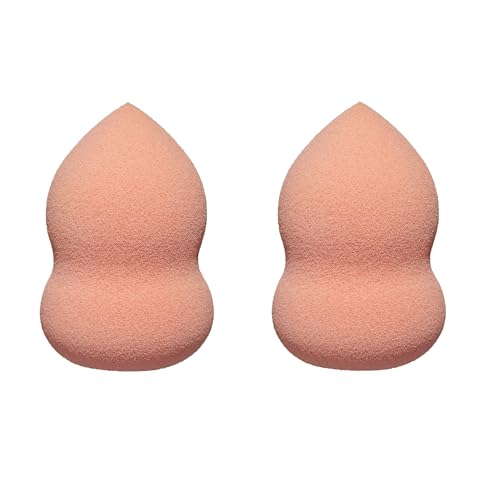
So, what exactly is a makeup foam sponge? Picture this: a soft, bouncy tool designed to blend your foundation, concealer, and even cream blush into your skin like magic. These sponges come in all shapes and sizes—think teardrops (hello, beauty blender!), wedges, and even funky little discs. Most are made from latex-free foam or hydrophilic polyurethane (don’t worry, I’ll keep the science simple), which means they’re gentle on your skin and expand when wet for a smoother application.
I remember my first encounter with a cosmetic sponge—it was love at first dab. Unlike brushes that sometimes leave streaks or fingers that waste product, a good makeup foam sponge delivers that seamless, Instagram-worthy finish we all crave. And the best part? They’re super affordable and easy to find. Curious yet? Stick with me!
Why You Need a Makeup Foam Sponge in Your Life
Okay, let’s talk benefits—because this little tool packs a serious punch. Here’s why every beauty enthusiast needs a makeup foam sponge in their kit:
- Flawless Finish: It blends makeup so smoothly, you’ll wonder how you ever lived without it. Say goodbye to cakey patches!
- Less Waste: Compared to slathering foundation on with your fingers, a sponge uses less product—meaning more bang for your buck.
- Versatility: Use it for foundation, concealer, powder, or even contour. It’s like the Swiss Army knife of makeup tools.
- Skin-Friendly: Whether you’ve got oily, dry, or sensitive skin, there’s a sponge out there for you.
I’ve tried countless blending sponges over the years, and let me tell you, not all are created equal. Some are too dense, others are too flimsy, but the ones I’m spilling the tea on today? They’re just right—like Goldilocks finding the perfect porridge. Ready to upgrade your makeup game? Keep reading!
How to Use a Makeup Foam Sponge Like a Pro
Alright, here’s where the magic happens. Using a makeup foam sponge might seem simple, but there’s an art to it. Follow these steps, and you’ll be blending like a makeup artist in no time:
- Dampen It: Run your sponge under water until it puffs up. This keeps it from soaking up too much product.
- Squeeze It: Gently wring out the excess water—think damp, not dripping.
- Apply Product: Dab some foundation or concealer onto the sponge or directly onto your face.
- Bounce, Don’t Swipe: Use a light bouncing motion to press the makeup into your skin. Trust me, this is the secret to that airbrushed makeup look.
- Get Precise: Use the pointed end for tricky spots like under your eyes or around your nose.
Pro Tip: Don’t press too hard—let the sponge do the work. And if you’re going for a natural vibe, less product is more. I learned this the hard way after one too many “foundation face” disasters!
Choosing the Perfect Makeup Foam Sponge for You
Not sure which makeup applicator is right for you? Don’t worry—I’ve got you covered. Here’s what to consider:
- Shape: Teardrops are great for all-over coverage, while wedges nail precision blending.
- Size: Bigger sponges cover more ground; smaller ones are perfect for detailing.
- Density: A firmer foundation sponge works for full coverage, while a softer one gives a sheer finish.
- Material: If you’ve got sensitive skin (like me!), go for hypoallergenic options.
Here are my top picks you can snag on Amazon right now:
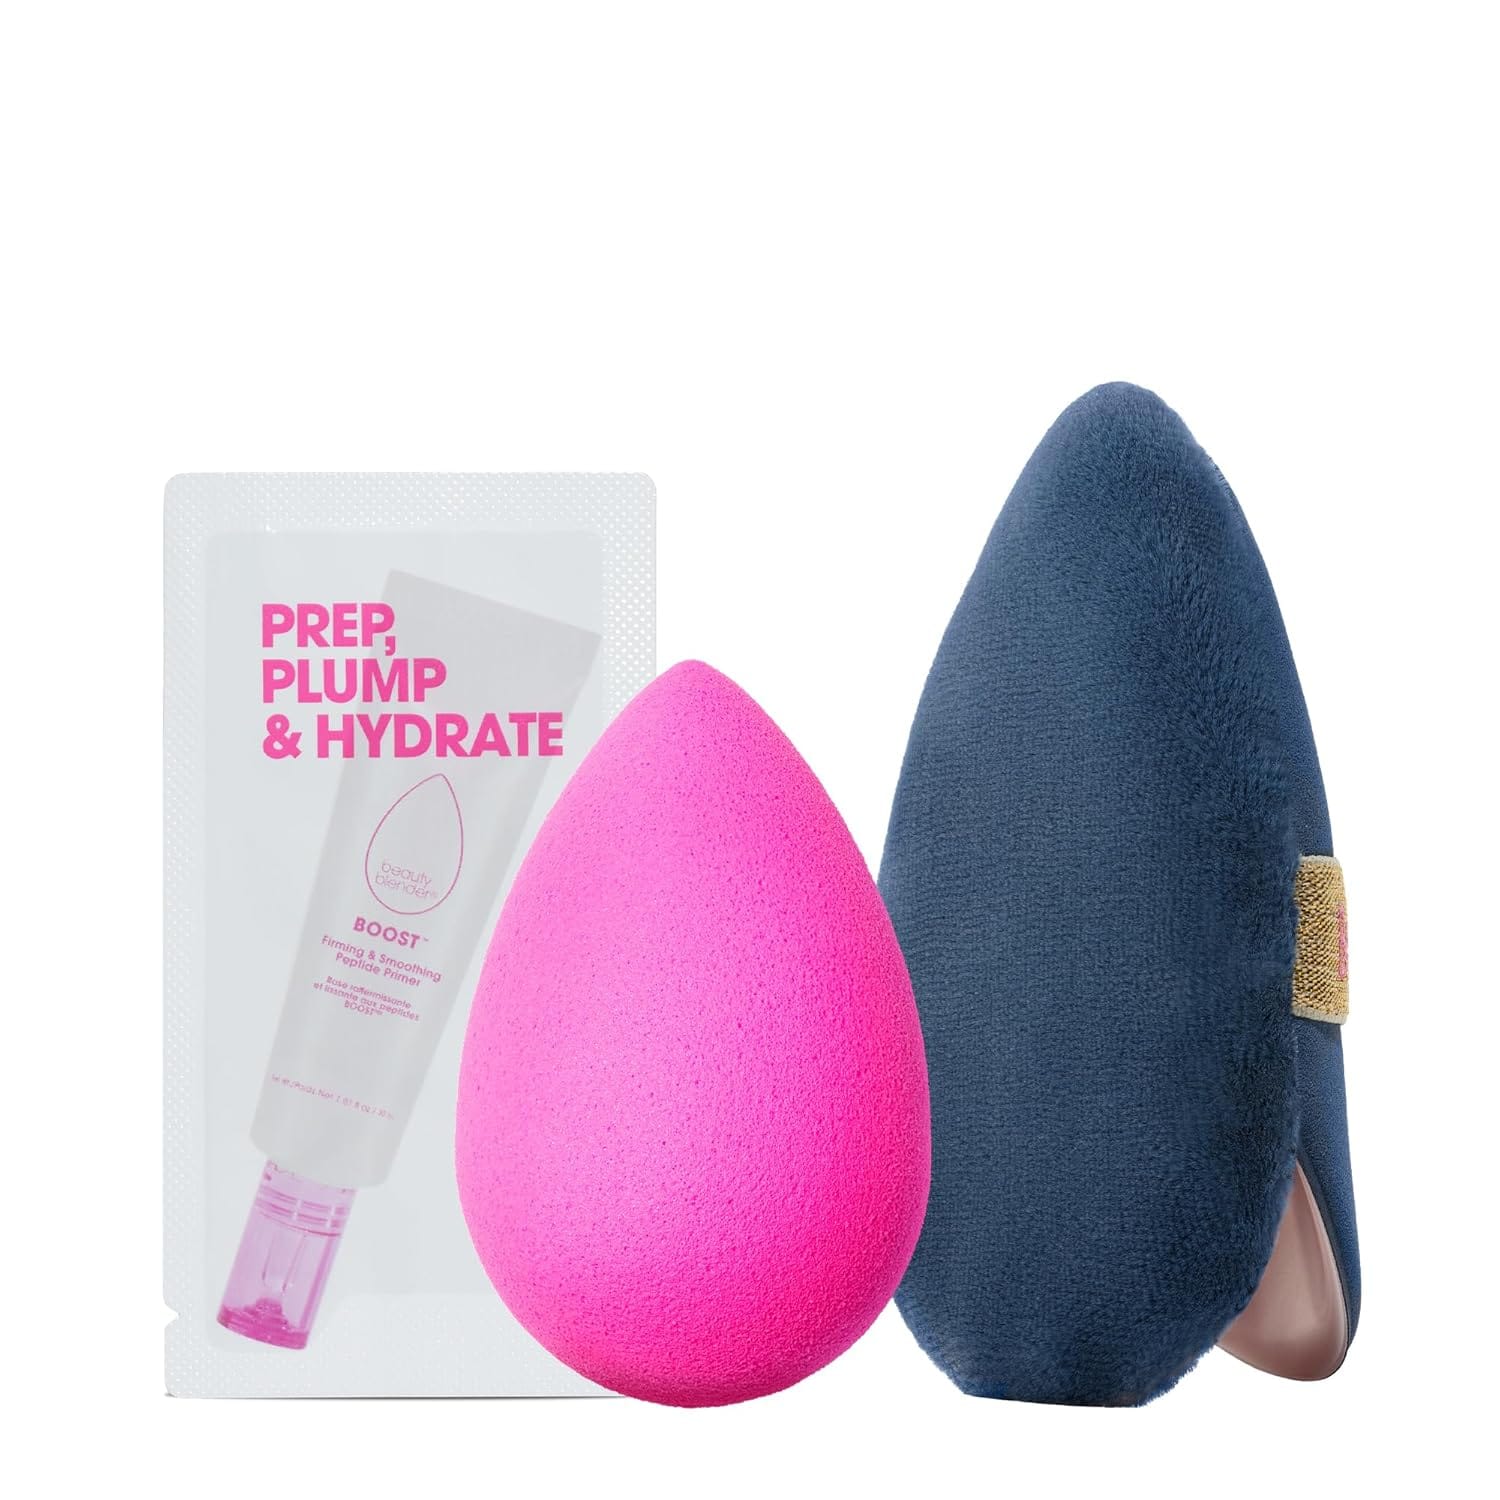
Real Techniques Miracle Complexion Sponge – A cult fave for a reason. Soft, bouncy, and under $10.


Beautyblender Original – The OG beauty blender that started it all. Pricey, but worth every penny for that flawless finish.


EcoTools Perfecting Blender Duo – Affordable and eco-friendly—perfect for budget babes.


Cleaning and Maintaining Your Makeup Sponge
Here’s a confession: I once forgot to clean my cosmetic sponge for weeks. Big mistake. It turned into a germy mess, and my skin was not happy. Lesson learned—keep your sponge clean, folks! Here’s how:
- Wash It: Use a mild soap or cleanser (baby shampoo works great) and warm water. Rub gently until the makeup runs clear.
- Rinse It: Keep going until all the suds are gone.
- Dry It: Let it air dry—no tossing it in a damp bag, okay?
Replace your sponge every 3-6 months, or sooner if it starts crumbling. A clean sponge = happy skin and better makeup. Simple as that!
Common Mistakes to Avoid with Makeup Foam Sponges
Even pros mess up sometimes, so here are a few pitfalls to dodge:
- Using It Dry: A dry sponge soaks up product and leaves streaks. Always dampen it first!
- Too Much Pressure: Bouncing, not pressing, is the key. Go easy on your face.
- Skipping Cleaning: Bacteria love dirty sponges. Don’t let them crash your beauty party.
- Wrong Shape: Don’t use a big round sponge for tiny spots—grab a wedge instead.
Okay, I’ll admit it—I’ve got a spreadsheet tracking my sponge experiments. Don’t judge; it’s for science! Point is, avoiding these mistakes will save you time and frustration.
Conclusion: Elevate Your Makeup Game Today
So, there you have it—everything you need to know about makeup foam sponges and how they can transform your routine. From blending like a pro to picking the perfect foundation sponge, you’re now armed with the tips and tricks to achieve that soft, flawless finish. And with top-notch options just a click away on Amazon, there’s no excuse not to treat yourself.
Oh, and one last thing: What’s your go-to makeup applicator? Drop it in the comments—I’d love to hear your faves!
