


Beauty lover! Ever wondered how some people nail that flawless, airbrushed makeup look without breaking a sweat? Spoiler alert: it’s not magic—it’s a blender sponge. If you’re still wrestling with streaky brushes or smudging foundation with your fingers, you’re in for a treat. This little gem has taken the beauty world by storm, and I’m here to spill all the tea on why it’s a must-have in your makeup bag. Seriously, your selfies are about to level up!
In this post, we’re diving deep into the world of blender sponges—what they are, why they’re game-changers, and how to use them like a pro. I’ve got tips, tricks, and even some personal stories (because who doesn’t love a good makeup mishap?). Plus, I’ll point you to the best ones you can snag on Amazon.com, Amazon.co.uk, or Amazon.ca. By the end, you’ll be itching to grab one and blend your way to perfection. So, let’s get into it—your makeup routine deserves this glow-up!
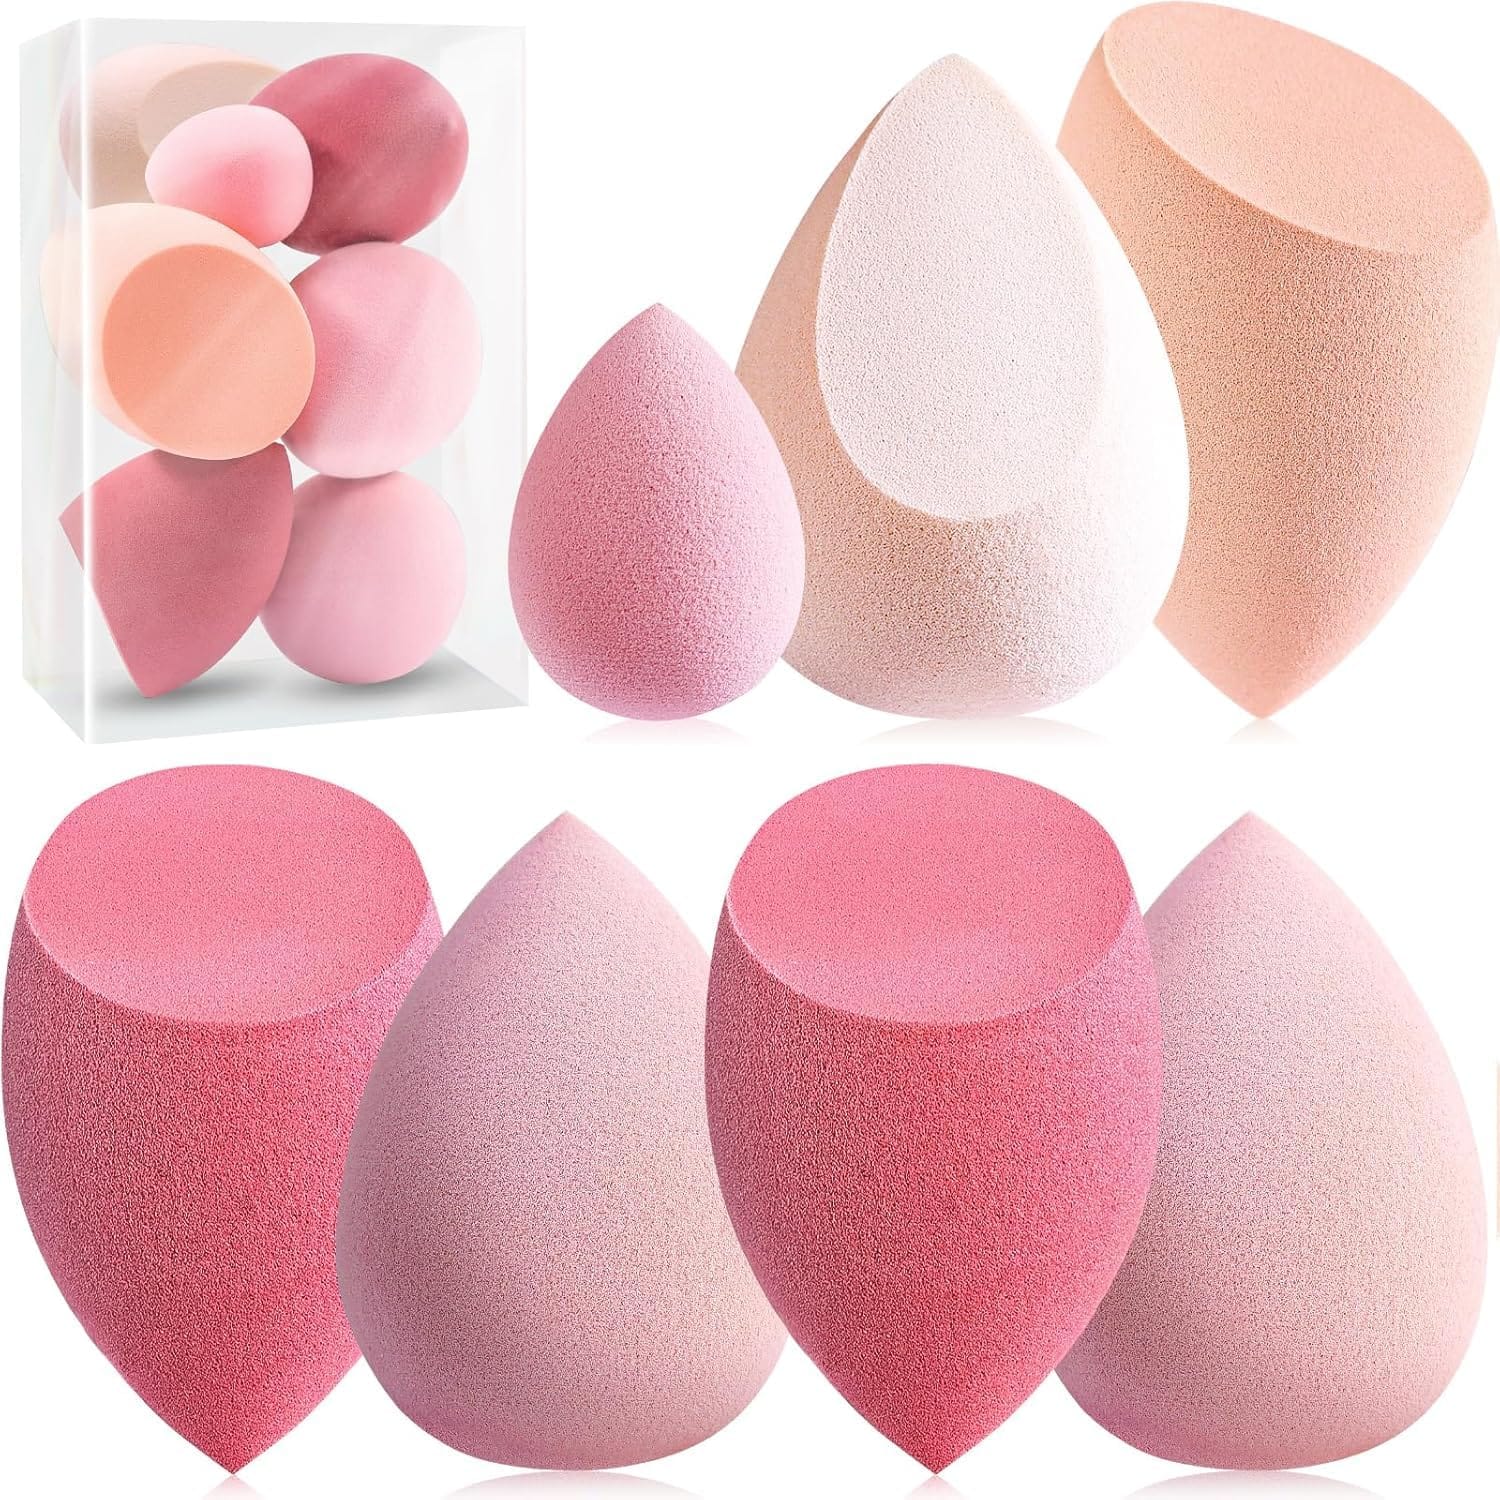
- Best Of The Best Blender Sponge
- What is a Blender Sponge, Anyway?
- Why You’ll Fall in Love with a Blender Sponge
- How to Use a Blender Sponge Like a Pro
- Choosing the Perfect Blender Sponge for You
- Blender Sponge Hacks You’ll Wish You Knew Sooner
- Caring for Your Blender Sponge
- Why Blender Sponges Beat Brushes (Sorry, Not Sorry)
- Your Blender Sponge Questions, Answered
- Wrap-Up: Your Ticket to Makeup Magic Awaits
Best Of The Best Blender Sponge


What is a Blender Sponge, Anyway?
Picture this: a soft, bouncy, egg-shaped tool that makes applying makeup feel like a dream. That’s a blender sponge in a nutshell. It’s designed to blend liquid, cream, and even powder products into your skin seamlessly—no streaks, no mess. Think of it as your personal makeup fairy godmother.
Here’s the lowdown:
- Material: Most are made from latex-free, hydrophilic foam. Translation? They puff up when wet, soaking up less product so you don’t waste your pricey foundation.
- Shape: That iconic teardrop design isn’t just cute—it’s functional. The pointy end tackles under-eye concealer, while the rounded base smooths out cheeks and foreheads.
- Versatility: Foundation? Check. Concealer? Yup. Cream blush, contour, even setting powder? Oh yeah, it’s a multitasker.
Fun fact: The OG Beautyblender was born in 2003 thanks to makeup artist Rea Ann Silva. It started on Hollywood sets and quickly became a cult fave. Now, there’s a blender sponge for every budget—and trust me, they’re all worth a spin.
Why You’ll Fall in Love with a Blender Sponge
Okay, I get it—why swap your trusty brush for a sponge? Let me break it down. After years of experimenting (and one too many cakey foundation disasters), I can vouch for why this tool is a beauty essential.
Flawless Application That Turns Heads
- Airbrushed Vibes: The sponge’s texture presses makeup into your skin, not just on it. The result? A natural, “I woke up like this” glow.
- No Streaks, No Drama: Brushes can leave lines, and fingers can get patchy. A blender sponge? Smooth sailing every time.
Versatility That Saves Time
- One Tool, Endless Uses: Foundation, concealer, blush, highlighter—you name it, this sponge can handle it. I’ve even used mine to dab on moisturizer in a pinch!
- Wet or Dry Magic: Damp for a dewy finish, dry for full coverage. It’s like having a whole makeup kit in one squishy package.
Easy to Clean (Yes, Really!)
- Low Maintenance: A quick wash with soap and water, and it’s good as new. No bristle bacteria here!
- Skin-Friendly: Clean sponges mean fewer breakouts. My sensitive skin thanks me every time.
Personal anecdote: I once left my sponge unwashed for way too long (oops). Let’s just say my chin wasn’t happy. Lesson learned—clean it weekly, and it’ll last you months!
How to Use a Blender Sponge Like a Pro
Ready to wield this beauty weapon? It’s easier than you think. Here’s my go-to routine—tweaked after many mornings of trial and error:
- Wet It: Run your sponge under water and squeeze out the excess. It should feel damp, not dripping. This step’s key—it keeps your makeup from disappearing into the sponge.
- Load It Up: Dab some foundation or concealer onto your hand (or straight onto your face if you’re feeling bold). Dip the sponge’s rounded end into the product.
- Bounce, Don’t Drag: Use a stippling motion—think little bounces—to blend the makeup in. Start from the center of your face and work outward. Trust me, dragging it smears everything.
- Get Precise: Flip to the pointed tip for under eyes, around your nose, or along your jawline. It’s like a mini eraser for tricky spots.
- Finish Strong: Need to set it? Dab some powder with the sponge to lock everything in place.
Quick Tip: For a super-sheer look, spritz your sponge with a setting spray before blending. Game. Changer.
Choosing the Perfect Blender Sponge for You
With so many options out there, picking the right blender sponge can feel overwhelming. Don’t stress—I’ve got you covered. Here’s what to look for:
- Material: Go for latex-free if your skin’s picky. Hypoallergenic is a bonus.
- Shape: Classic teardrop works for most, but flat-edged ones are clutch for contouring. Mini sponges? Perfect for concealer touch-ups.
- Brand Buzz: Beautyblender’s the gold standard, but Real Techniques and EcoTools are fan faves too.
- Price: You can snag a solid sponge for under $10 or splurge on a $20+ luxe pick. It’s all about how often you’ll use it.
Still unsure? Scroll through my Top 5 Blender Sponges for Every Budget (#) post—I’ve linked some winners there.
Blender Sponge Hacks You’ll Wish You Knew Sooner
Let’s level up. These tricks have saved me time, money, and a few makeup meltdowns:
- Nail Polish Fixer: Spill polish on your counter? Dab it up with a damp sponge before it dries. Works like a charm.
- Skincare Sidekick: Blend serums or moisturizers with your sponge for an even layer. Dewy skin, incoming!
- DIY Dupe: Cut a regular makeup sponge into a teardrop shape if you’re in a pinch. Not perfect, but it’ll do.
One time, I dropped my foundation bottle mid-application (classic me). My blender sponge swooped in to blend the mess on my face instead of tossing it. Crisis averted!
Caring for Your Blender Sponge
Treat your sponge right, and it’ll stick around. Here’s how to keep it in tip-top shape:
- Clean Weekly: Use a gentle soap or cleanser (baby shampoo works too). Swirl it in your palm, rinse, and air dry.
- Store Smart: Pop it in a breathable pouch—not a sealed bag—to avoid mold.
- Replace It: When it starts tearing or smelling funky (usually 3-6 months), it’s time for a new one.
Why Blender Sponges Beat Brushes (Sorry, Not Sorry)
I used to be a brush girl—until I wasn’t. Here’s why I ditched them:
- Blend Game: Sponges melt makeup into your skin; brushes sometimes leave it sitting there.
- Speed: Bouncing takes half the time of brushing in circles.
- Cleanup: Sponges rinse clean in seconds. Brushes? A scrubbing saga.
That said, brushes still have their place (looking at you, eyeshadow). But for a full-face beat? Blender sponge, hands down.
Your Blender Sponge Questions, Answered
Got Qs? I’ve got As—straight from my makeup-obsessed heart.
- “Can I use it dry?” Yep! Dry for thicker coverage, damp for sheer. Experiment and see what vibes with you.
- “How often should I replace it?” Every 3-6 months, depending on wear. If it’s crumbling, toss it.
- “Is it worth the hype?” 100%. I was skeptical too—then I tried it. No going back.
Wrap-Up: Your Ticket to Makeup Magic Awaits
Let’s recap: A blender sponge is your shortcut to flawless makeup. It blends like a dream, works with everything from foundation to blush, and cleans up in a snap. Whether you’re a newbie or a pro, it’s the tool you didn’t know you needed—until now. I’ve been there, fumbling with brushes and cursing patchy concealer. This sponge? It’s my ride-or-die.
So, what’s next? Head to Amazon and grab one. Seriously, your mornings (and your skin) will thank you.
