


Fellow moms! Let’s be real—mornings can feel like a whirlwind, right? You’re scrambling to get the kids fed, dressed, and out the door, all while praying you don’t spill coffee on your shirt. And makeup? That’s often a luxury squeezed into the 30 seconds before you dash to the car. But what if I told you there’s a little tool that can make you look flawless in minutes, no matter how chaotic your day starts? Enter the cosmetic sponge—the unsung hero of busy mom life.
I remember the first time I used one. I was skeptical—could this squishy little thing really make a difference? Spoiler alert: It did. And now, I’m here to spill the beans (or the foundation, rather) on why every mom needs a cosmetic sponge in her beauty arsenal. Whether you’re a makeup newbie or a seasoned pro, this post is your guide to mastering that put-together look—fast. Stick with me for about 3000 words of tips, tricks, and a nudge to grab one for yourself. Ready? Let’s dive in!
What is a Cosmetic Sponge, Anyway?
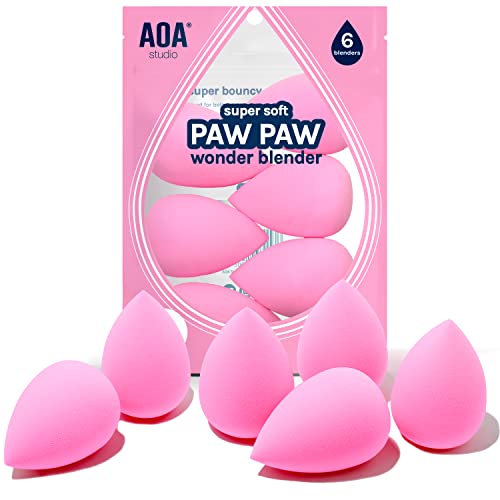
Picture this: a soft, bouncy tool—usually egg-shaped or teardrop-shaped—that blends your makeup like a dream. A cosmetic sponge isn’t just a fancy gimmick; it’s a multi-tasking wizard designed to apply foundation, concealer, blush, and even skincare products with ease. Unlike brushes that can leave streaks or your fingers that, let’s be honest, don’t always get the job done, a sponge gives you that airbrushed finish without the hassle.
Why does this matter to you as a mom? Time. Efficiency. Results. You don’t have hours to perfect your face, but you do deserve to feel confident. A good makeup sponge (yep, that’s one of its aliases) cuts your routine down to minutes while still making you look like you’ve got it all together. Intrigued? Keep reading.
Why Every Mom Needs a Cosmetic Sponge
Okay, let’s get to the good stuff. Why should you, a busy mom, care about this little beauty tool? Here’s the rundown:
It’s a Time-Saver
Mornings are a race against the clock. A cosmetic sponge lets you slap on your foundation and blend it out in seconds—no streaky messes, no do-overs. Wet it, dab it, done. You’re out the door looking polished before the school bus even honks.
Versatility is Key
One tool, endless uses. Use it for:
- Foundation: Smooth, even coverage.
- Concealer: Bye-bye, under-eye bags from those late-night feedings.
- Blush or Bronzer: A natural flush in a flash.
- Skincare: Yep, it can even blend your moisturizer or SPF.
As a mom, you don’t have time for a million tools cluttering your bathroom. This one does it all.
Easy to Clean (Because Who Has Time for Drama?)
Spilled juice, sticky hands, and now a dirty sponge? Relax. Rinse it with warm water and a bit of soap, and it’s good as new. No complicated brush-cleaning rituals here—just quick and simple, like everything else in your mom toolkit should be.
Affordable Glam
You don’t need to break the bank. A solid beauty blender (another name you’ll hear) or its dupes can cost as little as $5–$20. Compare that to the price of a coffee run, and it’s a no-brainer investment in yourself.
Still with me? Good. Because this is where it gets fun—learning how to wield this magic wand.
How to Use a Cosmetic Sponge Like a Pro
Never used a cosmetic sponge before? No worries—I’ve got you covered with a step-by-step guide. Trust me, it’s easier than convincing a toddler to eat broccoli.
Step 1: Prep Your Sponge
- Run it under water until it’s soaked.
- Squeeze out the excess (it should feel damp, not dripping).
- Why damp? It prevents the sponge from soaking up too much product and helps it glide smoothly.
Step 2: Apply Your Product
- Dot your foundation, concealer, or whatever you’re using onto your face. I like to start with the cheeks and work outward.
- Pro tip: Less is more. You can always add, but blending too much off is a pain.
Step 3: Bounce, Don’t Drag
- Use a light, bouncing motion to press the product into your skin. Dragging it around can leave streaks—nobody’s got time for that.
- The pointed end is great for under eyes or around your nose; the wider base tackles cheeks and forehead.
Step 4: Build It Up
- Need more coverage? Add another layer and bounce again. The beauty of a foundation applicator like this is how seamlessly it layers.
Step 5: Clean Up
- Rinse it out when you’re done. A quick 30-second scrub keeps it fresh for tomorrow.
See? Five minutes tops, and you’re glowing. Want a visual? Check out this quick how-to video (#) I found—it’s a game-changer for visual learners like me.
Choosing the Right Cosmetic Sponge for You
Not all sponges are created equal, and with so many options, picking one can feel overwhelming. Let’s break it down:
Types of Sponges
Beauty Blender: The OG. Pricey ($20), but the quality is unmatched for a silky finish.


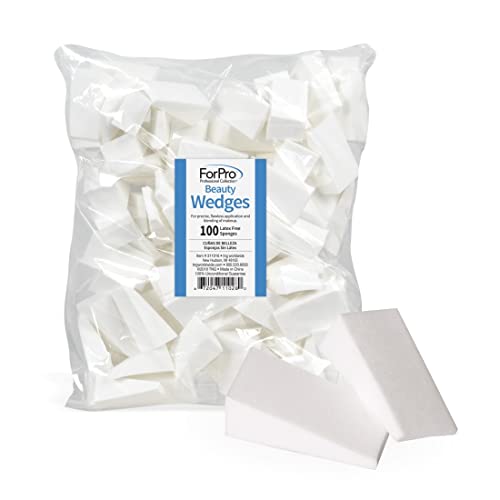
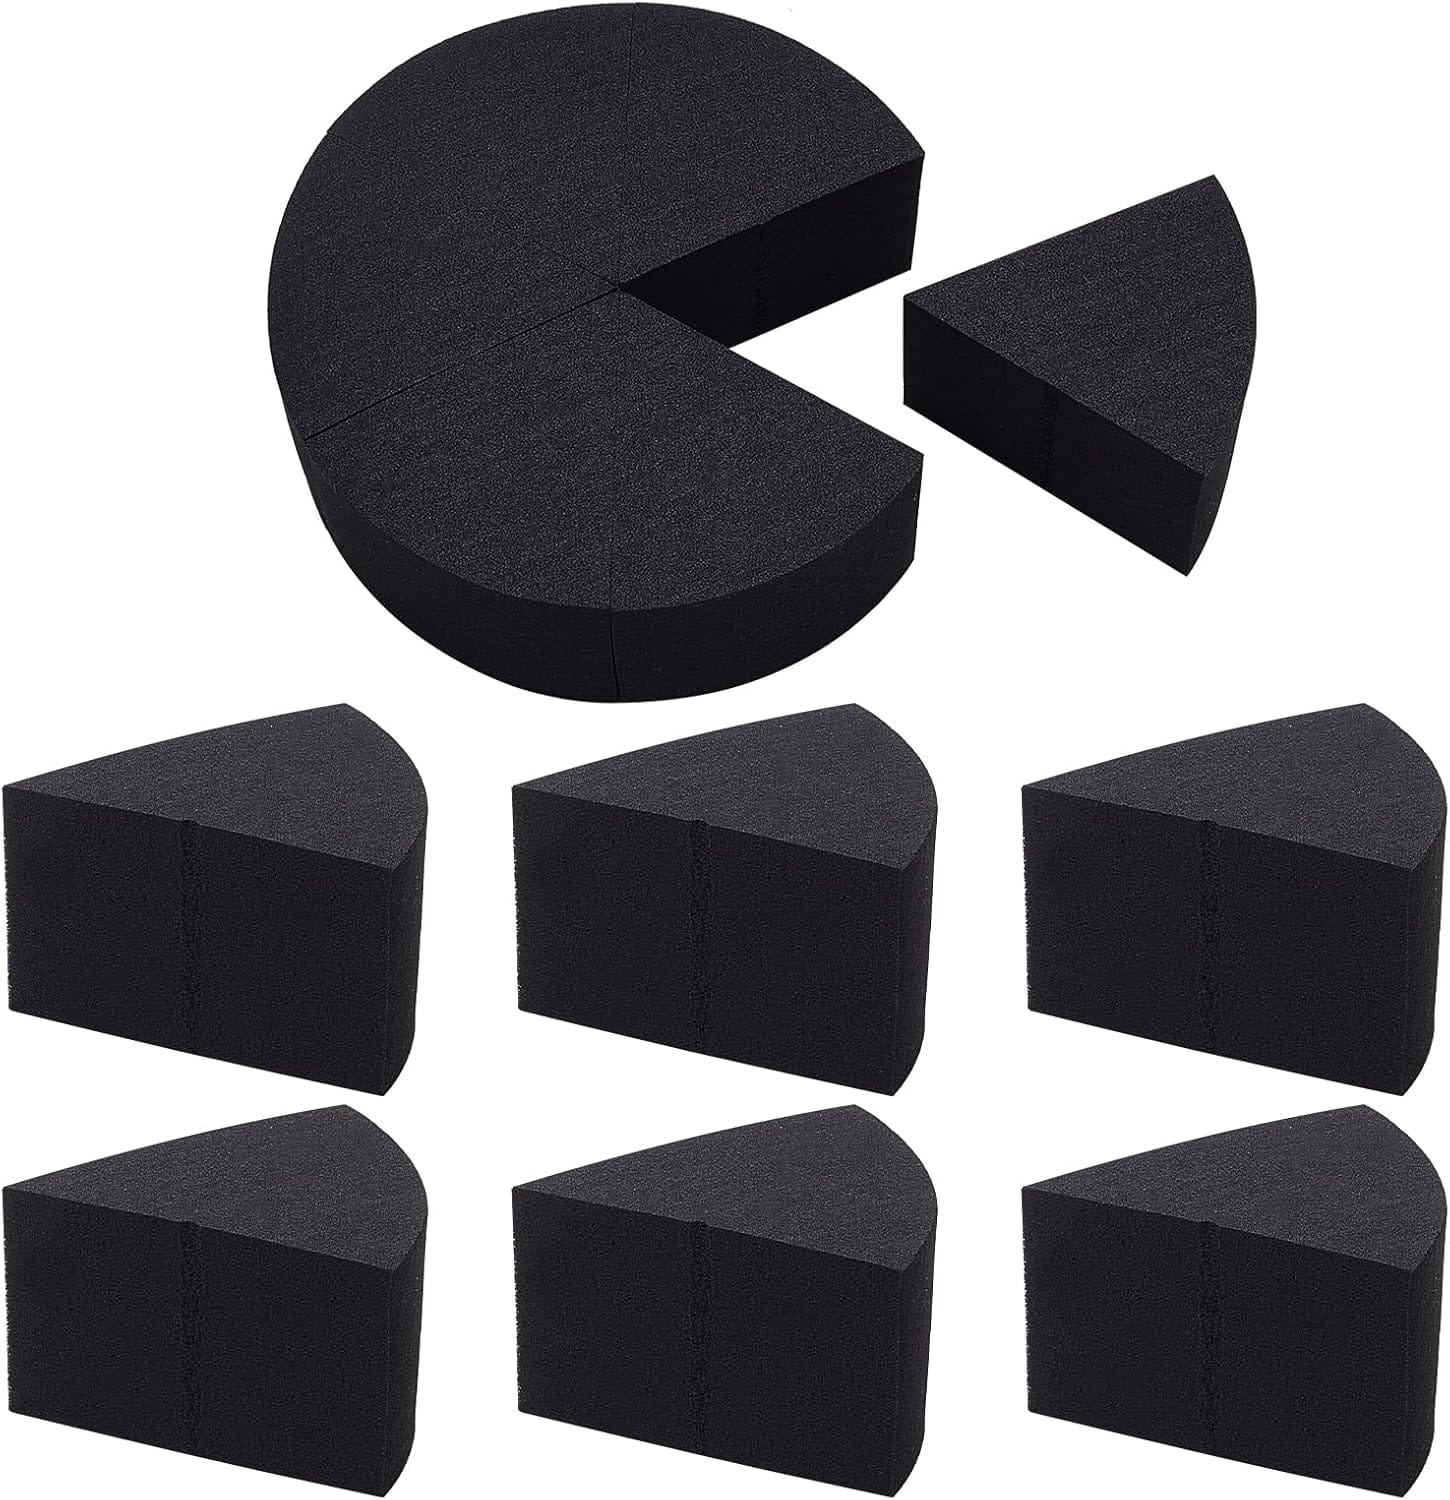
Wedge Sponges: Flat and disposable—great for one-off uses or travel.


Teardrop Dupes: Affordable alternatives (think $5–$10) that still get the job done.


What to Look For
- Texture: Soft and bouncy, not stiff. Press it—if it feels like a marshmallow, you’re golden.
- Shape: Pointed tips for precision, rounded bases for big areas.
- Material: Latex-free if you’ve got sensitive skin (check the label!).
My go-to? A mid-range makeup sponge from Real Techniques. It’s budget-friendly, durable, and blends like a dream. But honestly, start with what fits your wallet—you can always upgrade later.
Real Mom Reviews: Why They Swear By It
Don’t just take my word for it—here’s what other moms are saying:
- Jess, 34, Mom of Two: “I used to skip makeup because I had no time. Now, my cosmetic sponge gets me out the door looking human in five minutes flat.”
- Maria, 29, New Mom: “The under-eye bags were real after baby #1. This thing hides them better than coffee hides my exhaustion.”
- Tina, 42, Working Mom: “I love how it blends my foundation so I don’t look like I’m wearing a mask. Plus, my teen daughter keeps stealing it!”
These ladies get it—a beauty sponge isn’t just a tool; it’s a lifeline. And honestly, hearing their stories makes me want to hug my own sponge a little tighter.
Bonus Tips to Level Up Your Sponge Game
Alright, you’re sold on the idea. But before you run off to shop, here are a few extras to make the most of your cosmetic sponge:
- Storage: Keep it in a breathable pouch—not a sealed bag—to avoid mold.
- Replace It: Every 3–6 months, depending on use. If it’s fraying or funky, toss it.
- Experiment: Try it with powder for a matte look or cream blush for a dewy vibe.
Oh, and if you’re curious about more mom-friendly beauty hacks, check out my post on Top 10 Beauty Hacks for Busy Moms (#). It’s packed with time-savers you’ll wish you’d known sooner.
Ready to Simplify Your Beauty Routine?
Let’s wrap this up. A cosmetic sponge is more than just a trend—it’s a must-have for every mom who wants to look good without losing her mind. It saves time, works with whatever makeup you’ve got, and blends so well you’ll wonder how you ever lived without it. From chaotic mornings to rare date nights, this little tool has your back.
Click, order, and thank me later when you’re blending like a pro. Got questions? Drop a comment below—I’d love to chat sponges with you!
