


You’re here because you want to hide those flaws fast, right? We’ve all had those mornings—waking up to a surprise blemish that wasn’t there last night, dark circles from a late-night Netflix binge, or redness that just won’t calm down. It’s annoying, isn’t it? But don’t stress—I’ve got the perfect fix for you: the makeup concealer sponge. This little gem is your ticket to a flawless, airbrushed look without spending hours in front of the mirror.
I’ll never forget the first time I tried one. I was running late for a brunch date, and my under-eye bags were screaming “you didn’t sleep!” I grabbed a concealer sponge out of desperation, dabbed on some product, and—bam—smooth, even coverage in seconds. It was like a mini miracle, and I’ve been obsessed ever since. If you’re ready to ditch the frustration and level up your makeup game, stick with me. Let’s dive in!
What is a Makeup Concealer Sponge?
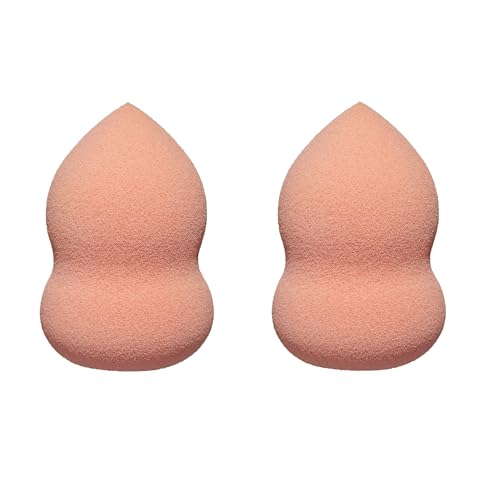
So, what’s the deal with this magical tool? A makeup concealer sponge is a small, usually egg-shaped beauty buddy made from soft, porous material. It’s designed to help you apply and blend concealer like a pro, covering up imperfections—think blemishes, dark circles, or uneven skin tone—with ease. The sponge’s clever shape lets you get into every nook and cranny of your face, from the corners of your eyes to the sides of your nose.
Here’s the kicker: when you dampen it, the sponge puffs up and gets even softer, making it a blending superstar. No more streaky lines or cakey patches—just smooth, natural-looking skin. It’s like having a tiny makeup artist in your hand!
Why You’ll Love Using a Concealer Sponge
Okay, but why pick a makeup concealer sponge over, say, a brush or your fingers? I’ve tried it all, and trust me, this tool stands out. Here’s why:
- Seamless Blending: The sponge’s bouncy texture melts concealer into your skin for that “I woke up like this” vibe.
- Super Easy: New to makeup? No problem. It’s so simple, you’ll wonder why you didn’t start sooner.
- Buildable Coverage: Want light coverage for a natural look or full-on flaw-hiding power? You can layer it up without looking like you’re wearing a mask.
- Versatile: Works with liquid, cream, or even powder concealers—whatever’s in your stash.
- Clean & Hygienic: Unlike brushes that hoard product (and bacteria), sponges are a breeze to wash or replace.
I used to rely on my fingers, but they’d leave smudges, and brushes? Too fiddly for my impatient self. A sponge? Game-changer.
How to Choose the Right Concealer Sponge
Not all sponges are created equal, though. With so many out there, how do you pick the perfect one? Here’s what to keep in mind:
- Material: Go for high-quality, latex-free options. They’re soft, durable, and gentle—especially if your skin’s sensitive.
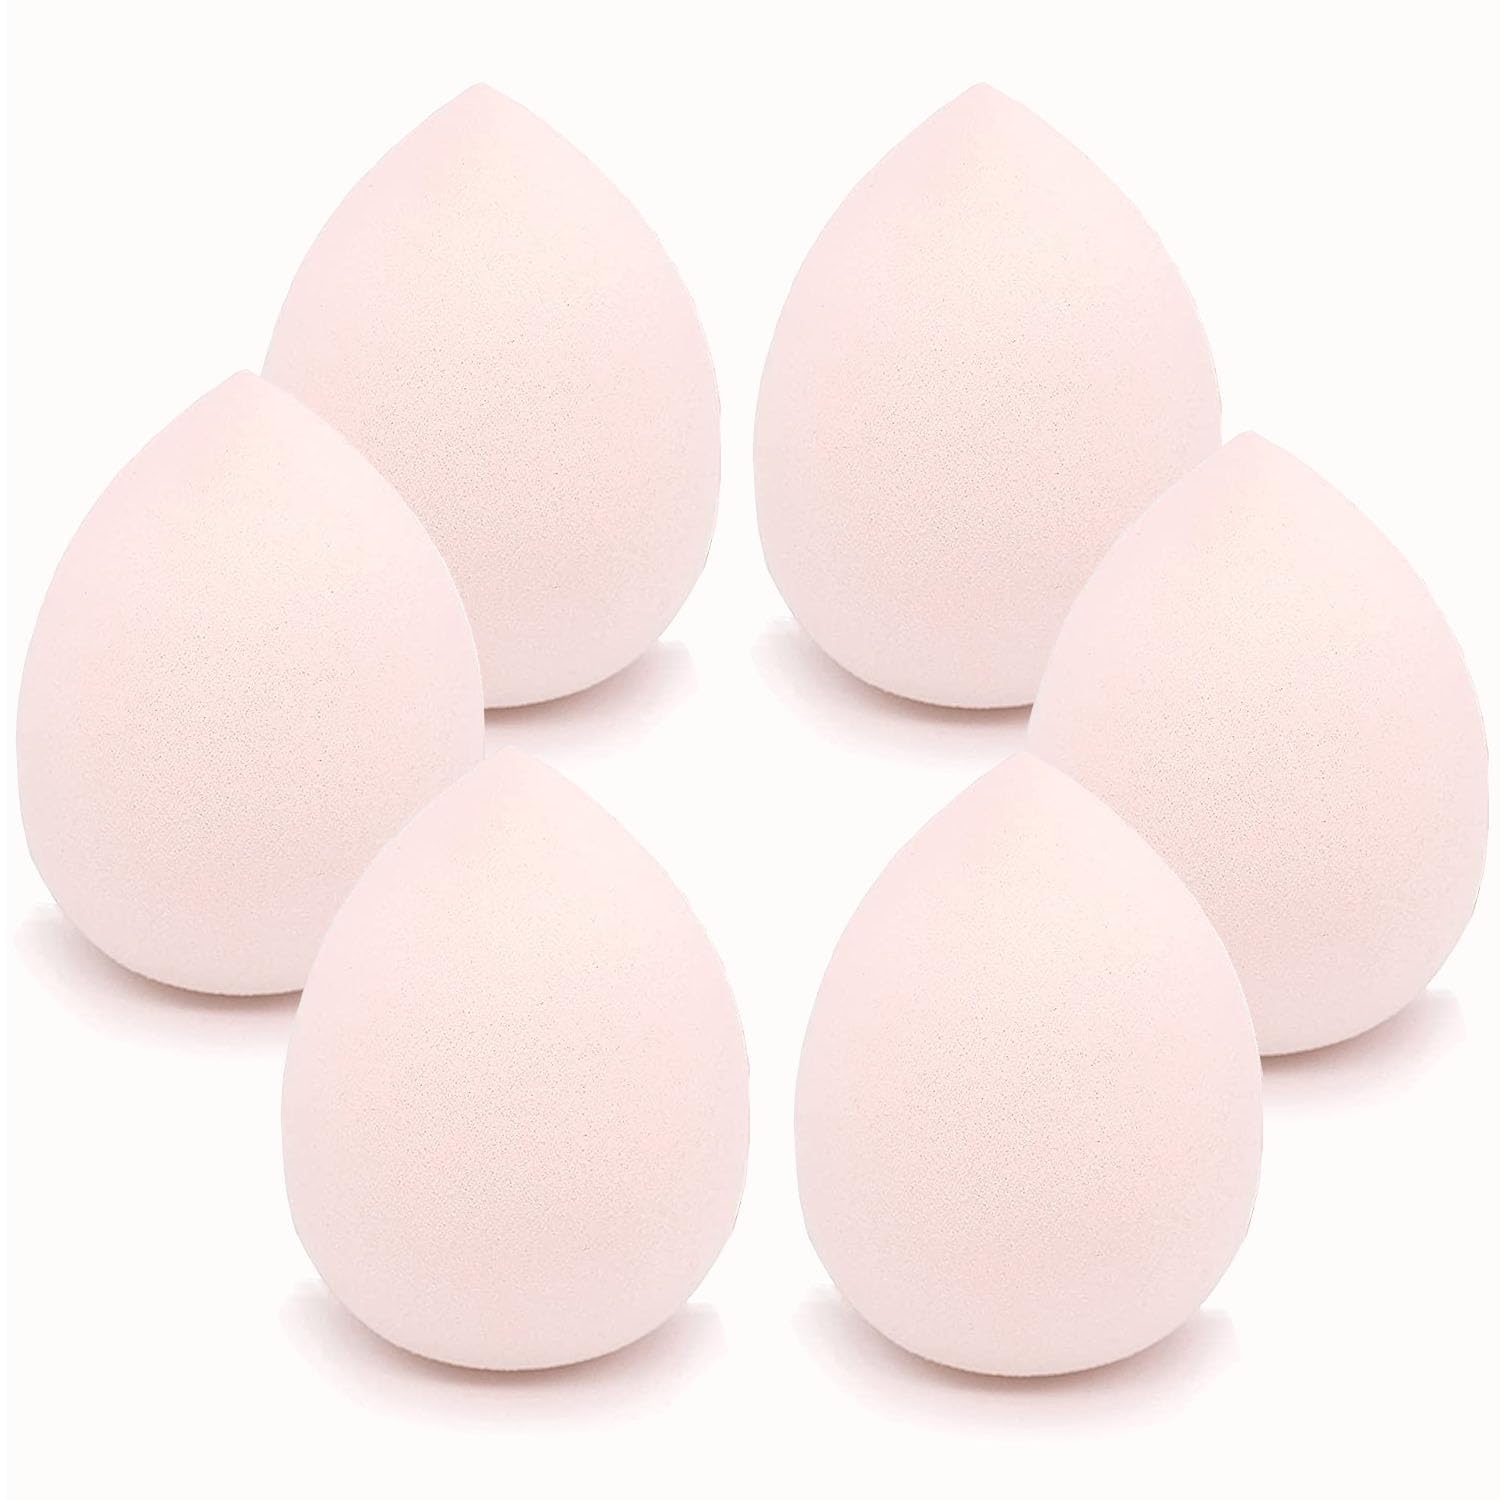
- Shape: The classic egg shape is a crowd-pleaser, but some sponges have flat edges for contouring or pointed tips for precision. Pick what suits your routine.
- Size: Smaller ones are ace for detailed spots like under your eyes; bigger ones tackle larger areas faster.
- Brand: Names like Beautyblender, Real Techniques, and EcoTools are loved for a reason—quality you can trust.
- Budget: You don’t need to splurge, but don’t skimp too much either. A good sponge is worth it.
Pro tip: Hold it in your hand before buying if you can. It should feel comfy—like an extension of your fingers.
How to Use a Makeup Concealer Sponge: A Step-by-Step Guide
Ready to get flawless? Here’s my foolproof guide to using your makeup concealer sponge. Grab your fave concealer, and let’s do this:
- Prep Your Skin: Start with a clean, moisturized face. If you’re rocking foundation, slap that on first.
- Dampen the Sponge: Run it under water, then squeeze out the excess. You want it damp, not dripping—think dewy, not drenched.
- Apply Concealer: Dot your concealer where you need it—under eyes, on blemishes, around your nose, wherever flaws are hiding.
- Blend Like a Boss: Use a bouncing or stippling motion (light taps, not swipes) to blend. Start gentle, then build up if you need more coverage.
- Set It: For extra staying power, dust on some translucent powder. This locks it in, especially under your eyes where creasing loves to crash the party.
First time I did this, I was shocked at how fast it was. Like, five minutes, and I looked polished. You’ll get the hang of it quick—promise.
A woman blending concealer under her eyes with a pink makeup concealer sponge Alt text: A woman blending concealer under her eyes with a pink makeup concealer sponge.
Tips and Tricks to Master Your Concealer Sponge
Want to take it up a notch? These little hacks will make your makeup concealer sponge your BFF:
- Wash It Often: Clean it every few uses with soap or a sponge cleanser. Keeps bacteria away and your skin happy.
- Swap It Out: Replace it every 3-4 months—or sooner if it’s falling apart. Fresh sponge, fresh face!
- Pointy Precision: Use the tip for tight spots like around your eyes or nose. It’s like a built-in detailer.
- Mix It Up: Test it with different concealers. I love creamy ones for dry skin, but liquids blend like a dream too.
- Hydrate Dry Skin: If your skin’s parched, dampen the sponge extra well so it doesn’t suck up your product.
Once, I forgot to clean mine for weeks—yikes. Cue a breakout. Lesson learned: a quick rinse is worth it.
Common Mistakes to Dodge
Even pros mess up sometimes. Here’s what not to do with your makeup concealer sponge:
- Dry Sponge Drama: Using it dry soaks up product and leaves streaks. Dampen it every time.
- Heavy Hands: Pressing too hard makes it cakey. Bounce, don’t smoosh.
- Dirty Sponge Sins: Skipping cleaning invites germs. Don’t risk it—wash it!
- Wrong Match: Pairing a thick concealer with oily skin (or a light one with heavy coverage needs) can flop. Match it to your skin type.
I’ve mashed a dry sponge into my face before. Disaster. Looked like I’d painted on concealer with a roller. Damp is the way.
How to Clean and Maintain Your Concealer Sponge
Your sponge deserves some TLC—it’s working hard for you! Here’s how to keep it in tip-top shape:
- Daily Rinse: After each use, rinse it under warm water. Squeeze out the gunk and let it air dry.
- Weekly Deep Clean: Use a mild soap or sponge cleanser. Rub it in, rinse well, and dry it out of damp spots.
- No Harsh Stuff: Skip the bleach or alcohol—it’ll wreck the sponge’s vibe.
- Smart Storage: Pop it somewhere dry and clean. A soggy bathroom counter? Nope.
A clean sponge means better blending and no surprise pimples. Trust me, it’s a small effort for a big payoff.
Close-up of a clean makeup concealer sponge being rinsed under water Alt text: Close-up of a clean makeup concealer sponge being rinsed under water.
The Best Makeup Concealer Sponges You Can Snag on Amazon
Alright, let’s get to the good stuff—where to find the best concealer sponges. I’ve rounded up some top picks available on Amazon.com, Amazon.co.uk, and Amazon.ca. These are game-changers, and yes, I’ve got affiliate links to make shopping a breeze!
1. Beautyblender Original Makeup Sponge
- Features: Latex-free, egg-shaped, all-purpose perfection.
- Pros: Super soft and bouncy, blends like a dream, lasts ages with care.
- Cons: Pricey side, needs regular cleaning to stay fresh.


This one’s the OG. I’ve used it for years, and it’s worth every penny for that flawless finish.
2. Real Techniques Miracle Complexion Sponge
- Features: Latex-free, flat edge for contouring, budget-friendly.
- Pros: Awesome for concealer and foundation, easy to grip, wallet doesn’t cry.
- Cons: Wears out faster than pricier options.


My go-to when I’m broke but still want to look fab. That flat edge? Genius.
3. EcoTools Perfecting Blender Duo
- Features: Plant-based materials, two sizes for versatility.
- Pros: Eco-friendly, great for sensitive skin, dual sizes tackle every spot.
- Cons: Can soak up more product if not damp enough.


Love the green vibes, and the mini sponge is clutch for tiny blemishes.
Three makeup concealer sponges in different colors on a white background Alt text: Three makeup concealer sponges in different colors on a white background.
Wrapping It Up: Your Flawless Future Awaits
So, there you go—everything you need to rock a makeup concealer sponge and hide flaws fast. We’ve covered what it is, why it’s awesome, how to use it, and even where to snag the best ones. Whether you’re a makeup newbie or a seasoned pro, this tool can transform your routine. I mean, who doesn’t want smooth, even skin in minutes?
Take it from me: experiment, have fun, and find what clicks for you. That first time I nailed it, I felt unstoppable—like I could conquer anything with my newfound glow. You’re next! Ready to upgrade your makeup stash? Check out these top sponges on Amazon and say goodbye to flaws for good.
FAQs: Your Burning Questions Answered
- Can I use a concealer sponge with powder products?
Yep! It’s best with liquids or creams, but a light dusting of powder works too—just dampen it less. - How often should I replace my sponge?
Every 3-4 months is ideal. If it’s crumbling or funky, toss it sooner. - What’s the difference between a concealer sponge and a foundation sponge?
Not much! Most are interchangeable, though some have shapes tailored for specific tasks.
