
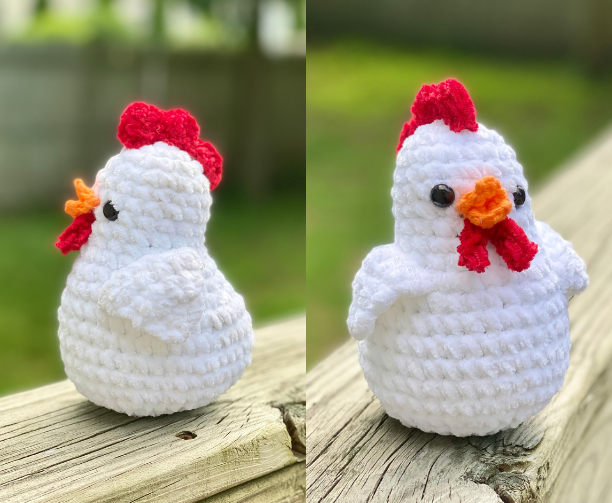
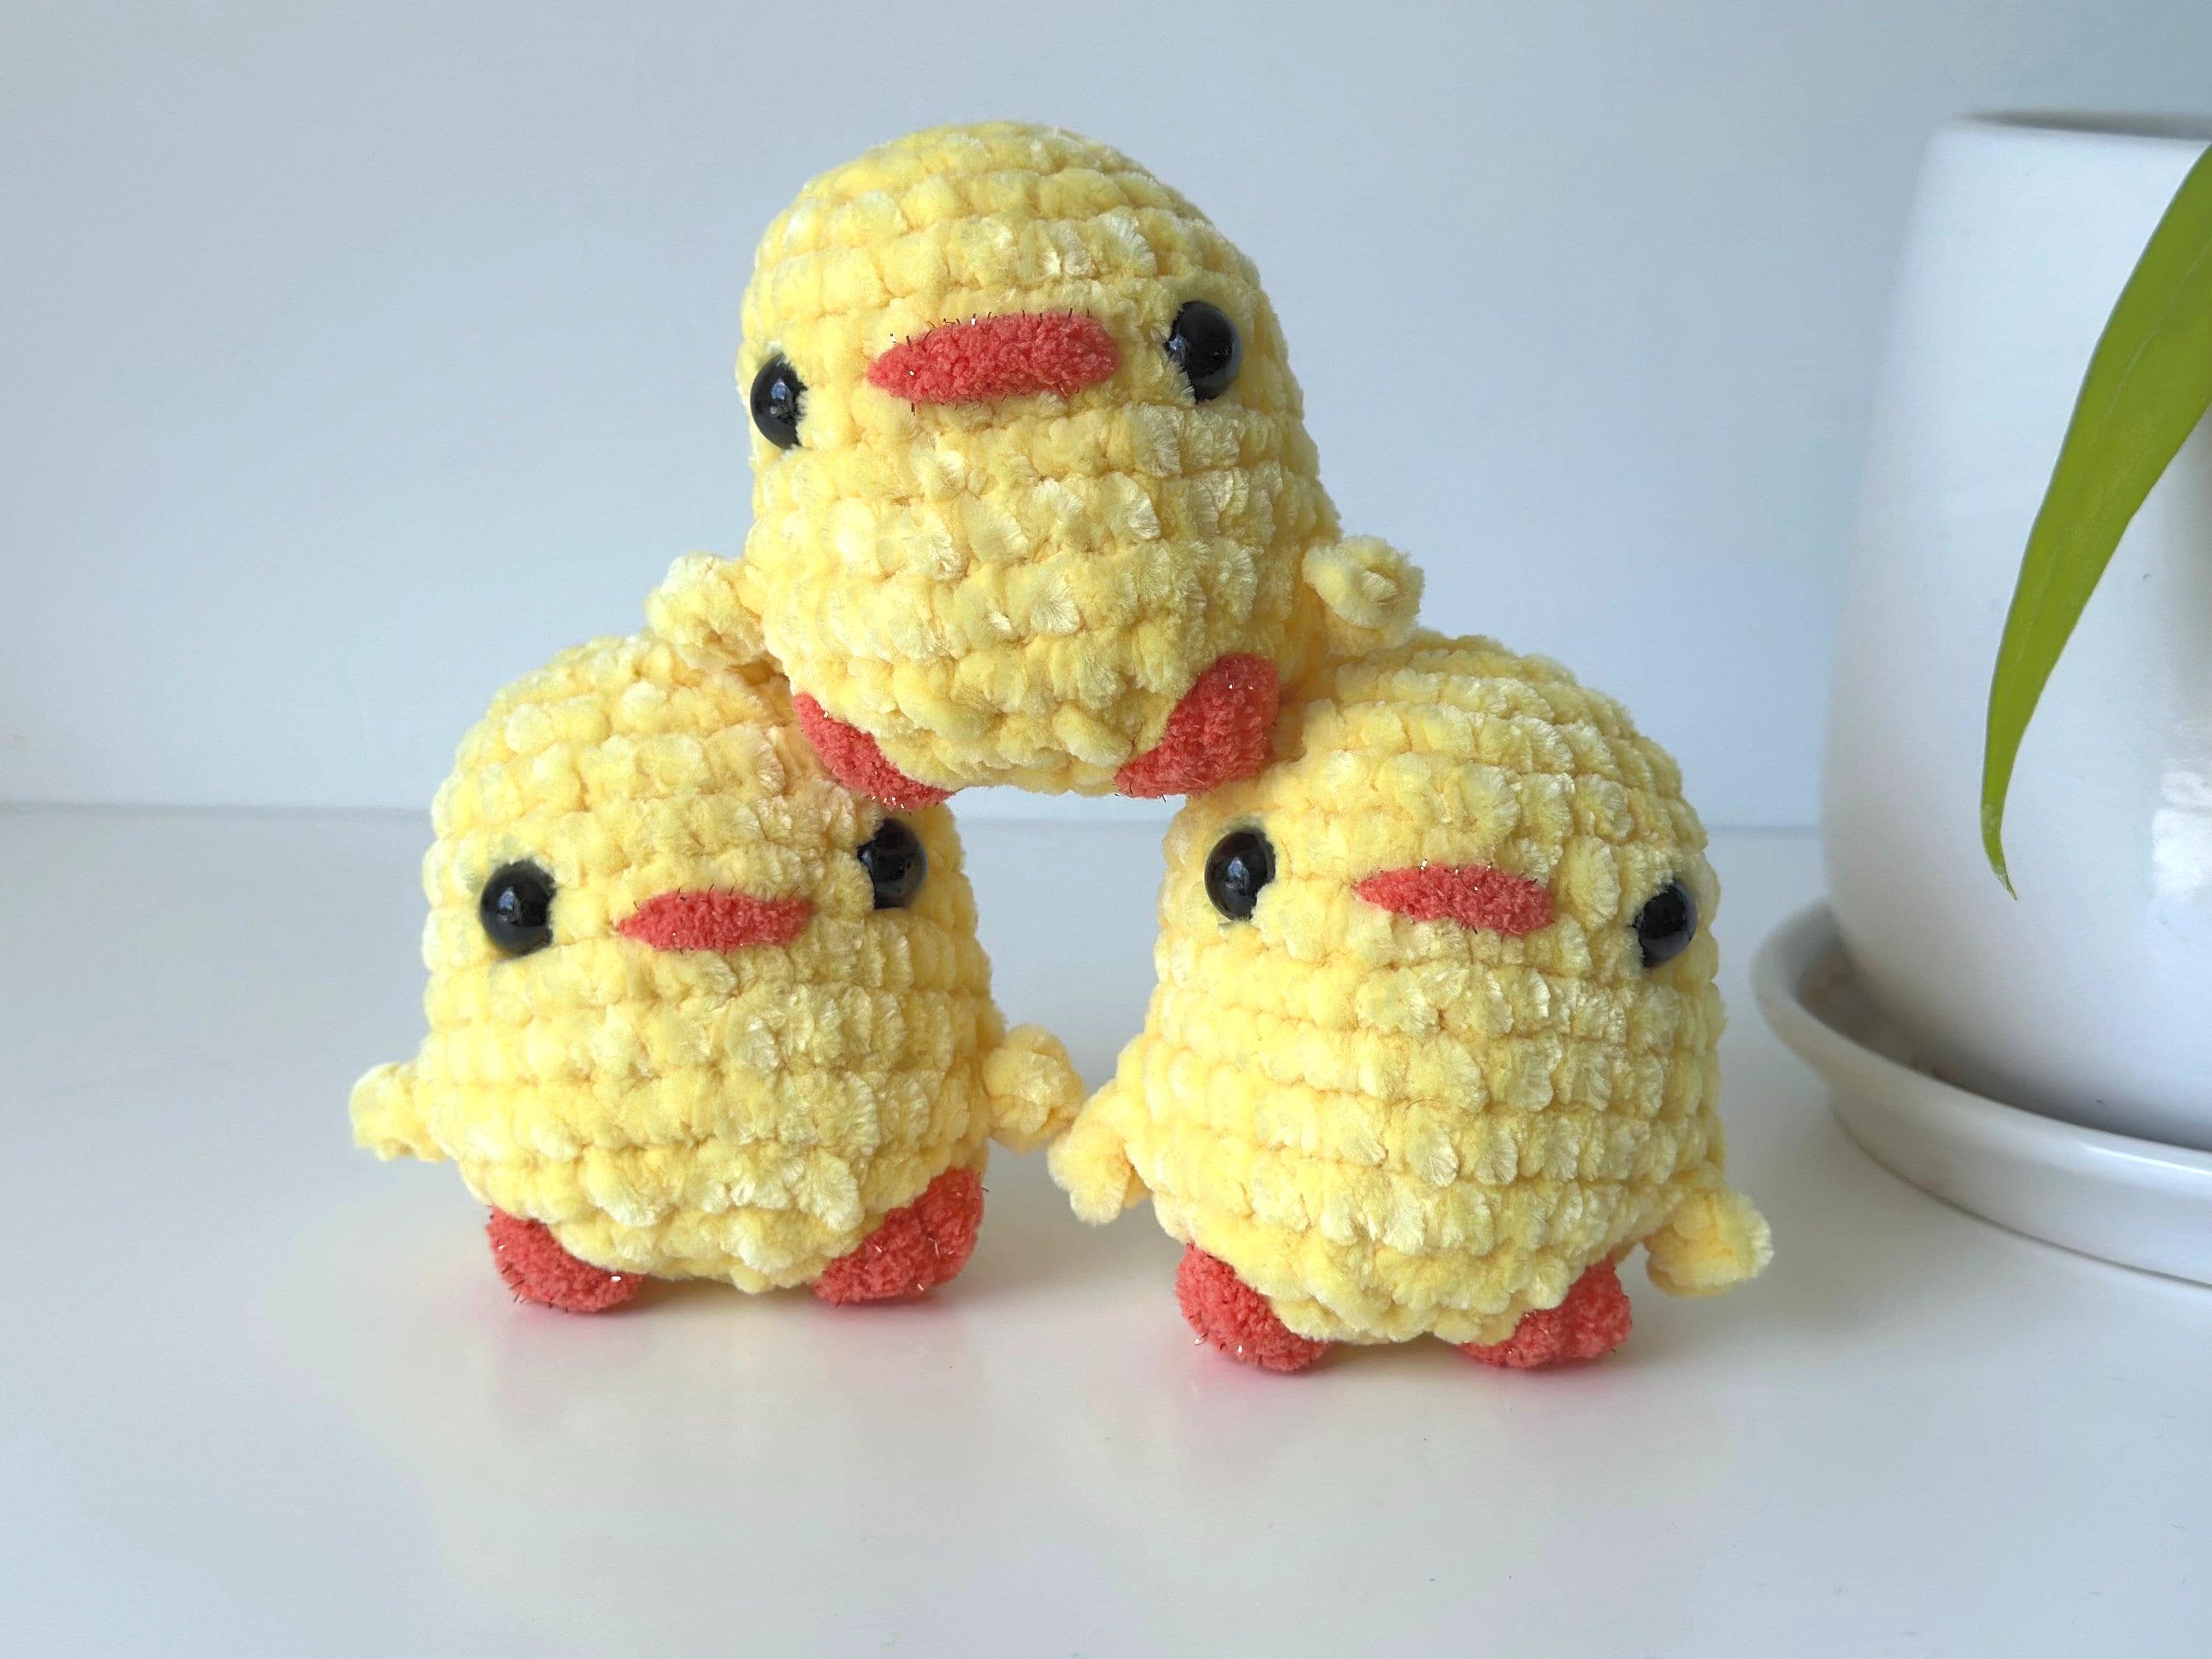
This pattern is designed for beginners, with clear, step-by-step instructions. We’ll create a cute crochet chicken inspired by the provided image, using basic stitches like single crochet (sc), increases (inc), and decreases (dec). The finished chicken will be about 8-10 inches tall, depending on your yarn and tension. It’s an amigurumi-style toy, worked in continuous rounds (no joining unless specified). We’ll make the body and head in one piece, then add separate parts like wings, beak, comb, wattle, tail, and legs. Stuff as you go for easier shaping.
Materials Needed:
- Yarn: Medium weight (worsted or DK) in brown (main body, ~50g), cream/white (neck/head/wings, ~30g), red (comb/wattle, ~5g), yellow (beak/legs, ~5g), black (eyes if embroidering).
- Crochet hook: 4.0mm (G-6) for tight stitches.
- Safety eyes: 10-12mm (or embroider).
- Polyester fiberfill.
- Yarn needle, scissors, stitch marker.
- Optional: Pins.
Abbreviations (US Terms):
- ch: Chain.
- sc: Single Crochet.
- inc: Increase (2 sc in one st).
- dec: Invisible Decrease.
- sl st: Slip Stitch.
- hdc: Half Double Crochet.
- dc: Double Crochet.
- MR: Magic Ring.
- FLO: Front Loop Only.
- BLO: Back Loop Only.
- Rnd: Round.
Tips for Beginners:
- Count stitches each round.
- Use stitch marker.
- Work tightly.
- Practice MR and dec.
- Change colors in last stitch.
Step 1: Body and Head (Worked in One Piece)
Start with brown yarn.
- Rnd 1: In a MR, sc 6. Pull tight. (6 sts) Image Prompt: A close-up of hands forming a magic ring with yarn and hook, showing 6 single crochets worked into it, with the tail pulled to close the ring.
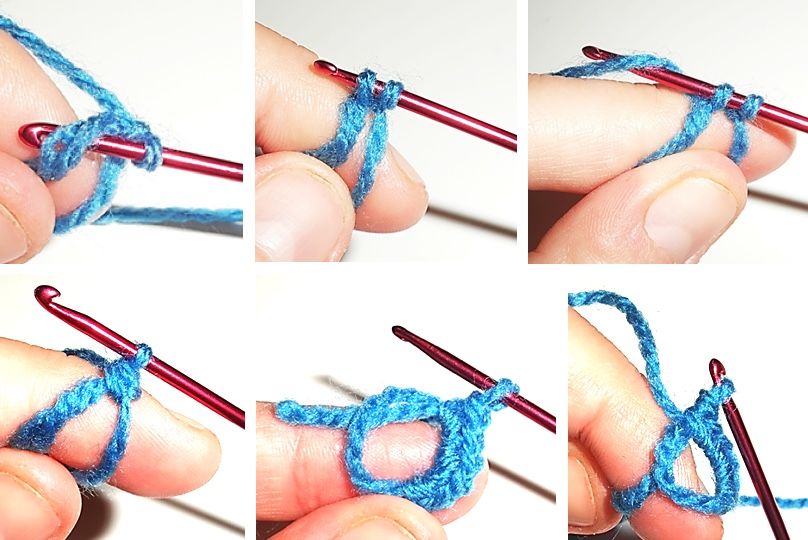
How to Crochet a Magic Ring Step by Step (Beginner’s Guide …
- Rnd 2: Inc in each st around. (12 sts) Image Prompt: Hands holding a small crochet circle after increasing every stitch, showing the expansion from 6 to 12 stitches with a hook inserted.

How to Crochet in the Round and Increase — Pops de Milk – Fun and …
- Rnd 3: (Sc 1, inc) repeat 6 times. (18 sts)
- Rnd 4: (Sc 2, inc) repeat 6 times. (24 sts)
- Rnd 5: (Sc 3, inc) repeat 6 times. (30 sts)
- Rnds 6-10: Sc in each st around for 5 rounds. (30 sts each) Image Prompt: The completed tubular body shape after multiple increase rounds, held in hand to show the rounded base form.
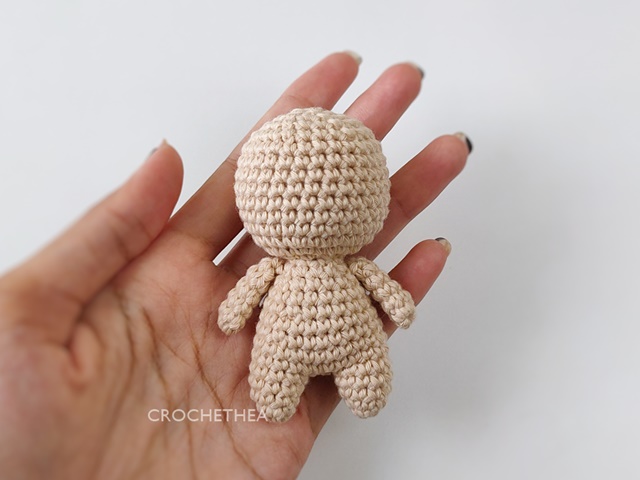
Chibi Basic Body Crochet Pattern | Crochethea
- Rnd 11: (Sc 3, dec) repeat 6 times. (24 sts) Start stuffing lightly here.Image Prompt: Hands inserting fiberfill stuffing into the partially crocheted body, showing how to push it down evenly without overstuffing.
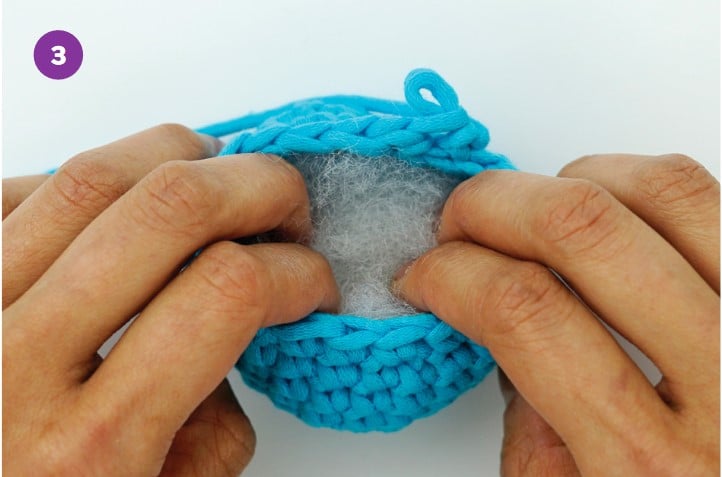
Stuffing Amigurumi | The Woobles
- Rnd 12: (Sc 2, dec) repeat 6 times. (18 sts)
- Rnd 13: Sc in each st around. (18 sts) Change to cream/white yarn at the end of this round.Image Prompt: Close-up of switching yarn colors mid-round, with the new color pulled through the last stitch and old color secured.

How to invisible color change in Amigurumi. The ultimate guide to …
- Rnd 14: (Sc 2, inc) repeat 6 times. (24 sts)
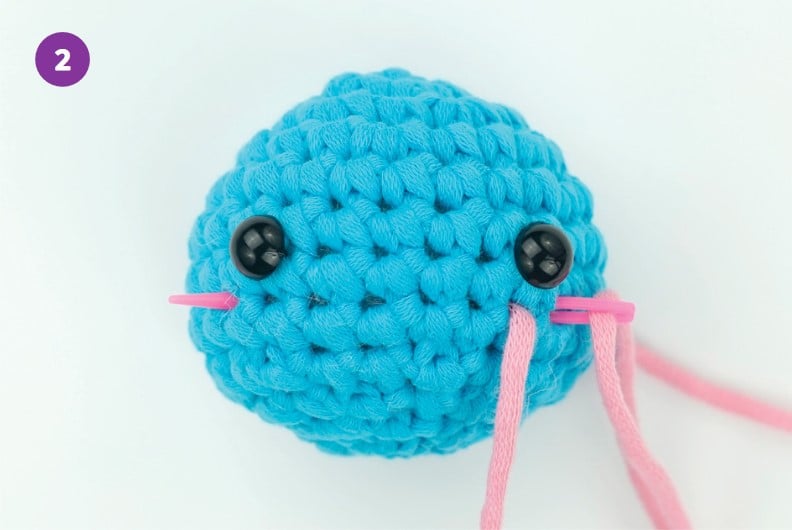
- Rnds 15-19: Sc in each st around for 5 rounds. (24 sts each) Insert safety eyes between Rnds 17-18, 5-6 sts apart. Stuff neck firmly.Image Prompt: Attaching safety eyes to the head section, showing placement between rounds with backs secured inside.

5 Easy Ways to Add Cuteness to Safety Eyes on Crochet Amigurumi Toys
- Rnd 20: (Sc 2, dec) repeat 6 times. (18 sts)
- Rnd 21: (Sc 1, dec) repeat 6 times. (12 sts) Add more stuffing to the head.
- Rnd 22: Dec in each pair around. (6 sts) Fasten off, weave tail through 6 sts, pull tight to close. Image Prompt: Using a yarn needle to weave through the final stitches and pull to close the top of the head seamlessly.

How to close amigurumi
Step 2: Wings (Make 2)
Use cream/white yarn.
- Rnd 1: In a MR, sc 6. (6 sts)
- Rnd 2: Inc in each st around. (12 sts)
- Rnd 3: (Sc 1, inc) repeat 6 times. (18 sts)
- Rnds 4-5: Sc in each st around. (18 sts each)
- Rnd 6: (Sc 1, dec) repeat 6 times. (12 sts) Do not stuff. Fasten off, long tail. Flatten wing. Image Prompt: A flattened crochet wing piece after decreasing, showing the oval shape ready for attachment.

Mini Butterfly or Bee Amigurumi • RaffamusaDesigns
Sew to body sides between Rnds 10-14, 8-10 sts apart. Image Prompt: Sewing a wing onto the side of the crochet body using a yarn needle and whip stitch.

Mabel Chicken Eyes and Beak Tutorial – YouTube
Step 3: Beak
Use yellow yarn.
- Rnd 1: In a MR, sc 4. (4 sts)
- Rnd 2: (Sc 1, inc) repeat 2 times. (6 sts)
- Rnd 3: Sc in each st around. (6 sts) Fasten off, tail. No stuff. Image Prompt: Small conical crochet beak in yellow yarn, shown from side and front views.
Amigurumi Chicken / Rooster – Crochet Pattern Mod ~ Crafty Kitty …
Sew centered between eyes on Rnd 17-18. Image Prompt: Attaching the beak to the head with stitches, positioned below the eyes.

CeeCee Chick Comb Tutorial – FREE Pattern Mod from Mama Made Minis
Step 4: Comb
Use red yarn.
- Ch 8.
- In 2nd ch: Sl st, sc, hdc, dc in next (point), hdc, sc, sl st.
- Ch 3, sl st to base for another point; repeat 3-4 times, varying sizes. Fasten off, tail. Image Prompt: Completed red crochet comb with multiple wavy points, laid flat.
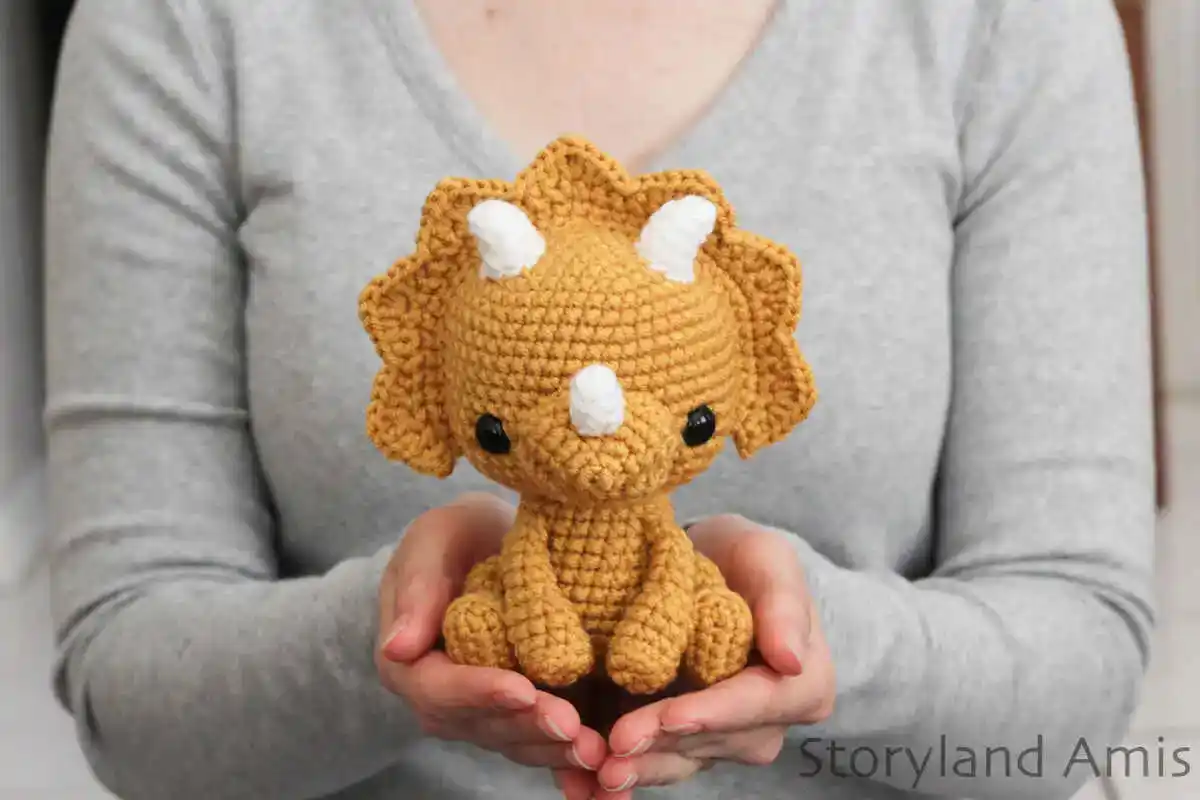
Free Triceratops Amigurumi Pattern – Dinosaur Crochet Tutorial …
Sew along head top from behind eyes over Rnds 19-22. Image Prompt: Sewing the comb curved onto the top of the chicken head.

Cora Chicken
Step 5: Wattle
Use red yarn.
- Ch 5.
- In 2nd ch: Sc 1, hdc 1, sc 1, sl st 1.
- Ch 3 from base, sc 2 down. Fasten off, tail. “V” shape. Image Prompt: Red crochet wattle in a dangling V or double lobe form.
Cora Chicken
(Note: Shared image shows comb and wattle together for reference.)
Sew under beak. Image Prompt: Attaching wattle below the beak, hanging down on the chicken head.
Amigurumi Chicken / Rooster – Crochet Pattern Mod ~ Crafty Kitty …
Step 6: Tail
Use brown yarn.
- Rnd 1: In a MR, sc 6. (6 sts)
- Rnd 2: Inc in each st around. (12 sts)
- Rnd 3: (Sc 3, inc) repeat 3 times. (15 sts)
- Rnd 4: Sc in each st around. (15 sts)
- Rnd 5: (Sc 3, dec) repeat 3 times. (12 sts) Flatten, sl st across top. Fasten off, tail. Image Prompt: Flattened crochet tail piece after shaping, showing the tapered form.
Free Triceratops Amigurumi Pattern – Dinosaur Crochet Tutorial …
Sew to back at Rnd 6-8. Image Prompt: Sewing the tail to the rear of the body for balance.
Chibi Basic Body Crochet Pattern | Crochethea
(Reference body for placement.)
Step 7: Legs (Make 2)
Use yellow yarn.
- Rnd 1: In a MR, sc 6. (6 sts)
- Rnd 2: BLO sc around. (6 sts)
- Rnds 3-6: Sc around for 4 rounds. (6 sts each) For feet: At Rnd 2 end, ch 3, sl st back; repeat 3 times for toes. Fasten off. Stuff lightly if needed. Image Prompt: Completed yellow crochet leg with stem and three-toed foot.
Crochet Chicken Feet Pattern – Etsy
Sew to bottom at Rnd 4-5, spaced. Image Prompt: Attaching legs to the base of the chicken body for standing stability.

How to Crochet a Long-Legs Chicken Amigurumi
Step 8: Assembly and Finishing
- Sew all parts securely, pin first.
- Add details: Embroider claws with white (straight stitches). Image Prompt: Using yarn needle to embroider small details like claws or feathers on the finished toy.
How to Embroider on Crochet Amigurumi | The Woobles
- For textured feathers, add surface sl sts in white.
- Weave in ends. Shape gently.
Your chicken is done! Adapt as needed.

Related Posts

Discover the Best Baby Shampoo on Amazon for Gentle Cleansing
Finding the best baby shampoo on Amazon can feel like navigating a jungle of options, especially when you want something gentle, safe, and tear-free for your little one’s delicate scalp.…

Tech Skills That Actually Pay Off in 2026 (Real Guide)
This post contains affiliate links to courses and learning resources. If you purchase through our links, we may earn a small commission at no extra cost to you. We only…

Discover the Best Baby Burp Cloths on Amazon for Easy Cleanup
Spit-ups, drool, and surprise messes are just part of life with a newborn—but the right burp cloth can make cleanup much easier. If you’ve ever gone through multiple outfit changes…