


Beauty lover! Ever wondered how makeup pros get that flawless, airbrushed look without spending hours in front of the mirror? Spoiler alert: it’s not magic (well, not entirely)—it’s a makeup sponge. Yep, that little squishy tool hiding in your makeup bag might just be the secret weapon you’ve been overlooking. Whether you’re a newbie dabbing on foundation for the first time or a seasoned pro perfecting your contour, a makeup sponge can transform your routine. And trust me, once you get the hang of it, you’ll wonder how you ever lived without one!
In this post, we’re diving deep into the world of makeup sponges—why they’re a must-have, how to use them like a boss, and where to snag the best ones. I’ve spent way too much time (and foundation) testing these babies, and I’m here to spill all the juicy details. Ready to level up your beauty game? Let’s get started—and oh, stick around, because I’ll point you to some top picks on Amazon in the US, UK, and Canada that’ll make your wallet happy too.
- What is a Makeup Sponge Anyway?
- Types of Makeup Sponges: Which One’s Your Match?
- How to Use a Makeup Sponge Like a Pro
- Choosing the Best Makeup Sponge for You
- Makeup Sponge vs. Brush vs. Fingers: The Showdown
- How to Keep Your Makeup Sponge in Top Shape
- Wrapping It Up: Your Makeup Sponge Journey Starts Now
What is a Makeup Sponge Anyway?
The Basics: Your Beauty BFF
So, what’s the deal with a makeup sponge? Simply put, it’s a soft, versatile tool designed to apply and blend makeup like foundation, concealer, and even powder. Usually made from foam or latex-free materials, these little gems come in all sorts of shapes—think eggs, wedges, or even funky flat-edged designs. The goal? To help you slap on your makeup smoothly and evenly, leaving you with that “I woke up like this” vibe.
Here’s the thing: I used to think sponges were just overhyped cotton balls. Boy, was I wrong. The first time I swapped my fingers for a damp sponge, my foundation went from streaky to seamless in seconds. It’s like the difference between a cheap paintbrush and a fancy roller—night and day, friends.
Why It’s a Game-Changer
Makeup sponges aren’t just cute—they’re practical. They soak up less product than brushes, blend like a dream, and are perfect for anyone who’s ever struggled with patchy coverage. Plus, they’re super beginner-friendly. No need to master complicated brush techniques—just bounce, blend, and bam, you’re done.
Types of Makeup Sponges: Which One’s Your Match?
Okay, not all sponges are created equal. Let’s break down the main types so you can find your perfect fit.
Egg-Shaped Sponges
- What’s the Vibe? Think of the classic teardrop shape—like the iconic Beauty Blender (yep, that’s a brand, but more on that later).
- Best For: All-over foundation and blending big areas like cheeks and forehead. The pointed tip? Pure gold for under-eye concealer.
- Why I Love It: It’s the multitasker of sponges. One tool, endless possibilities.
Wedge Sponges
- What’s the Vibe? Flat, triangular, and usually disposable. Old-school but still kicking.
- Best For: Quick applications or precise contouring with those sharp edges.
- Pro Tip: They’re cheap, so great for experimenting—but don’t expect miracles in blending.
Silicone Sponges
- What’s the Vibe? Slick, non-porous, and a little futuristic.
- Best For: Creams or liquids when you don’t want to waste a drop.
- Heads-Up: They don’t blend as well as foam, but they’re a breeze to clean.
How to Use a Makeup Sponge Like a Pro
Ready to wield your sponge? Here’s the step-by-step lowdown. Trust me, it’s easier than it looks—and way more fun than fumbling with brushes.
- Dampen It First: Run your sponge under water and squeeze out the excess. A wet sponge blends better and prevents that cakey mess. Dry sponge? Rookie mistake.
- Dot Your Product: Dab a little foundation or concealer onto your sponge—or directly on your face, your call. Less is more here; you can always build up.
- Bounce, Don’t Drag: Use a gentle bouncing motion (aka stippling) to press the product into your skin. Start at the center of your face and work outward.
- Hit the Details: Use the pointed end for tricky spots like around your nose or under your eyes. Precision, baby!
- Blend It Out: Keep bouncing until everything melts together. No streaks, no stress.
- Clean It Up: Rinse that sponge after each use. You don’t want a bacteria party on your face.
Common Mistakes to Skip
- Dry Sponge Drama: It’ll suck up product and leave you patchy. Wet it, squeeze it, love it.
- Too Much Product: Start small. You’re not frosting a cake.
- Skipping the Clean: A dirty sponge is a breakout waiting to happen. Wash it weekly, minimum.
Benefits of Using a Makeup Sponge
Why bother, you ask? Oh, let me count the ways!
- Flawless Finish: That airbrushed look? Sponges nail it every time.
- Seamless Blending: Say goodbye to harsh lines and hello to smooth transitions.
- Less Waste: Unlike brushes that hog product, sponges use just what you need.
- Beginner-Friendly: No skills required—just bounce and go.
- Versatile Vibes: Foundation, concealer, blush, powder—it handles it all.
I’ll be real: I was skeptical at first. A sponge? Really? But after one try, I was hooked. My foundation looked like skin, not a mask. You’ll love this—I promise!
Choosing the Best Makeup Sponge for You
With so many options, how do you pick? Here’s what to consider.
Material Matters
- Latex-Free: Perfect for sensitive skin. Most sponges these days skip the latex, so you’re safe.
- Foam: Soft, absorbent, and blendy—your classic go-to.
- Silicone: Non-absorbent and budget-friendly, but less forgiving on texture.
Shape and Size
- Egg or Teardrop: All-purpose champs.
- Flat-Edged: Great for contour or baking powder.
- Mini Sponges: Tiny but mighty for detailed work like concealing blemishes.
Top Picks
Beauty Blender Original (yep, the OG brand): Pricey but worth it for pros.


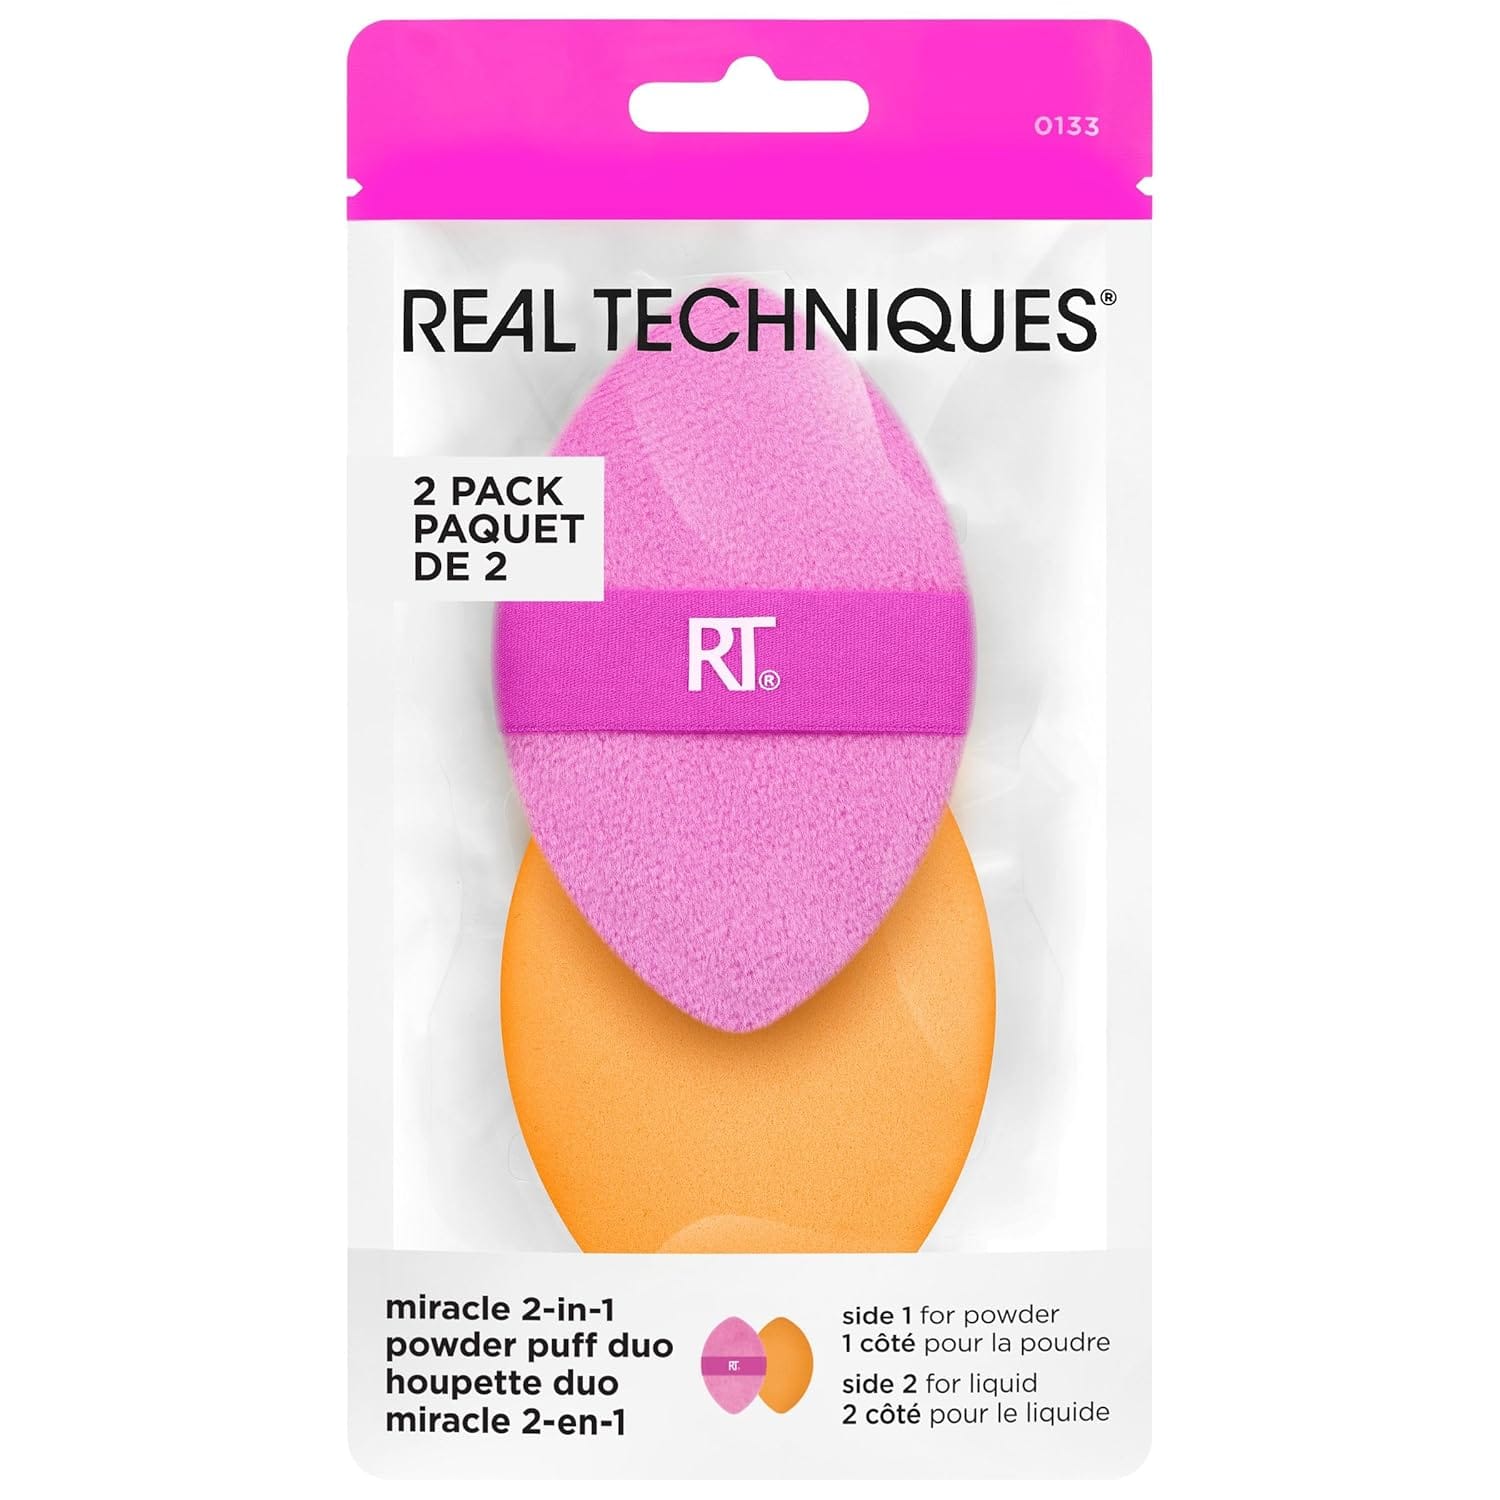
Real Techniques Miracle Sponge: Affordable and fabulous.


EcoTools Perfecting Blender: Sustainable and soft as heck.


Pro Tip: Look for “latex-free makeup sponge” if allergies are a worry. You’ll thank me later.
Makeup Sponge vs. Brush vs. Fingers: The Showdown
Sponges aren’t the only players in town. Let’s compare.
- Sponges: Best for blending and a natural finish. Wet or dry, they’re champs.
- Brushes: Great for precision (hello, winged liner) but can leave streaks if you’re not careful.
- Fingers: Free and fast, but messy and uneven. I tried this once—disaster city.
For me, sponges win for everyday foundation. Brushes are my contour sidekick, and fingers? Only in a pinch. What’s your vibe?
How to Keep Your Makeup Sponge in Top Shape
A good sponge deserves some TLC. Here’s how to keep it fresh.
Cleaning 101
- Quick Rinse: After each use, rinse with warm water and a drop of soap. Squeeze, don’t scrub.
- Deep Clean: Once a week, soak it in soapy water for 10 minutes, then rinse till clear.
- Dry Time: Let it air-dry—no tossing it wet into your bag, okay?
When to Toss It
Sponges don’t last forever. If it’s tearing, stained beyond repair, or smells funky (ew), it’s time for a new one—usually every 1-3 months.
FAQs: Your Makeup Sponge Questions, Answered
Got Qs? I’ve got As.
- Can I use a sponge for powder? Yep! Damp for cream, dry for powder.
- Beauty Blender vs. generic sponges? Beauty Blender’s a brand with a cult following—pricey but plush. Generic ones work too, especially budget buys like Real Techniques.
- How often should I clean it? After every use if you can, but weekly deep cleans are a must.
Wrapping It Up: Your Makeup Sponge Journey Starts Now
So, there you have it—everything you need to know about makeup sponges. They’re the unsung heroes of your beauty routine, blending your makeup into perfection with zero fuss. From picking the right shape to mastering that bounce technique, you’re now armed with the know-how to slay your look. And don’t sleep on cleaning—keep that sponge fresh, and it’ll keep you glowing.
Ready to experience the sponge magic for yourself? Hop over to Amazon and grab one that vibes with you. Whether it’s the luxe Beauty Blender or a budget-friendly gem, your face will thank you.
