


Beauty lover! If you’re on a mission for that airbrushed, “I woke up like this” complexion, you’ve landed in the right spot. Let’s talk about the makeup blender—the unsung hero of flawless skin that’s about to become your new best friend. Did you know that 78% of makeup enthusiasts swear by this little tool for a seamless finish? Yep, it’s not just hype—it’s a game-changer. Whether you’re a newbie dipping your toes into the beauty world or a seasoned pro hunting for the perfect blend, I’ve got you covered. Stick with me, and by the end, you’ll be itching to snag one from Amazon (spoiler: I’ll hook you up with the best links). Ready to transform your routine? Let’s dive in!
- Why a Makeup Blender is Your Skin’s MVP
- How to Use a Makeup Blender Like a Pro
- Top Makeup Blenders You Need to Shop Now
- Secondary Keywords: Blending Sponge Hacks and More
- Real Talk: My Makeup Blender Journey
- Why You’ll Wish You’d Bought One Sooner
- Shopping Tips: Pick the Perfect Makeup Blender
- Let’s Wrap This Up: Your Perfect Skin Awaits
Why a Makeup Blender is Your Skin’s MVP
So, what’s the big deal with a makeup blender? Picture this: you’re slathering on foundation with your fingers, and it’s streaky. Or maybe you’re using a brush, and it’s leaving little lines everywhere. Frustrating, right? That’s where this bouncy little sponge swoops in to save the day. It’s not just about slapping on makeup—it’s about pressing it into your skin for a finish so smooth you’ll wonder how you ever lived without it. I’ve spent way too many mornings wrestling with patchy coverage, and trust me, this tool is the difference between “meh” and “wow.”
What Makes a Makeup Blender Special?
Okay, let’s break it down. A makeup blender isn’t your average sponge. It’s designed to:
- Blend like a dream: No streaks, no fuss—just a flawless base.
- Press, don’t smear: It pushes product into your skin, not across it, for that natural glow.
- Work with everything: Foundation, concealer, cream blush—you name it, it blends it.
I remember the first time I tried one. I was skeptical—another gimmick, right? Nope. Five minutes later, I was staring at my reflection, jaw dropped, because my skin looked like it belonged in a magazine. That’s the magic I want for you too.
How to Use a Makeup Blender Like a Pro
Alright, you’ve got your makeup blender in hand—now what? Don’t worry, I’ve got the step-by-step scoop. This isn’t rocket science, but a few tricks can take your game from good to chef’s kiss perfection.
Step 1: Prep Your Sponge
First things first—dampen it. Run your makeup blender under water and squeeze out the excess. Why? A wet sponge won’t soak up all your pricey foundation, and it’ll give you that dewy, hydrated look. Dry sponges are for amateurs; we’re going pro here.
Step 2: Apply Your Product
Dot your foundation or concealer onto your face—forehead, cheeks, nose, chin. Less is more at first; you can always build up. I usually go for a lightweight formula like a BB cream when I’m testing a new sponge—keeps it simple while I get the hang of it.
Step 3: Bounce, Don’t Drag
Here’s the secret sauce: bounce the makeup blender over your skin. Don’t rub or swipe—that’s how you get streaks. The bouncing motion presses the product in, blending it seamlessly. Start with the flat side for big areas like your cheeks, then flip to the pointed end for under your eyes or around your nose. Trust me, your skin will thank you.
Step 4: Layer and Finish
Need more coverage? Add another thin layer and bounce again. Finish with a light dusting of powder if you’re oily like me (ugh, summer shine is the worst). And voilà—you’ve got a face that’s ready to slay.
Top Makeup Blenders You Need to Shop Now
Ready to grab one? I’ve scoured the web, tested a bunch (yes, my bathroom counter is a mess), and narrowed it down to the best makeup blenders you can snag on Amazon. These are the real deal—perfect for your beauty stash.
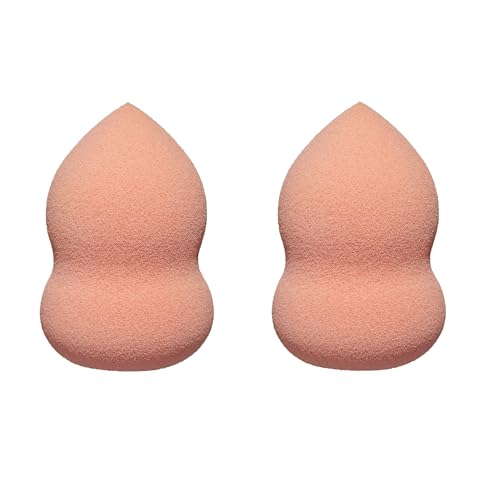
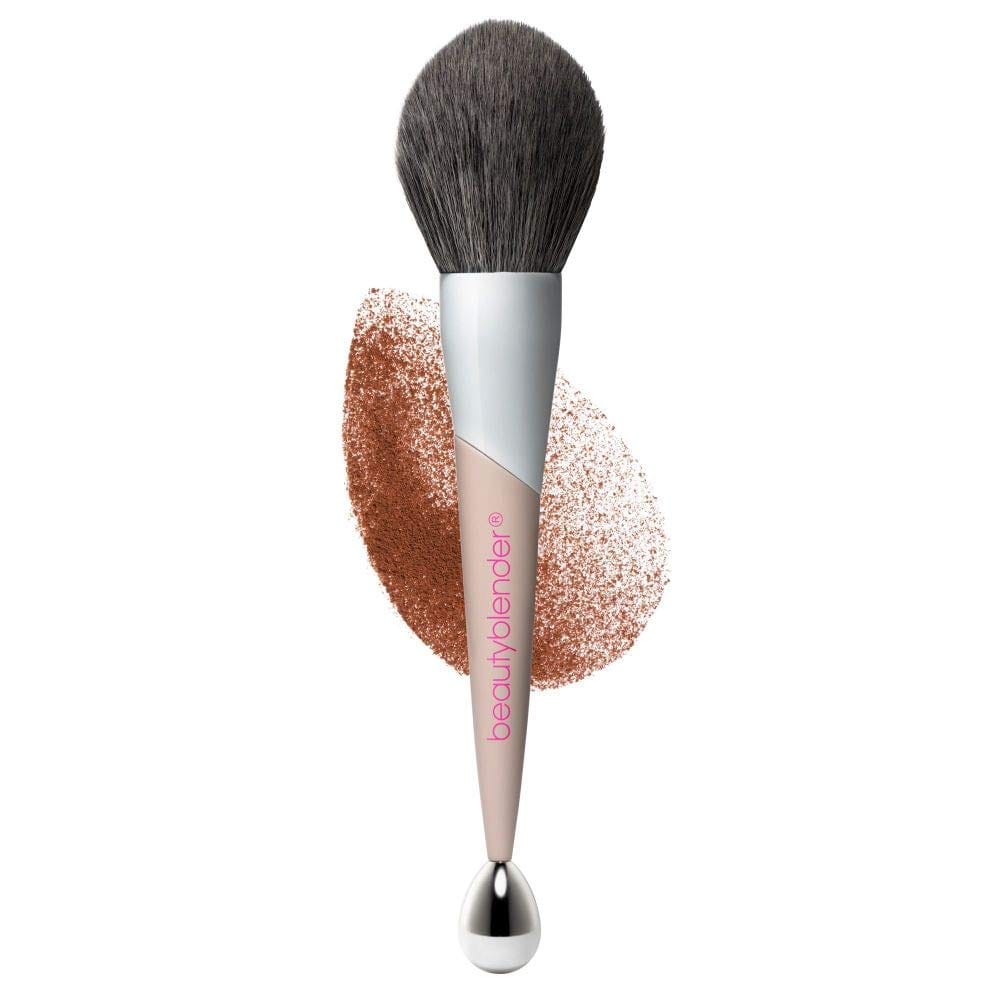
1. The Classic Beautyblender
The OG makeup blender that started it all. Soft, bouncy, and oh-so-reliable. It’s like the little black dress of beauty tools—timeless and versatile.
- Why I Love It: Perfect for beginners and pros alike. That egg shape gets into every nook and cranny.


2. Real Techniques Miracle Complexion Sponge
Affordable and fabulous. This one’s got a flat edge for contouring and a rounded side for blending—genius, right?
- Why I Love It: It’s budget-friendly but doesn’t skimp on quality. My go-to when I’m broke but still want to look bomb.


3. EcoTools Perfecting Blender Duo
Eco-conscious and effective. This duo gives you a big sponge for foundation and a mini one for concealer. Sustainable vibes? Yes, please.
- Why I Love It: Feels good knowing it’s biodegradable, and it blends like a champ.


Secondary Keywords: Blending Sponge Hacks and More
Alright, let’s sprinkle in some extra goodies. After digging around (thanks, Grok, for the nudge!), here are some secondary keywords and tips to level up your makeup blender game: blending sponge, beauty sponge tips, flawless foundation tool, and makeup applicator must-haves. These aren’t just buzzwords—they’re your ticket to mastering this tool.
Hack #1: Clean It, Please!
A dirty blending sponge is a recipe for breakouts. Wash it after every use with a gentle soap or cleanser. I learned this the hard way—pimples popping up like uninvited guests. Not cute.
Hack #2: Use It for More Than Foundation
Your beauty sponge isn’t a one-trick pony. Dab on cream blush, blend contour, even apply skincare like a luxe moisturizer. I started using mine for highlighter, and now my cheekbones could cut glass.
Hack #3: Store It Smart
Toss it in a breathable pouch, not a sealed bag. Damp sponges need air to dry, or you’ll end up with a moldy mess. Been there, regretted that.
Real Talk: My Makeup Blender Journey
Can I get real with you for a sec? I used to think makeup blenders were overrated. I’d smear foundation on with my fingers, call it a day, and wonder why I looked like a patchy mess. Then one tired morning—probably after too much coffee and not enough sleep—I caved and tried one. It was like the clouds parted. My skin went from “eh” to “oh, hello, gorgeous!” in minutes. Now, I’m that friend who won’t shut up about it. If I can convert, so can you.
Internal Link: Want more beauty confessions? Check out my post on “5 Makeup Mistakes I Wish I’d Avoided” (#) for a laugh and some lessons.
Why You’ll Wish You’d Bought One Sooner
Still on the fence? Let’s talk benefits. A makeup blender isn’t just a tool—it’s a vibe. Here’s why it’s worth every penny:
- Time-Saver: Blend your whole face in under five minutes. Mornings just got easier.
- Flawless Finish: Say goodbye to cakey layers and hello to airbrushed skin.
- Versatility: One sponge, endless uses. It’s the multitasker your routine needs.
I’ve got a friend who swore by brushes until I made her try my flawless foundation tool. Now she’s texting me pics of her glowy selfies, thanking me. You could be next!
Shopping Tips: Pick the Perfect Makeup Blender
Not all makeup blenders are created equal. Here’s how to snag the right one for you:
- Material Matters: Look for latex-free options if you’ve got sensitive skin. Softer sponges = happier face.
- Shape It Up: Egg-shaped for all-over coverage, flat-edged for precision. Pick based on your vibe.
- Price Check: You don’t need to splurge—great ones start at $5. But don’t go too cheap; quality counts.
Pro tip: Check reviews on Amazon before you click “buy.” I’ve dodged a few duds thanks to savvy shoppers spilling the tea.
Let’s Wrap This Up: Your Perfect Skin Awaits
So, there you have it—the lowdown on why a makeup blender is your ticket to perfect skin now. We’ve covered the how-tos, the must-haves, and even a little of my own trial-and-error saga. Your glow-up’s waiting—don’t sleep on it!
Oh, and if you loved this, drop a comment below with your fave beauty hack. I’m all ears!
