


Beauty enthusiast! Ever wondered how some people manage to look like they’ve just stepped out of a magazine shoot—flawless skin, perfectly blended makeup, and not a streak in sight? Spoiler alert: it’s not magic. It’s the Beauty Blender Sponge, and it’s about to become your new obsession. This little pink wonder isn’t just a makeup tool—it’s a total game-changer that’s taken the beauty world by storm. Whether you’re a newbie dipping your toes into the makeup pool or a pro looking to perfect your craft, this guide’s got you covered.
Picture this: I was once a skeptic, fumbling with brushes and fingers, wondering why my foundation never looked quite right. Then I tried a Beauty Blender Sponge, and let me tell you, it was love at first bounce. My skin looked smoother, my makeup lasted longer, and I didn’t spend half my morning blending. Sound like something you’d want in your life? Stick with me—by the end of this post, you’ll know everything about the Beauty Blender Sponge, from how to use it to where you can snag one (hint: Amazon’s got your back). Let’s dive into this beauty must-have!
What is a Beauty Blender Sponge?
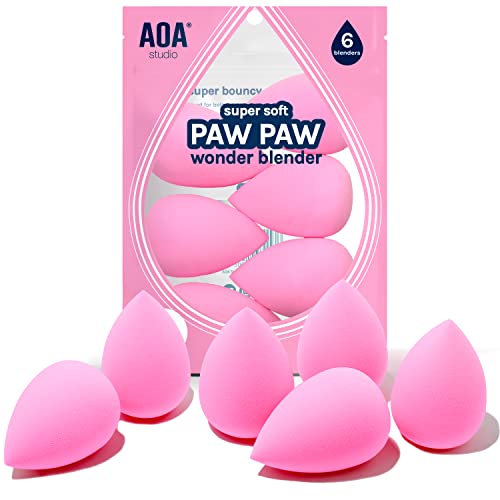
So, what’s the deal with this Beauty Blender Sponge everyone’s raving about? It’s a revolutionary makeup applicator designed to give you that airbrushed, flawless finish—without the airbrush. Created by Hollywood makeup artist Rea Ann Silva, this sponge hit the scene in 2003 and quickly became a cult favorite. Why? It’s all about that unique egg shape and squishy, latex-free material that blends makeup like a dream.
Unlike those flat, dollar-store sponges or stiff brushes, the Beauty Blender’s got a pointed tip for nailing those tricky spots—like under your eyes or around your nose—and a rounded base for bigger areas like your cheeks and forehead. It’s made from a special foam that loves water (more on that later), which means it doesn’t suck up half your foundation. The result? A smooth, natural look that’s effortless to achieve. Whether you’re into foundation, concealer, or even cream blush, this little tool’s versatility is unmatched.
Why the Beauty Blender Sponge Stands Out
Okay, let’s get real—there are tons of makeup sponges out there. So why is the Beauty Blender the one you keep hearing about? It’s not just hype. This thing’s a legend for a reason. First off, it was the OG—the one that kicked off the whole sponge craze. Rea Ann Silva designed it to mimic the way pros blend makeup on set, and it’s been a staple ever since.
But it’s more than history. The Beauty Blender’s texture is soft yet bouncy, giving you control without feeling like you’re wrestling a brick. And that shape? Genius. It’s like it was custom-made for your face. Plus, it’s reusable, easy to clean, and comes in a bunch of cute colors (though the classic pink’s still my fave). If you’re tired of streaky foundation or wasting product, this is your ticket to pro-level results at home.
How to Use a Beauty Blender Sponge Like a Pro
Now, let’s get to the good stuff—how do you actually use this thing? Don’t worry, it’s not rocket science. Here’s your foolproof guide to mastering the Beauty Blender Sponge:
- Wet It: Start by running your sponge under water until it’s soaked. It’ll puff up to about twice its size—don’t freak out, that’s normal!
- Squeeze It: Gently squeeze out the excess water. You want it damp, not dripping. I usually wrap it in a towel and give it a quick hug.
- Load It Up: Dab the sponge into your foundation, concealer, or whatever you’re using. You can also dot the product on your face first and blend from there—your call.
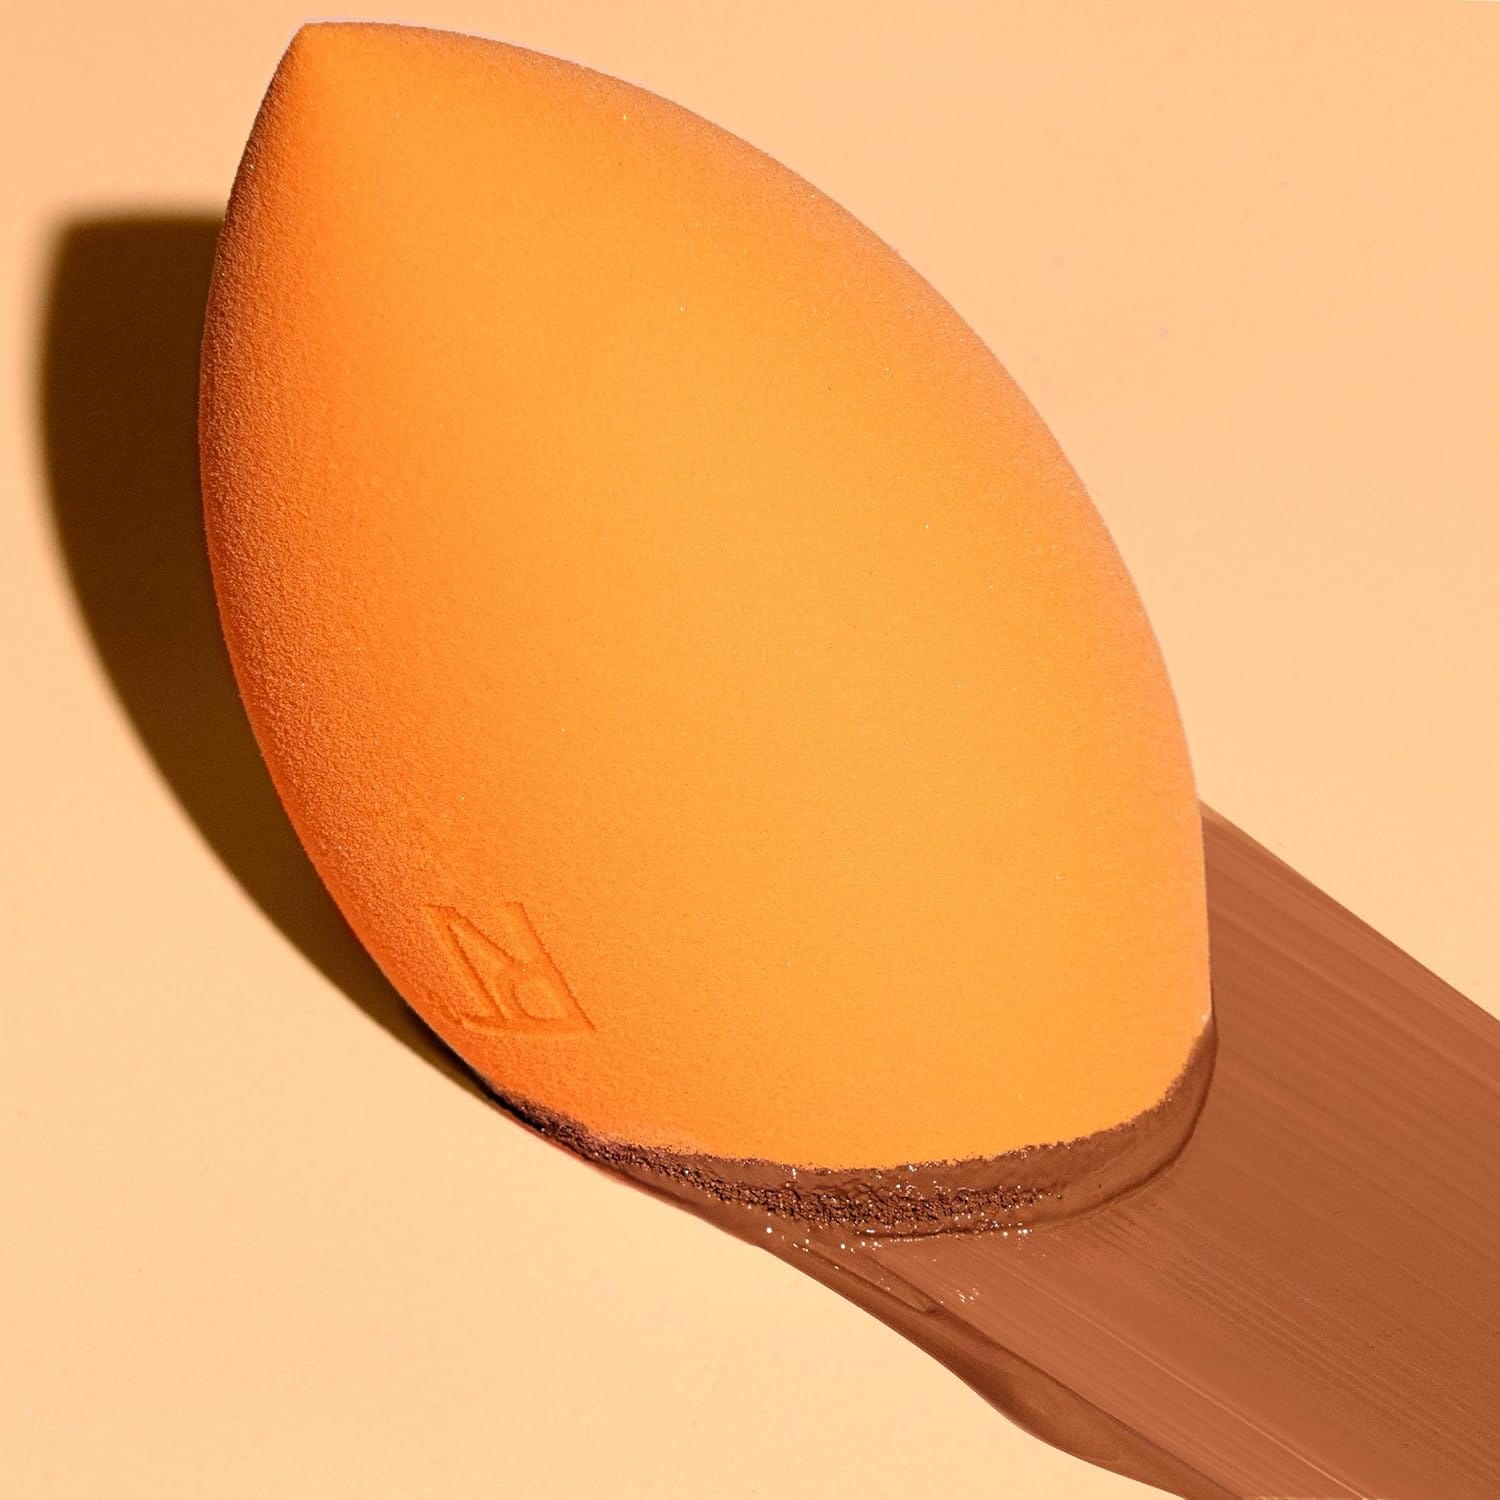
- Bounce, Don’t Swipe: Here’s the secret sauce—use a bouncing motion (think pogo stick, not paintbrush) to blend the makeup into your skin. The pointed end’s great for tight spots, while the round end tackles the rest.
A Little Story: When I first grabbed a Beauty Blender, I totally botched it—used it dry and dragged it across my face like a scrub brush. My foundation looked like a toddler applied it. Once I figured out the wet-and-bounce trick, it was like a lightbulb went off. My skin looked so smooth, I couldn’t stop staring in the mirror. Trust me, wet it first—you’ll thank me later.
Benefits That’ll Make You a Beauty Blender Believer
Still on the fence? Let’s break down why the Beauty Blender Sponge deserves a spot in your makeup bag:
- Flawless Finish: That bouncy texture blends makeup so seamlessly, you’ll look like you’ve got a filter on IRL.
- Multi-Tasking Magic: Use it for foundation, concealer, blush, highlighter—even skincare like serums. It’s the foundation applicator of your dreams and more.
- Saves Product: Because it doesn’t soak up everything, your makeup lasts longer (and so does your paycheck).
- Beginner-Friendly: No skills? No problem. It’s so easy, you’ll nail it on your first try.
I’m obsessed with how versatile it is. One day, I even used it to blend my tinted moisturizer when I was running late—worked like a charm. It’s like having a tiny makeup artist in your hand.
Secondary Perks You Didn’t Expect
Oh, and it’s not just about looks. The Beauty Blender’s latex-free, so it’s gentle on sensitive skin (no itchy red patches here). Plus, it’s durable—treat it right, and it’ll last months. Compare that to those crumbly drugstore sponges that fall apart after a week. Worth every penny, if you ask me.
Tips and Tricks to Level Up Your Beauty Blender Game
Ready to go from good to great? Here are some insider hacks to get the most out of your Beauty Blender Sponge:
- Damp for Dewy: A wet sponge gives you that fresh, hydrated glow—perfect for dry skin or summer vibes.
- Dry for Drama: Want full coverage? Use it dry. Just know it might drink up a bit more product.
- Mix It Up: Spritz it with setting spray before blending for an extra-long-lasting finish. I tried this once, and my makeup didn’t budge all day.
- Layer Like a Pro: Build coverage by bouncing lightly—don’t cake it on all at once.
Here’s a sneaky one I love: if you’re going for that “no-makeup makeup” look, dampen the sponge and blend a tiny bit of foundation with moisturizer right on it. Instant glow, zero effort.
Common Mistakes to Dodge
Even a beauty tool this awesome has a learning curve. Avoid these slip-ups:
- Skipping the Soak: Using it dry is a rookie move—it’ll gobble up your makeup and leave you streaky.
- Lazy Cleaning: I’ve been there—left mine dirty for too long and paid the price with a breakout. Don’t do it.
- Heavy Hands: Press too hard, and you’ll mess up the blend. Keep it light and bouncy.
I’ll confess, I once thought I could skip cleaning it for a week. Big nope. My skin rebelled, and my sponge started smelling funky. Lesson learned—clean it, love it, keep it.
How to Clean and Care for Your Beauty Blender
Speaking of cleaning, let’s talk maintenance. A happy Beauty Blender Sponge is a clean one. Here’s how to keep it in tip-top shape:
- Quick Rinse: After each use, rinse it under warm water and squeeze out the makeup. Takes 30 seconds, tops.
- Deep Clean Weekly: Grab a gentle soap (or Beauty Blender’s cleanser) and work it into the sponge. Rinse until the water runs clear.
- Dry Smart: Let it air dry on a clean surface—no stuffing it in a drawer wet, unless you want a moldy surprise.
I usually clean mine while I’m unwinding with a podcast. It’s oddly satisfying watching the water turn murky, then clear. Plus, a clean sponge feels so much better on your face.
Storage Tip
Pop it in its little canister or a breathable pouch when it’s dry. Keeps it dust-free and ready for action.
Best Of The Best Beauty Blender Sponge


Wrapping It Up: Your Flawless Future Awaits
So, there you have it—the Beauty Blender Sponge is your ticket to effortless, stunning makeup. From its genius design to its foolproof blending powers, this little tool’s got everything you need to look and feel amazing. Wet it, bounce it, love it—it’s that simple. And with benefits like a flawless finish, less waste, and skin-friendly vibes, it’s no wonder it’s a beauty icon.
I hope you’re as pumped as I am to give it a whirl. Trust me, once you try it, you’ll wonder how you ever survived without it.
