


You’re here because you want to know the secret to that smooth, flawless foundation look, right? Well, let me spill the tea—it’s not about some crazy-expensive product or a complicated 10-step routine. Nope. It’s all about the humble foundation makeup sponge. Seriously, this little tool is the unsung hero of the beauty world, and I’m beyond excited to dive into why it’s your ticket to smooth coverage. Did you know that pros swear by sponges to get that airbrushed finish without spending hours in front of the mirror? Yep, it’s true! So, grab a snack, get comfy, and let’s explore everything you need to know about foundation makeup sponges. Trust me, by the end, you’ll be ready to snag one from Amazon and transform your makeup game!
- Why a Foundation Makeup Sponge Is Your New Best Friend
- What Exactly Is a Foundation Makeup Sponge?
- The Benefits of Using a Foundation Makeup Sponge
- Pro Tips to Level Up Your Sponge Game
- Types of Foundation Makeup Sponges: Find Your Perfect Match
- Why Smooth Coverage Matters (And How a Sponge Nails It)
- A Little Story: My Sponge Journey
- Pairing Your Sponge with the Right Foundation
- Wrapping It Up: Your Path to Flawless Skin Starts Here
Why a Foundation Makeup Sponge Is Your New Best Friend
So, what’s the big deal about a foundation makeup sponge? Well, imagine this: you’re applying foundation with your fingers or a brush, and instead of that dreamy, even look, you’re left with streaks or a patchy mess. Frustrating, right? That’s where the sponge swoops in to save the day. It’s a soft, squishy tool—often shaped like an egg or teardrop—that blends foundation into your skin like magic. The result? Smooth, natural coverage that makes you look like you just stepped out of a filter.
I’ll never forget the first time I used one. I was skeptical—could this little thing really make a difference? But after one bounce across my face, I was hooked. My foundation went from “meh” to “whoa” in seconds. If you’ve been on the fence about trying one, consider this your sign to jump in. Let’s break down exactly what makes these sponges so special.
What Exactly Is a Foundation Makeup Sponge?
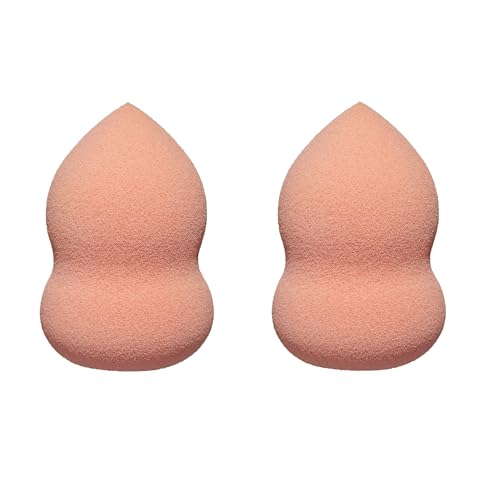
Okay, let’s start with the basics. A foundation makeup sponge is a small, handheld tool designed to apply and blend liquid or cream foundation onto your skin. Most of them are made from soft, porous materials like latex-free foam, which soak up just enough product to give you control without wasting it. The classic shape? That egg or teardrop design you’ve probably seen everywhere. The pointed end tackles tricky spots like under your eyes or around your nose, while the wider base handles big areas like your cheeks and forehead.
But here’s the cool part—they’re not just for foundation. Nope, these babies are multitaskers. You can use them for concealer, contour, blush, even setting powder. It’s like having a whole makeup toolkit in one squishy package. And the best bit? They’re super easy to use, even if you’re a total beginner.
The Benefits of Using a Foundation Makeup Sponge
Alright, let’s talk about why you’d want to swap your old methods for a sponge. Spoiler: there’s a lot to love here.
- Flawless, Streak-Free Finish: The soft texture of a sponge blends foundation into your skin so well that you’ll forget what streaks even look like. It’s like an instant smooth-coverage upgrade.
- Buildable Coverage: Want a light, natural look? One layer does it. Need full glam? Just bounce on a bit more. The sponge makes it effortless to customize.
- Versatility: Beyond foundation, it’s your go-to for blending pretty much any cream or liquid product. Talk about getting your money’s worth!
- Less Waste: Unlike brushes that can gobble up product, a sponge absorbs just enough to apply evenly. That means your foundation lasts longer—and so does your budget.
- Natural Look: Ever end up with that cakey vibe? Not with a sponge. It blends so seamlessly, people will think you woke up like this.
Honestly, once I started using a sponge, I couldn’t believe I’d spent years messing around with brushes. It’s a total game-changer, and I’m betting it’ll be the same for you.
How to Use a Foundation Makeup Sponge Like a Pro
Now, let’s get into the nitty-gritty—how do you actually use this thing? Don’t worry, it’s not rocket science. Here’s a simple step-by-step to get you that pro-level finish:
- Dampen It First: Run your sponge under water, then squeeze out the excess until it’s damp, not dripping. This helps the foundation glide on smoothly and keeps the sponge from soaking up too much product.
- Grab Your Foundation: Dot a small amount onto the back of your hand or directly onto the sponge. Less is more—you can always add more if needed.
- Bounce, Don’t Swipe: Here’s the trick—use a gentle bouncing motion (aka stippling) to press the foundation into your skin. Start at the center of your face and work outward. Dragging it? That’s a no-no; it’ll mess up the finish.
- Blend Like Crazy: Focus on blending around your jawline, hairline, and under your eyes. You want zero harsh lines—smooth is the goal.
- Set It (Optional): For extra staying power, lightly dust on some setting powder with the same sponge. Boom, you’re done!
Quick tip: Wash your sponge after every use with soap and water. Trust me, I learned the hard way—skip this, and your skin might throw a fit. Keep it clean, and you’re golden.
Pro Tips to Level Up Your Sponge Game
Want to go from beginner to boss? Try these tricks:
- Damp, Not Drenched: Too wet, and your foundation slides off. Aim for a slightly damp feel for the best results.
- Mix Up the Motion: Bounce for coverage, swirl for blending, press for extra precision. Play around to find your vibe.
- Layer Smart: Need more coverage? Add a second light layer instead of slathering it on all at once. It looks way more natural.
- Clean It, Please: A grubby sponge is a breakout waiting to happen. Wash it regularly, and replace it every 3-4 months.
One time, I got lazy and left my sponge unwashed for way too long—yep, my face was not happy. Lesson learned: a little TLC goes a long way.
Types of Foundation Makeup Sponges: Find Your Perfect Match
Not sure which sponge to pick? Don’t sweat it—here’s a rundown of the main types to help you choose:
- Classic Egg Shape: The MVP of sponges. Great for all-over application, with a pointed tip for detail work. Perfect if you’re just starting out.
- Flat-Edge Sponge: Got a sharp contour to blend? This one’s your friend. It’s also speedy for covering big areas.
- Silicone Sponge: Non-absorbent and easy to clean, this one’s ideal if you hate wasting product. It’s a bit different but super practical.
- Mini Sponges: Tiny and cute, these are clutch for under-eye concealer or spot-correcting blemishes.
If you’re new to this, I’d say go for the egg shape—it’s foolproof and versatile. But if you’re a makeup nerd (no judgment, I’m right there with you), grab a couple of styles to experiment with.
Why Smooth Coverage Matters (And How a Sponge Nails It)
Let’s talk about smooth coverage for a sec. Why’s it such a big deal? Well, nobody wants foundation that looks like it’s just sitting on their skin, right? Smooth coverage means it blends in, hides imperfections, and leaves you with that “my skin but better” glow. A foundation makeup sponge gets you there because it presses product into your pores instead of slapping it on top. The damp texture? That’s the secret sauce—it softens the application so you’re not fighting cakiness or lines.
Compare that to brushes or fingers. Brushes can leave marks if you’re not careful, and fingers? They’re fine in a pinch, but good luck getting an even spread. With a sponge, it’s almost foolproof—you just bounce and blend, and suddenly, you’re a makeup pro.
Shopping for the Best Foundation Makeup Sponges on Amazon
Ready to grab one? Lucky for you, Amazon’s got a treasure trove of options, whether you’re in the US, UK, or Canada. Here are my top picks:
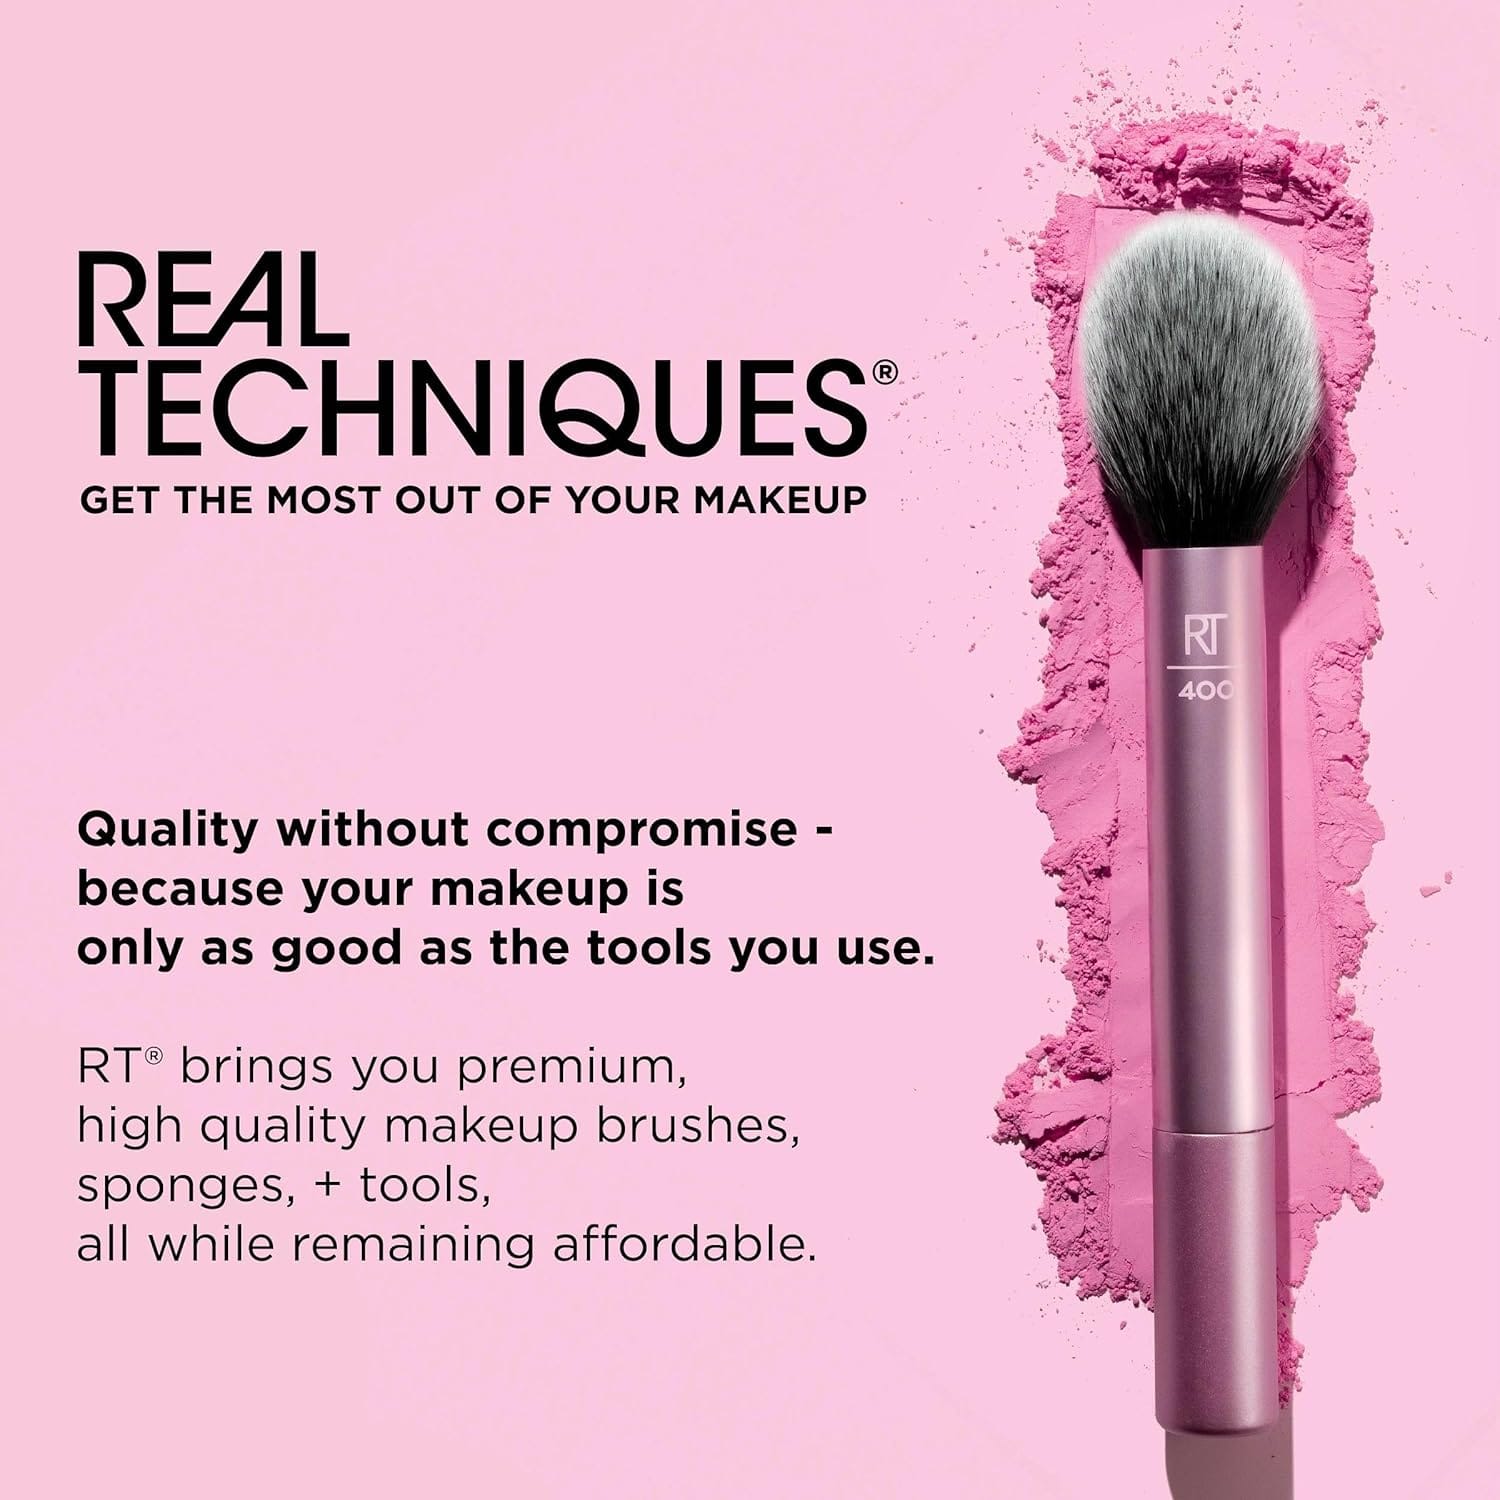
Real Techniques Miracle Complexion Sponge: Soft, affordable, and a cult fave. It’s a steal for the quality.


Beautyblender Original: The one that started it all. Pricey, but the hype’s real—perfect for a splurge.


EcoTools Perfecting Blender Duo: Two eco-friendly sponges for the price of one. Great for foundation and concealer.


These links take you straight to the good stuff—no endless scrolling required. Pick one, and you’re on your way to smoother skin.
A Little Story: My Sponge Journey
Can I get real for a minute? When I first heard about makeup sponges, I thought they were just a gimmick. I mean, I’d been using brushes forever—why change? But one day, I caved and bought a cheap one from the drugstore. First try, I was like, “Okay, this is cool.” Second try? Totally obsessed. Now, I’ve got a drawer full of them—egg shapes, minis, even a silicone one I’m still figuring out. It’s not just a tool; it’s a vibe. If I can go from skeptic to sponge stan, I bet you’ll love it too.
Common Mistakes to Avoid with Your Makeup Sponge
Before you dive in, let’s dodge some pitfalls. Here’s what not to do:
- Using It Dry: Dry sponges soak up way too much product and leave a weird texture. Damp is the way to go.
- Skipping the Wash: Bacteria loves a dirty sponge. Skip cleaning, and you’re risking breakouts—or worse, a funky smell.
- Pressing Too Hard: Light bounces, not heavy smushes, get you that smooth finish. Easy does it.
- Keeping It Forever: Sponges wear out. Toss it after a few months, or it’ll start crumbling mid-application.
Avoid these, and you’ll be golden. It’s all about keeping it simple and smart.
Pairing Your Sponge with the Right Foundation
Oh, and one more thing—your sponge works best with the right foundation. Liquid or cream formulas are ideal; they blend like a dream. Stick foundations? Not so much—they’re too thick for a sponge to handle smoothly. If you’re into BB creams or tinted moisturizers, those work too! The key is picking a product that plays nice with the sponge’s texture. Pro tip: if you’re shopping on Amazon, check out lightweight, buildable foundations to pair with your new sponge. You’ll thank me later.
Wrapping It Up: Your Path to Flawless Skin Starts Here
So, there you have it—the full scoop on foundation makeup sponges and why they’re your secret weapon for smooth coverage. From blending like a dream to saving you product (and time), this little tool punches way above its weight. Whether you’re a makeup newbie or a seasoned pro, it’s about to become your go-to.
Trust me, once you try it, you’ll wonder how you ever lived without it. Ready to unlock flawless skin? Click that link and let’s get this party started!
