


Makeup mavens! Ever stared into the mirror, foundation brush in hand, wondering why your skin doesn’t look like those flawless Instagram selfies? Yeah, I’ve been there too—spending way too long blending, only to end up with a streaky mess. Then I discovered the magic of a wet beauty blender, and let me tell you, it’s a total game-changer. Seriously, this little sponge can transform your makeup routine from “meh” to “whoa” in minutes. Want to know how to use a wet beauty blender to get that airbrushed, I-woke-up-like-this look? Stick with me—I’m spilling all the secrets, plus pointing you to the best ones you can snag on Amazon. Let’s dive in!
- What’s a Beauty Blender, and Why Should You Care?
- Why Wet Your Beauty Blender? The Juicy Benefits
- How to Wet a Beauty Blender the Right Way
- Wet Beauty Blender Tips for Every Makeup Move
- Oops! Common Wet Beauty Blender Mistakes to Dodge
- Keep It Clean: Caring for Your Beauty Blender
- The Science Bit: Why Wet Works Wonders
- Wet Beauty Blender vs. Brushes vs. Fingers
- Fix It: Troubleshooting Your Beauty Blender Woes
- The Best Beauty Blenders You Can Buy on Amazon
- Wrapping It Up: Your Flawless Future Awaits
- FAQ: Quick Answers to Your Questions
What’s a Beauty Blender, and Why Should You Care?
If you’re new to this whole makeup thing—or just need a quick recap—a beauty blender is that cute, egg-shaped sponge you’ve probably seen all over TikTok. It’s designed to apply and blend foundation, concealer, and even blush like a dream. The original Beautyblender, dreamed up by makeup artist Rea Ann Silva, hit the scene years ago and quickly became a must-have for pros and regular folks like us. Why? Because it makes your makeup look seamless, not caked-on.
Now, beauty blenders come in all sorts of shapes and sizes—some with flat edges for contouring, others with tiny tips for under-eye work. But here’s the kicker: the real magic happens when you use it wet. Yep, wet! Don’t freak out—it’s not going to ruin your pricey foundation. Instead, it’s the secret to that natural, dewy finish we all crave.
Why Wet Your Beauty Blender? The Juicy Benefits
Okay, I know what you’re thinking: “Wet? Won’t that mess everything up?” Nope—it’s the opposite! Using a wet beauty blender is like giving your makeup a VIP upgrade. Here’s why it’s worth the extra step:
- Saves Your Makeup: A damp sponge doesn’t soak up half your foundation like a dry one does. More product on your face = better coverage, less waste. Hello, budget-friendly beauty!
- Blends Like Butter: The moisture makes the sponge glide over your skin, smoothing out every dab of makeup. No streaks, no harsh lines—just pure perfection.
- Airbrushed Vibes: Wetting it sheers out your foundation just enough for that soft, “is she even wearing makeup?” look. It’s like Photoshop IRL.
- Dewy, Not Dry: If your skin’s on the parched side (hi, winter woes), the extra hydration keeps things looking fresh instead of flaky.
I’ll never forget my first time trying this trick. I’d been wrestling with a dry sponge for weeks, wondering why my foundation looked patchy. Then I wet my beauty blender, and boom—my skin went from “meh” to “model status” in one go. Total mind-blower!
How to Wet a Beauty Blender the Right Way
Alright, let’s get practical. Wetting your beauty blender isn’t rocket science, but there’s a knack to it. Follow these steps, and you’ll be golden:
- Soak It: Run that sponge under lukewarm water for a few seconds. Let it drink up—you want it fully saturated.
- Squeeze It: Gently press out the extra water. It should feel damp, not dripping like a soaked towel.
- Towel Trick (Optional): If you’re paranoid about it being too wet, wrap it in a clean towel and give it a light squeeze.
You’re aiming for a plump, moist sponge—not a soggy mess. Too wet, and your makeup might slide off. Too dry, and you miss the blending magic. Trust me, you’ll get the hang of it after a try or two.
Wet Beauty Blender Tips for Every Makeup Move
Now that your sponge is ready, let’s talk about how to use it. Whether you’re slapping on foundation or dabbing on blush, here’s how to nail it with a wet beauty blender.
Foundation: Your Base Game, Elevated
- How to Do It: Dot some foundation on the back of your hand or straight onto the sponge. Use the rounded end to bounce it onto your skin, starting at the center of your face and working out.
- Hot Tip: Need extra coverage for redness or dark spots? Use the pointed tip to stipple on more product. It’s like an eraser for imperfections!
Concealer: Bye-Bye, Under-Eye Bags
- How to Do It: Dab concealer under your eyes or on blemishes. Gently blend with the sponge’s tip—easy does it!
- Hot Tip: Don’t rub too hard under your eyes. That skin’s delicate, and you don’t want to look like you’ve been up all night (even if you have).
Powder: Lock It In Without the Cake
- How to Do It: Lightly dampen your sponge and pick up a bit of setting powder. Press it onto oily spots like your T-zone.
- Hot Tip: This is clutch for “baking” your makeup—think long-lasting glam without the heavy feel.
Blush & Bronzer: Glow Like a Pro
- How to Do It: Apply cream or liquid blush/bronzer to your cheeks, then blend with the sponge for a soft, natural finish.
- Hot Tip: Bounce, don’t swipe, for that sun-kissed look that doesn’t scream “I tried too hard.”
Oops! Common Wet Beauty Blender Mistakes to Dodge
Even pros mess up sometimes, and I’ve definitely had my share of beauty blender blunders. Here’s what to avoid:
- Barely Wetting It: If it’s too dry, your makeup won’t blend right. I learned this the hard way—streaks galore!
- Soaking It Too Much: Too wet, and your foundation turns into a watery mess. Squeeze that excess out, trust me.
- Dragging Instead of Bouncing: Dragging the sponge moves your makeup around and leaves patches. Bounce it like you mean it!
- Skipping the Clean: A dirty sponge is a bacteria party waiting to happen. Plus, it’ll ruin your application. Don’t be lazy like I was that one time—yikes.
Keep It Clean: Caring for Your Beauty Blender
A wet beauty blender is your BFF, but only if you treat it right. Here’s how to keep it clean and ready for action.
Cleaning 101
- Wet It Down: Run it under warm water.
- Soap It Up: Use a gentle cleanser or beauty blender soap. Work it in, especially on stained spots.
- Rinse Repeat: Squeeze and rinse until the water’s clear.
- Air Dry: Let it dry completely on a clean surface before using it again.
How Often?
- Dream world: after every use. Real world: at least once a week. Don’t let it get grimy—your skin deserves better.
When to Toss It
- Most beauty blenders last 3-4 months. If it’s crumbling or feels off, it’s time for a replacement.
The Science Bit: Why Wet Works Wonders
Want to geek out for a sec? When you wet your beauty blender, it swells up and gets softer, making it a blending superstar. The water also stops it from sucking up all your makeup—think of it as a shield that keeps the good stuff on your face. Pretty cool, huh?
Wet Beauty Blender vs. Brushes vs. Fingers
Still not sold? Here’s how a wet beauty blender stacks up:
- Brushes: Awesome for detail, but they can leave lines if you’re not careful. Sponges win for seamless blending.
- Fingers: Fast and free, but they don’t blend as evenly. Plus, oily fingers can mess with your finish.
A wet beauty blender? It’s the sweet spot—precision and perfection in one.
Fix It: Troubleshooting Your Beauty Blender Woes
Sometimes things go sideways. Here’s how to troubleshoot:
- Too Sheer? Sponge is too wet. Squeeze harder next time.
- Not Blending? Could be too dry or dirty. Wet it properly and clean it up.
- Feeling Stiff? If it’s not expanding, it’s toast—grab a new one.
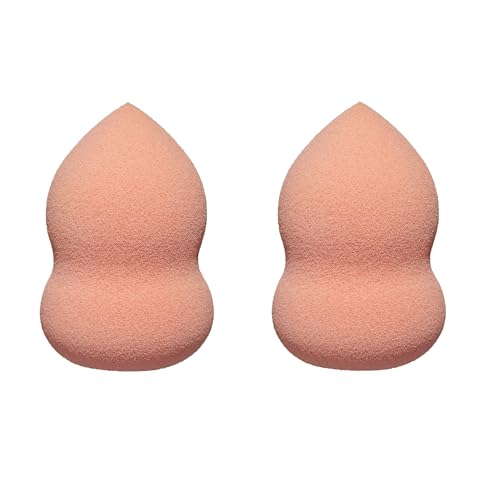
The Best Beauty Blenders You Can Buy on Amazon
Ready to level up? Here are my top picks for wet beauty blenders on Amazon. These babies will make your makeup routine a breeze—shop now and thank me later!
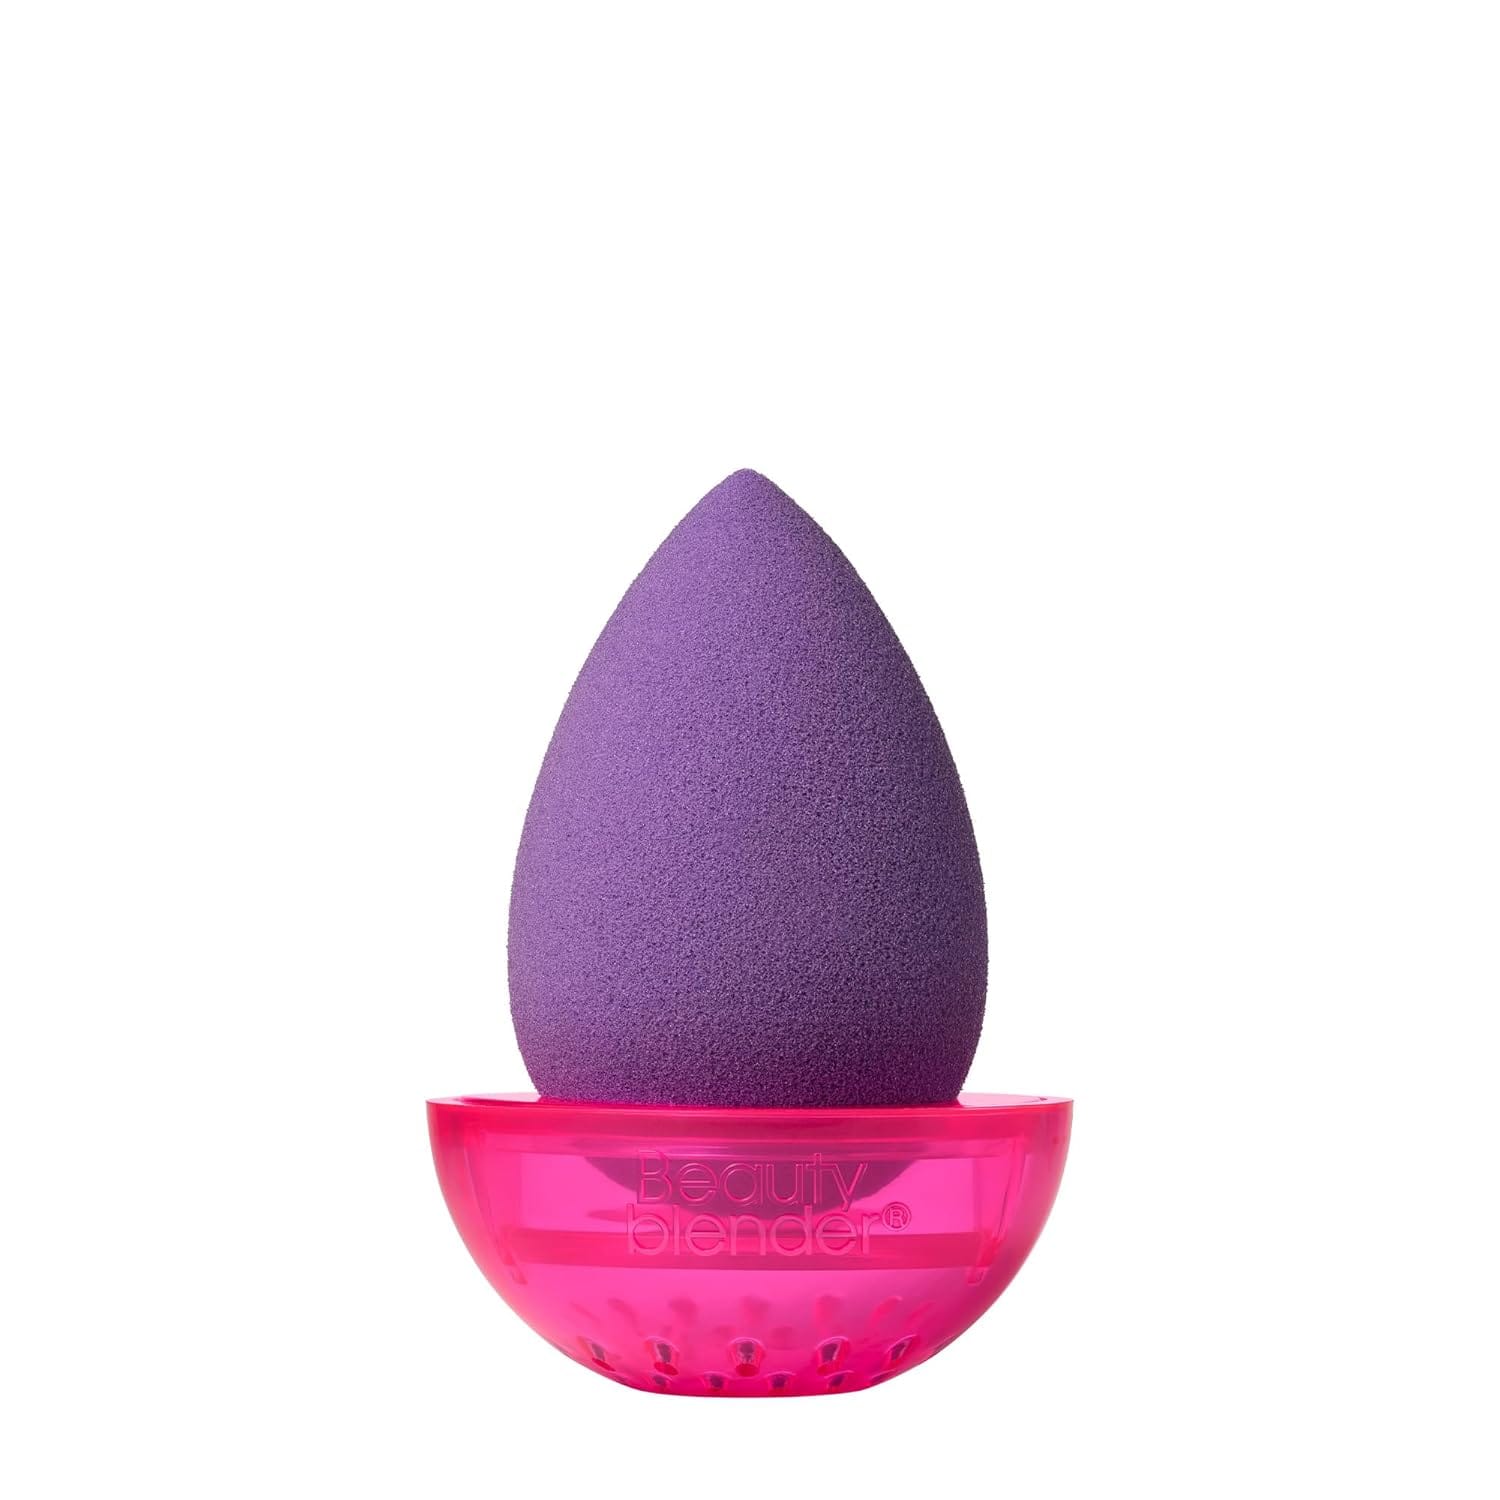
Original Beautyblender
- The classic that pros swear by. Perfect for flawless wet application every time.


Real Techniques Miracle Complexion Sponge
- Affordable and amazing—great for beginners or anyone on a budget


EcoTools Perfecting Blender Duo
- Eco-friendly and skin-friendly, with two sponges for the price of one.


Amazon’s got a ton more options, so poke around and find your perfect match. Your flawless face is just a click away!
Wrapping It Up: Your Flawless Future Awaits
There you go—everything you need to rock a wet beauty blender like a makeup guru. From soaking it just right to bouncing your way to perfection, these hacks will have you slaying the makeup game in no time. And the best part? It’s so easy once you get the hang of it.
So, what are you waiting for? Grab one of those awesome beauty blenders from Amazon and give it a whirl. Your skin’s about to look so good, you’ll be snapping selfies left and right. Go get ‘em!
FAQ: Quick Answers to Your Questions
Can I use a beauty blender dry?
Sure, but wet is where it’s at—smoother blending, less waste. Try it!
How often should I replace it?
Every 3-4 months, or sooner if it’s falling apart.
Powder with a wet sponge—really?
Yep! A damp beauty blender sets powder like a dream without the cakey vibe.
Why’s my makeup streaky?
You’re probably dragging the sponge. Bounce it instead—problem solved.
